I came across these interesting tid-bits and trivia, and decided to share them here
Batmobile 1989 Runs on CNG
Compressed Natural Gas in a great application!
Utah Speed Limit – 80 MPH
Don’t you wish you were driving over there?
I came across these interesting tid-bits and trivia, and decided to share them here
Batmobile 1989 Runs on CNG
Compressed Natural Gas in a great application!
Utah Speed Limit – 80 MPH
Don’t you wish you were driving over there?
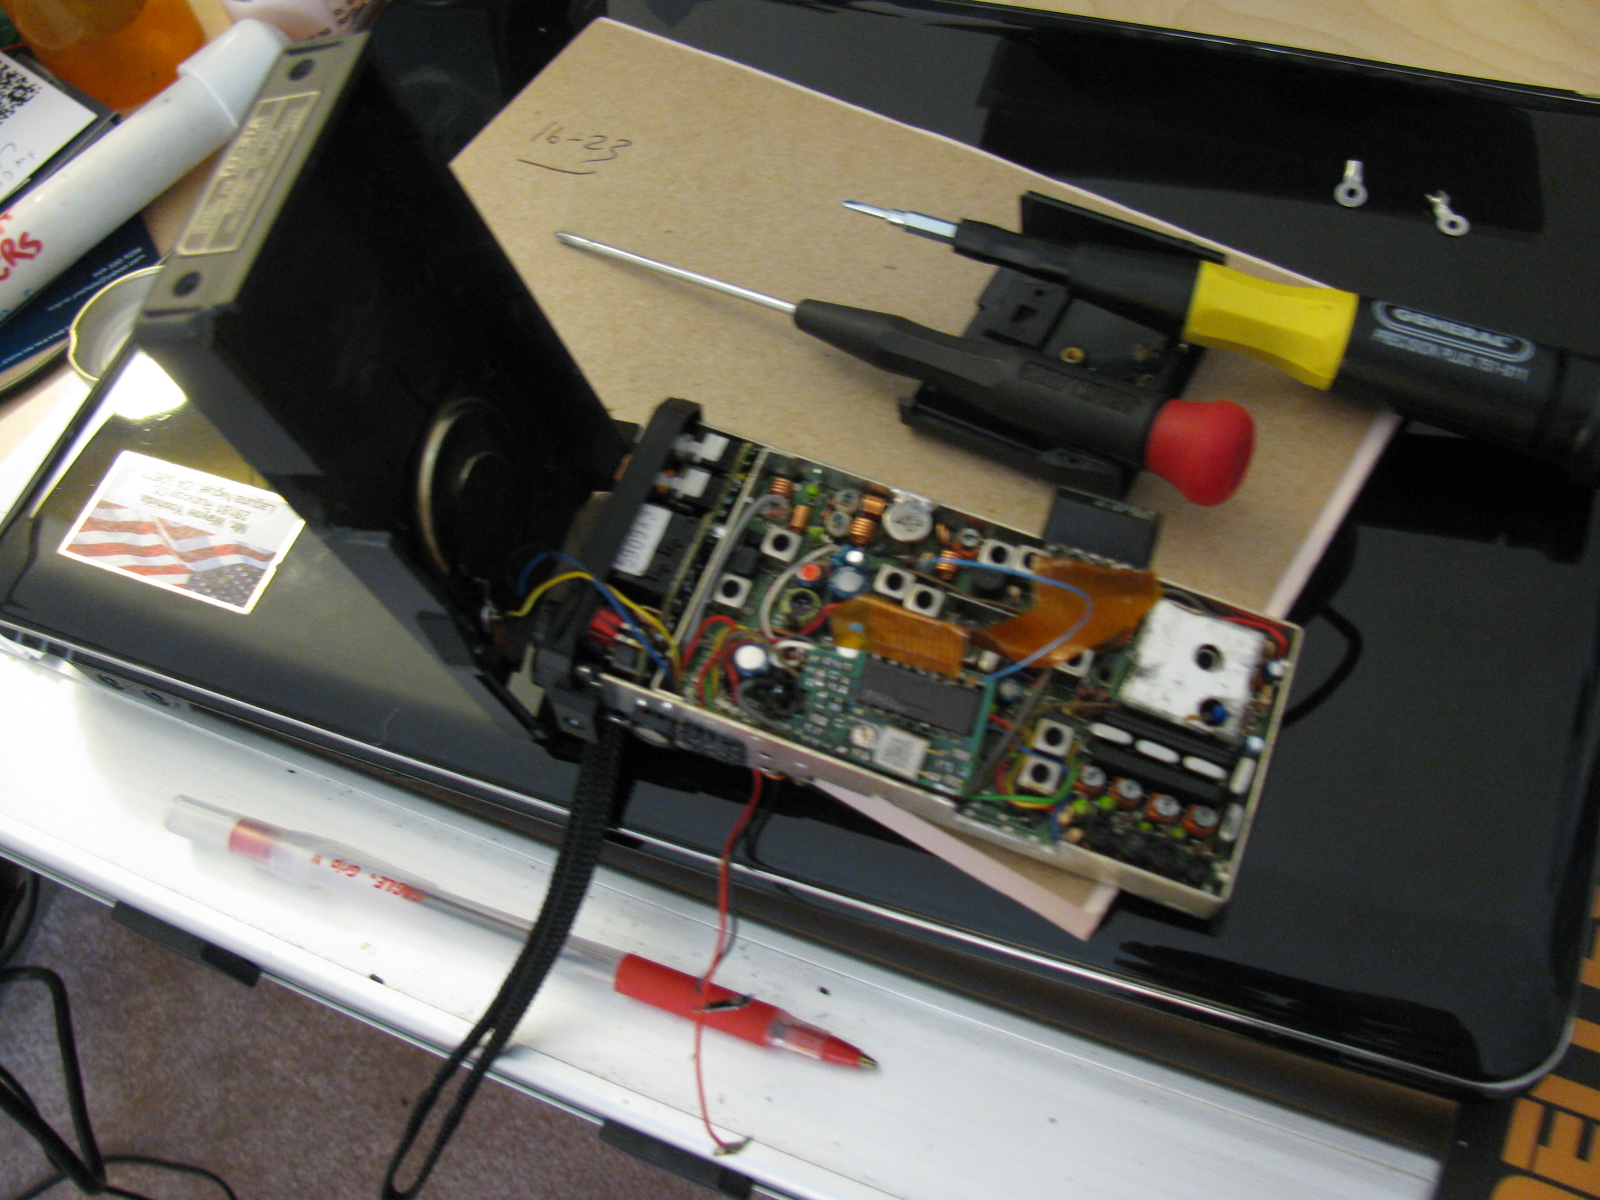
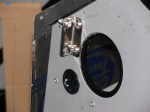
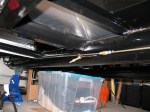
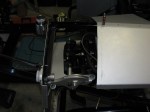
On Saturday morning, I remembered that I stopped working on the sheet aluminum. So I decided I should get that Cleco-ed in place so I can get the panels ready for prep and paint. Then I can move on to the fuel tank, and then – finally – install the engine.

I came across this sculpture while doing some research on mechanical sculptures. The video is a bit long, but the creations look like a good way to use a bunch of surplus motors. . . They make a noise that sounds like falling rain or a racquetball court – or – something.
>>>> Click here to see the works made by the artist called Zimoun
Freightliner website shouts:
Think it can’t be done?
THINK AGAIN.
Freightliner Trucks drove a Cascadia 113 day cab tractor powered by CNG from LA to DC…
>>> Click here to see a video about this CNG-fueled cross country trip
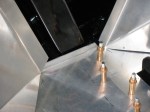
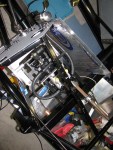
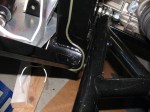
It’s been a long time since I posted an update on the Factory Five Racing Coupe. Here is an update in pictures and captions . . .

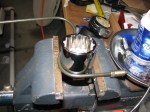


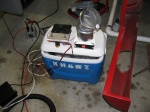
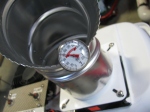
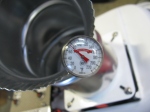
It has been very hot in the garage over the last several weeks, temperatures in the garage were about 95 degrees F (35 degrees C) – I finally did a functional test of my portable air conditioner. This is not a new idea, I saw this several years ago on some maker/hacker site, and there is a commercial version of something very similar to this sold at recreational vehicle and camping stores.
Basically, it is an ice chest filled with ice water, some 12VDC fans, an automotive heater core, a marine bilge pump and some hose. Ice water circulates through the heater core while one fan blows air into the cooler and another fan blows air out of the cooler.
I need to cut a notch in the cooler to make way for a bracket, but it is otherwise complete.
This thing made me think about making a water-cooled vest, using a smaller pump and my back-mounted water carrier – it would be perfect for events like Burning Man and ROCstock!

Freightliner Cascadia 113 with Cummins Westport ISX12 G CNG engine and Allison 4000 automatic transmission.
Photo from: TruckingInfo.com
Click here to see >>> A nice video tour of a new vehicle fueled by Agility Fuel Systems

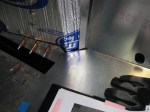
This is a screen capture showing the KH6WZ APRS beacon data from the Discovery Science Center – Meet the Makers event.

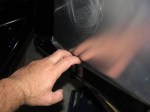
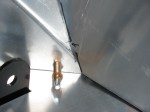
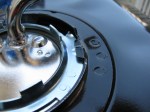
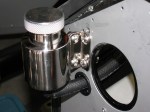
Where does the brake reservoir go?
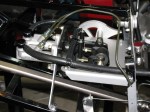
Before I drill any holes, I need to verify where the brake rez can should go. This polished stainless steel can looks great, and it is small. It must be easily accessible for filling and must also be higher (at level with) the brake master cylinders.

Location of the brake rez here or there?
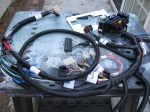
A few weeks ago I received a box of accessories from Russ Thompson, expert maker of Coupe add-on items. Here are some pictures. . .