Archive for March 2013
Not much Coupe time this weekend. The rear brake adapter plates and spacers from Factory Five Racing finally showed up – Saturday delivery via FedEx.


Since these are raw steel, I decided to prep and paint them, using gloss black Appliance Epoxy paint. They look much nicer now.
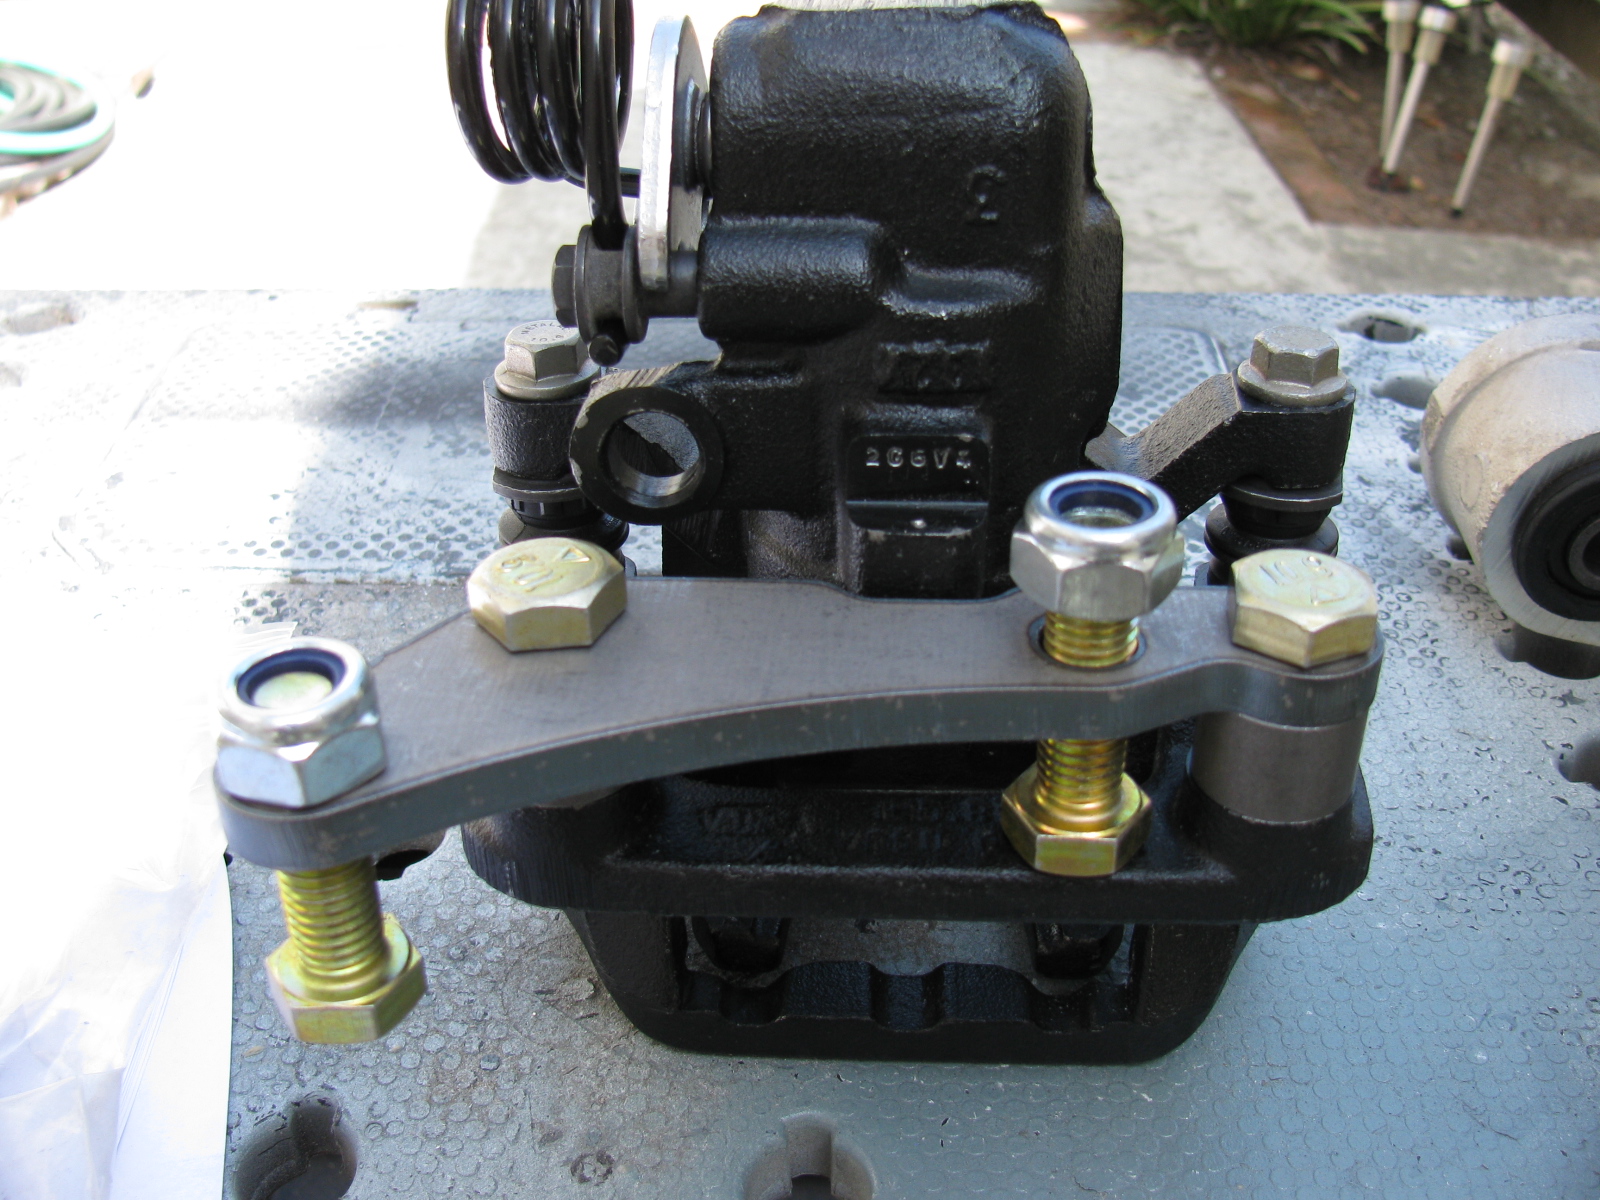
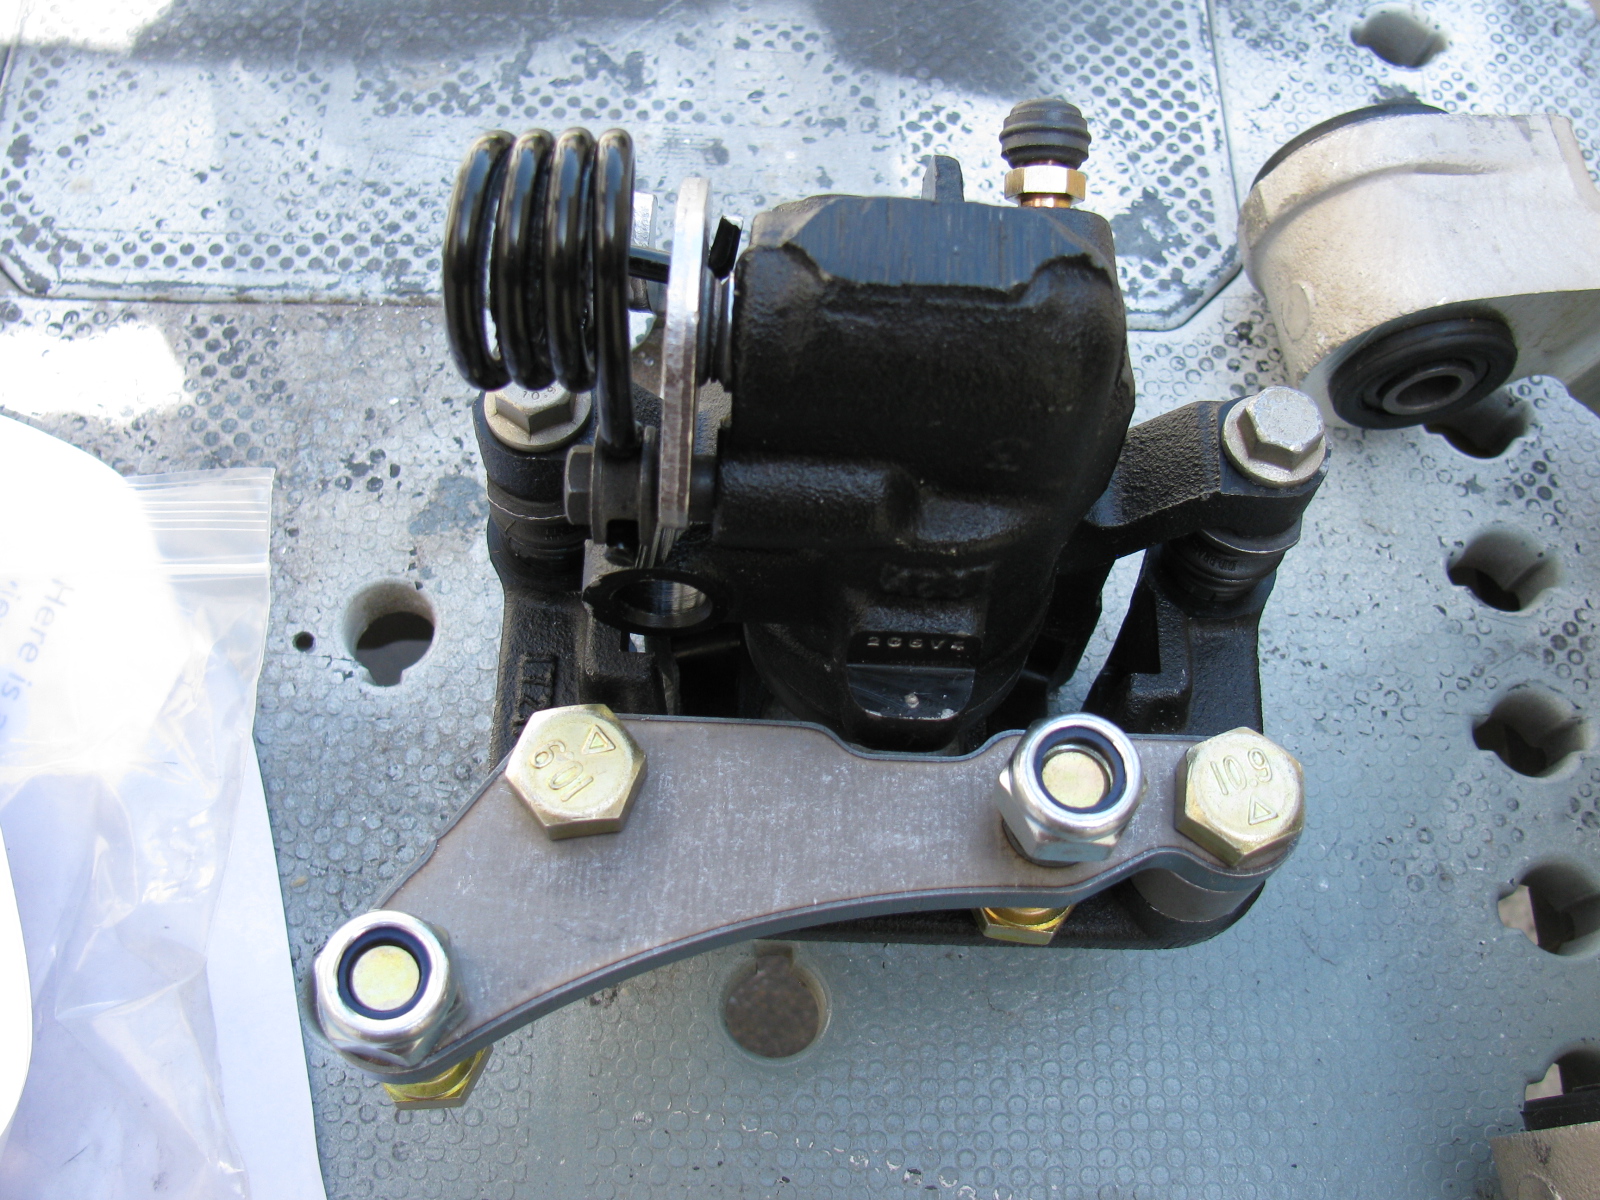
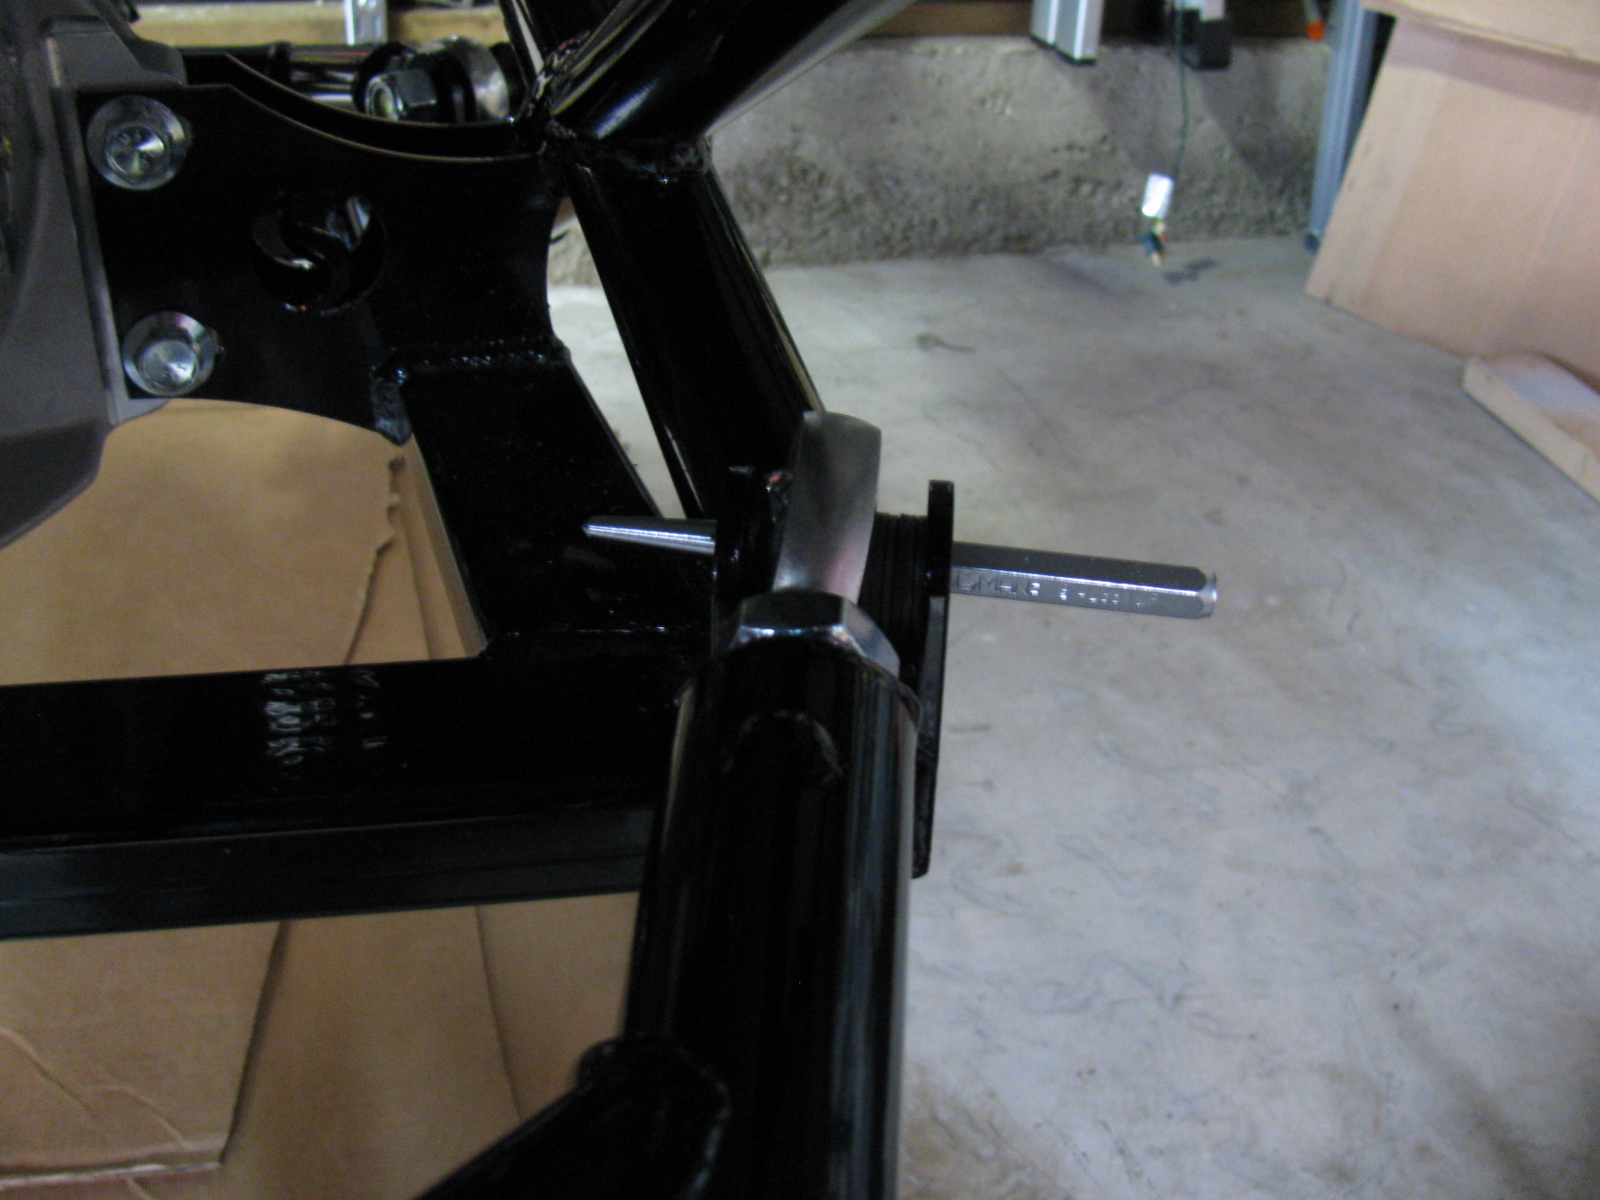
I removed the rear spindles from the last build session and did a dry-fit to see how these get assembled. Once again, the assembly manual and the actual assembly are different. Instructions say to use some button-head Allen bolts, but there aren’t any.
Here are some pictures of the “RH” side of the assembly to see how this goes together. The adapter plates are not painted in these images.


I will bolt these components in place in the next building session.
A Color Decision
I decided to paint the engine bay white. I know this sounds scary, but after thinking about this for a while, it just makes sense. It will match the body color, it will have nice contrast against the black chassis and the engine and other components, and – I can use Appliance Epoxy, which is pretty durable and washable. I will be painting only the outside surfaces of the panels because all of the inside surfaces will be covered with Thermo-Tec Cool-It sound and heat insulation mat.
I got tired of fiddling with the IRS so I did something different this weekend. Here is a picture of the E-brake ratchet handle that comes with the Complete Kit. Since the parts are plain, un-finished steel, I decided to paint it to prevent rust. The exploded view in the instructions make assembly very easy. I wish The Factory would include an exploded view for the IFS as well as the IRS – makes things go so much better. The finish is white and black appliance epoxy from Rustoleum.
Here are some pictures. . .


I am not sure if I like the location of the E-brake handle, it is on the passenger side of the transmission hump. A popular modification is to use a Pontiac Fiero unit and re-locate it closer to the driver. We’ll see if I want to change this setup. (The sharp-eyed people will notice the e-brake handle is backwards. . . . . . )
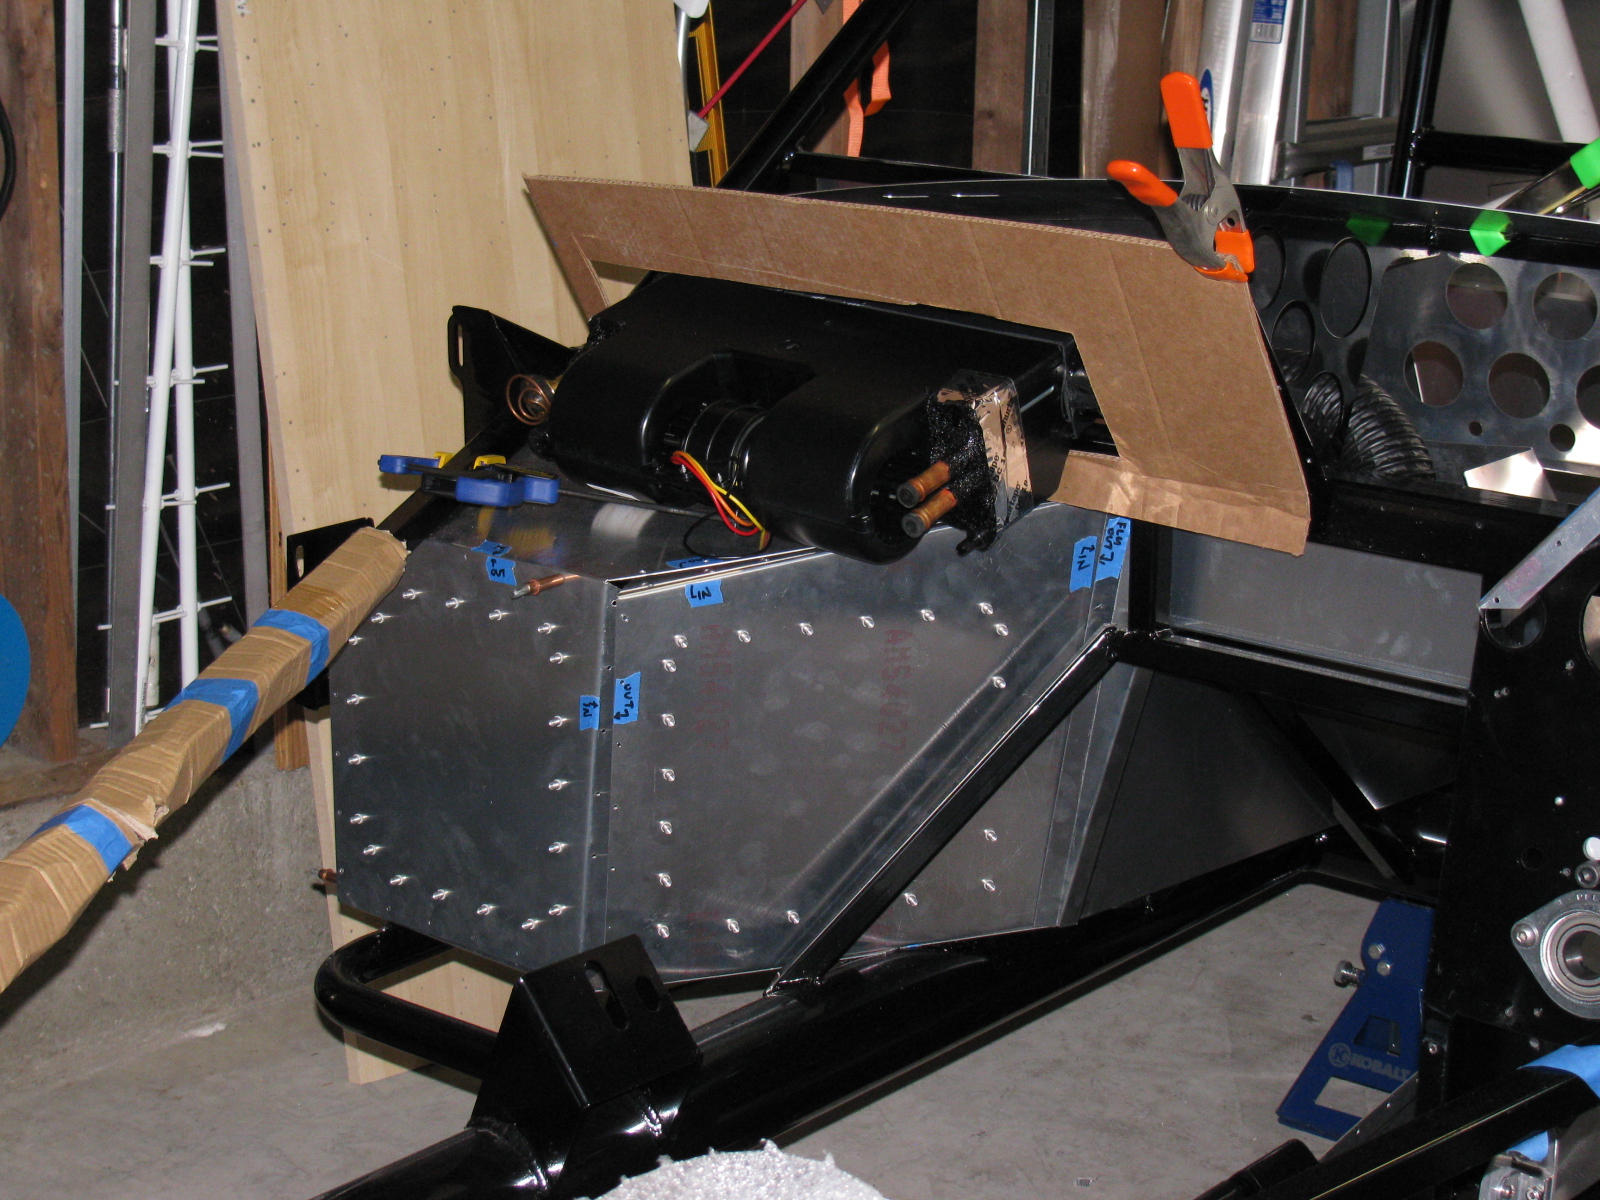
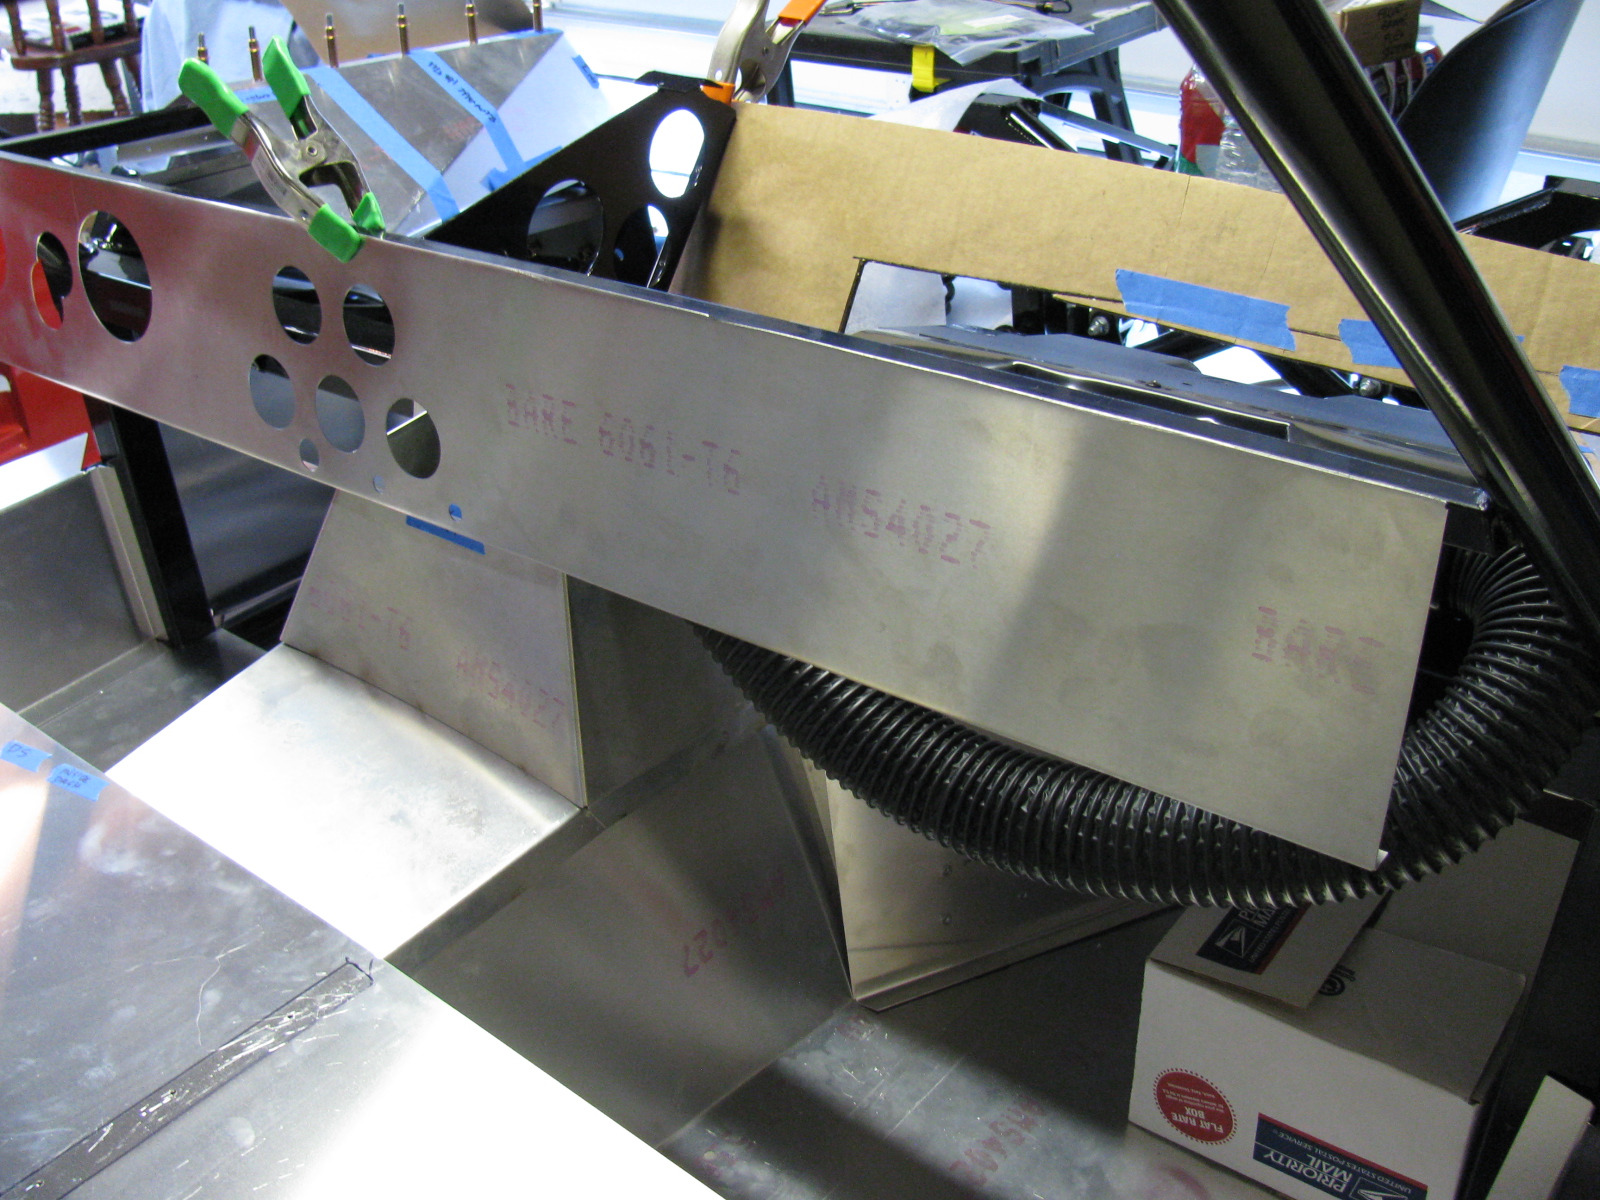
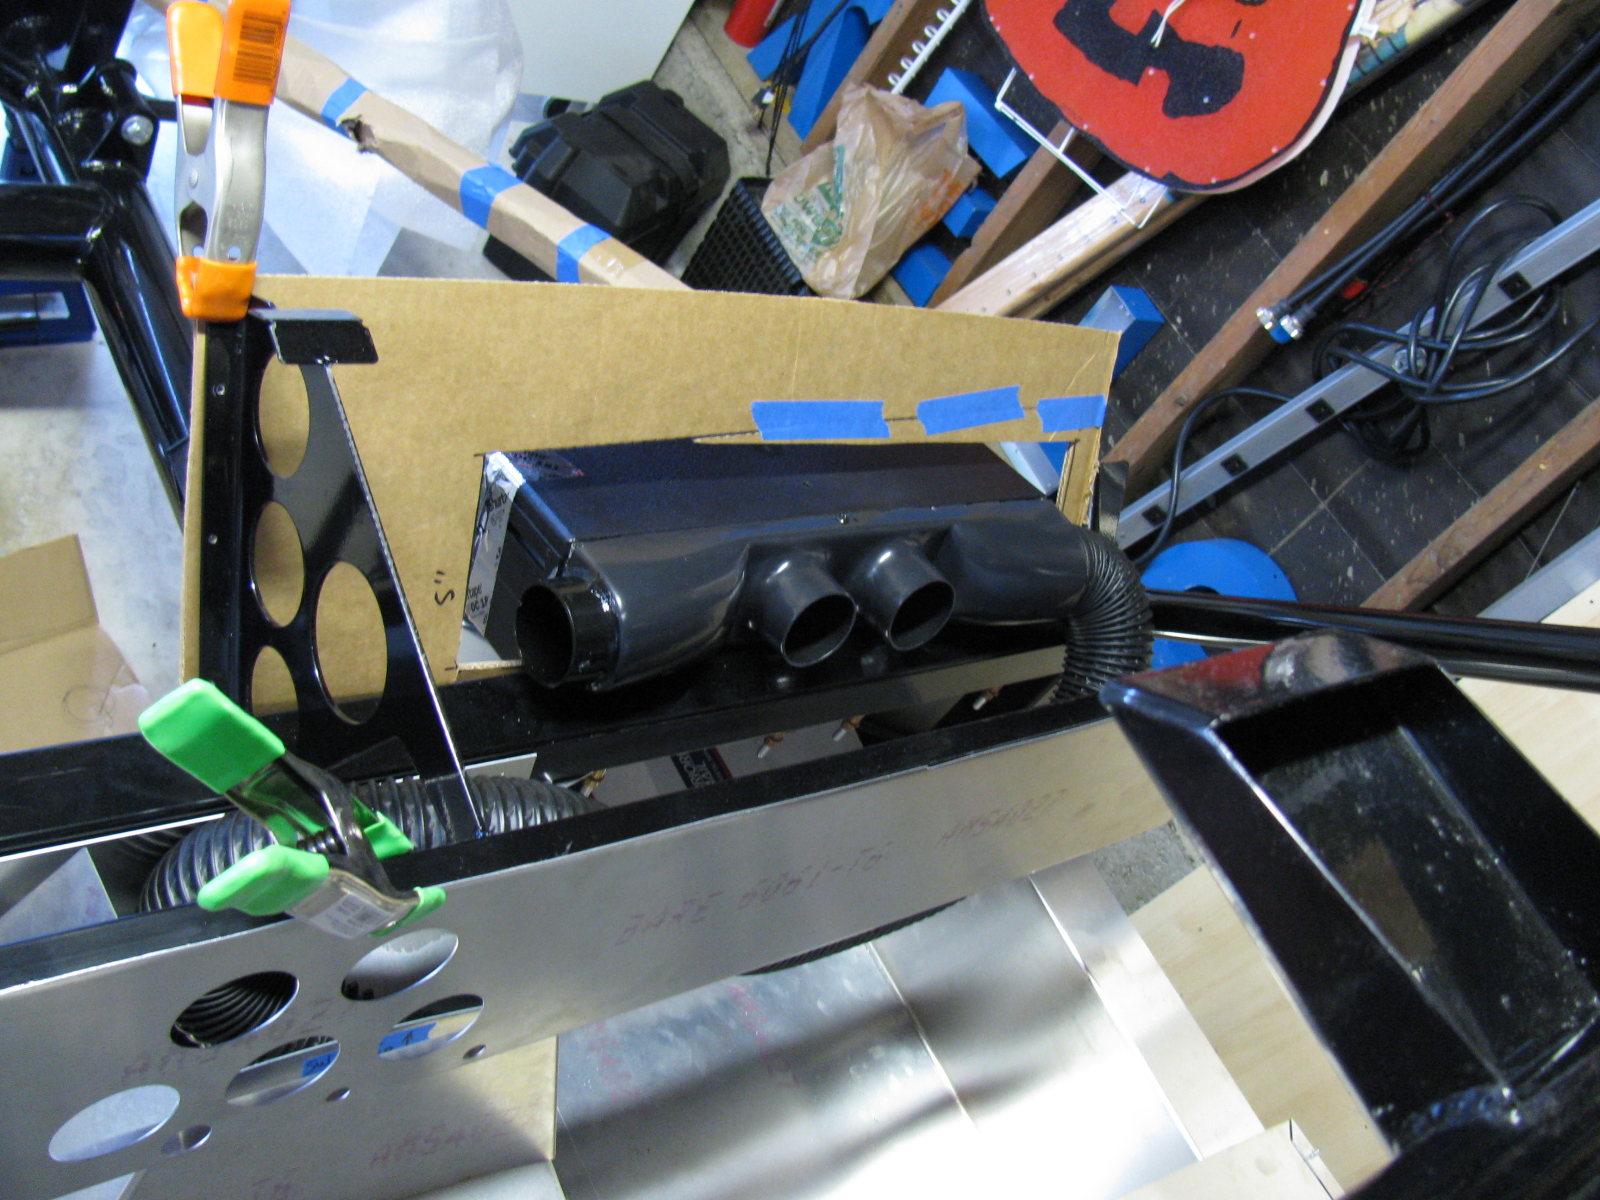
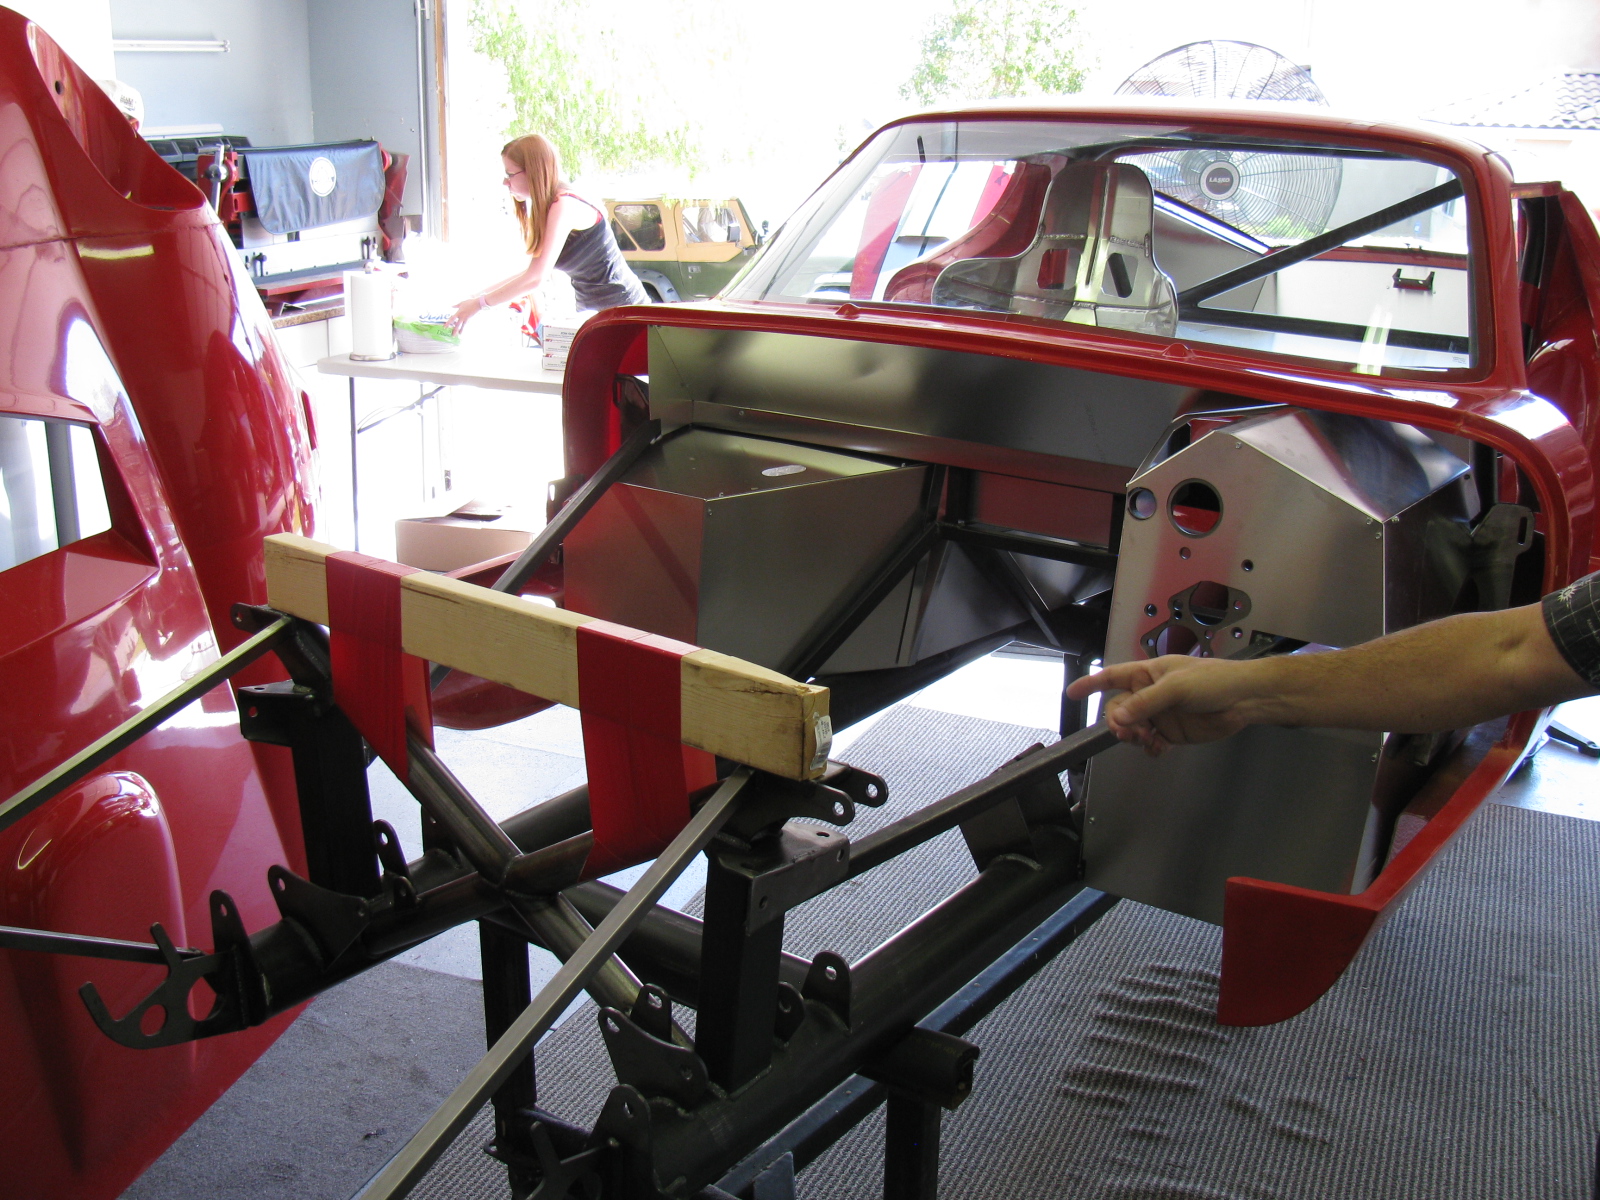
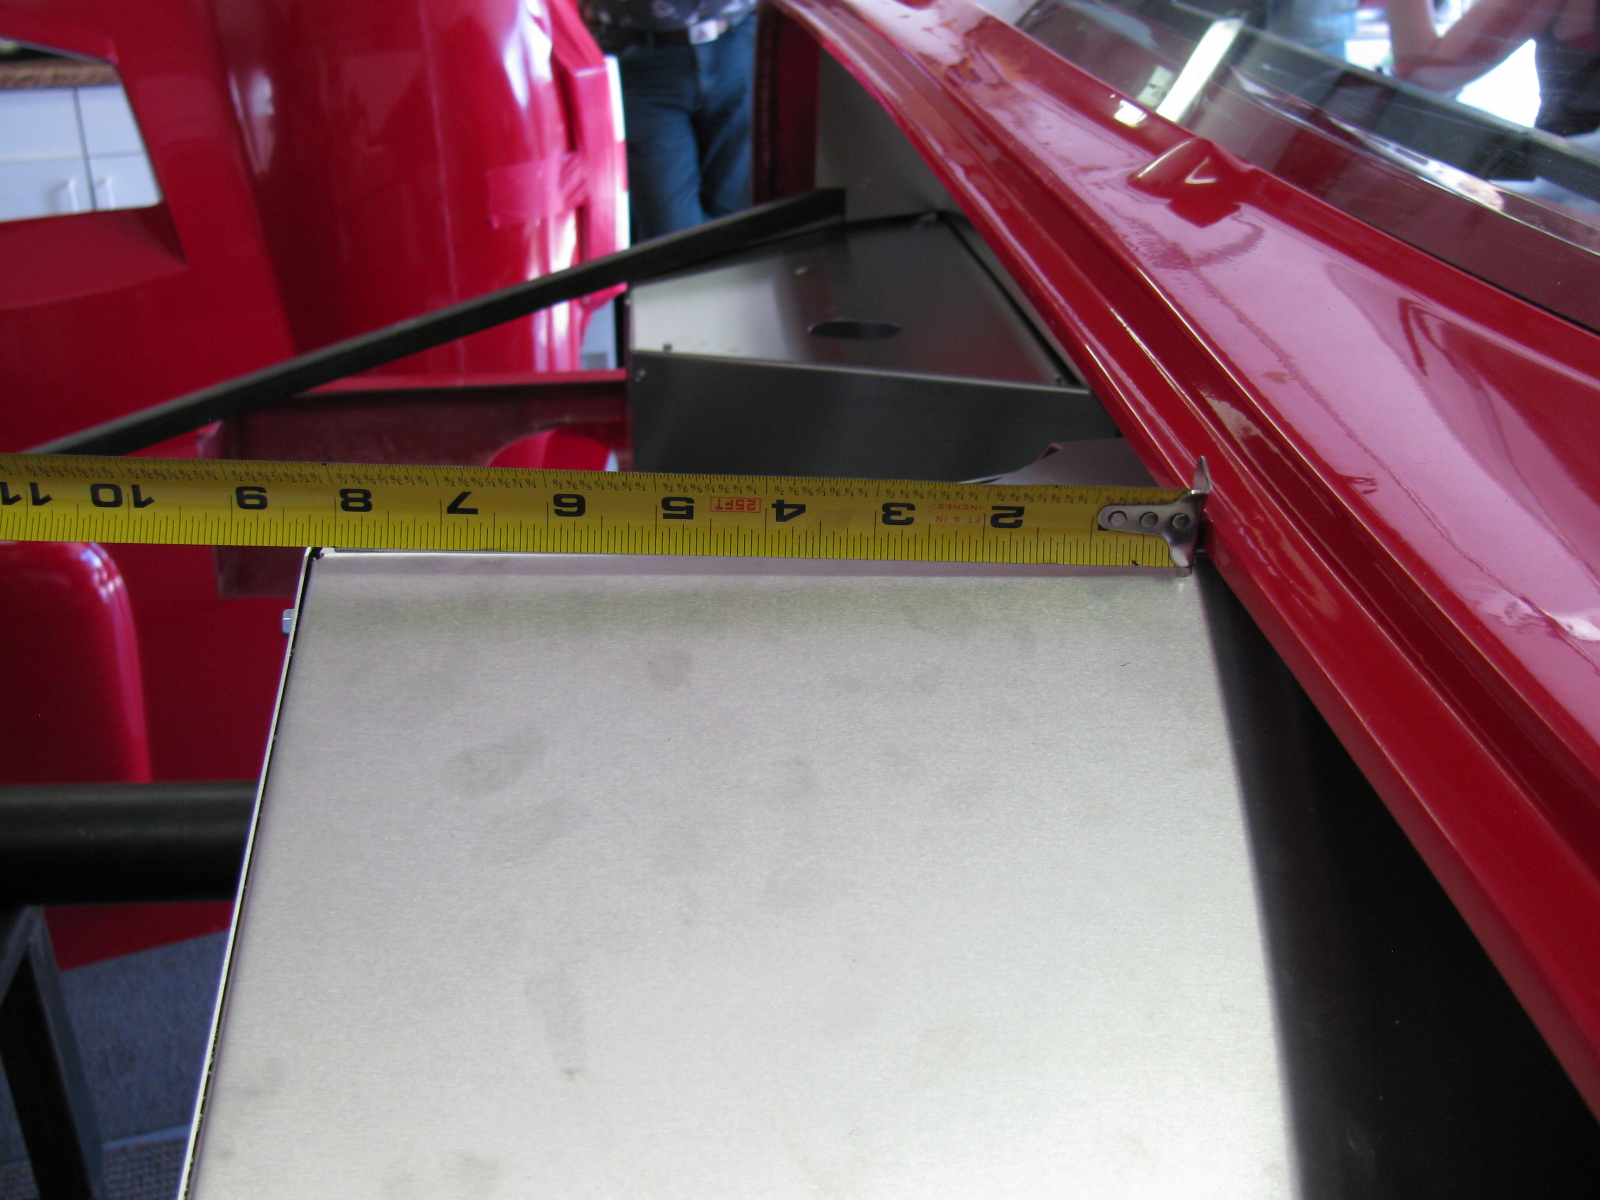
Here are some images of the air conditioner and a cardboard aided design (CAD) templates I am making. This requires some cutting of the dashboard and firewall, so I want to mock everything up before I start cutting. I have some very sturdy aluminium plates for the A/C baseplate, and some sheet aluminum for the enclosure. A CAD version will be made first, then transferred to aluminum.


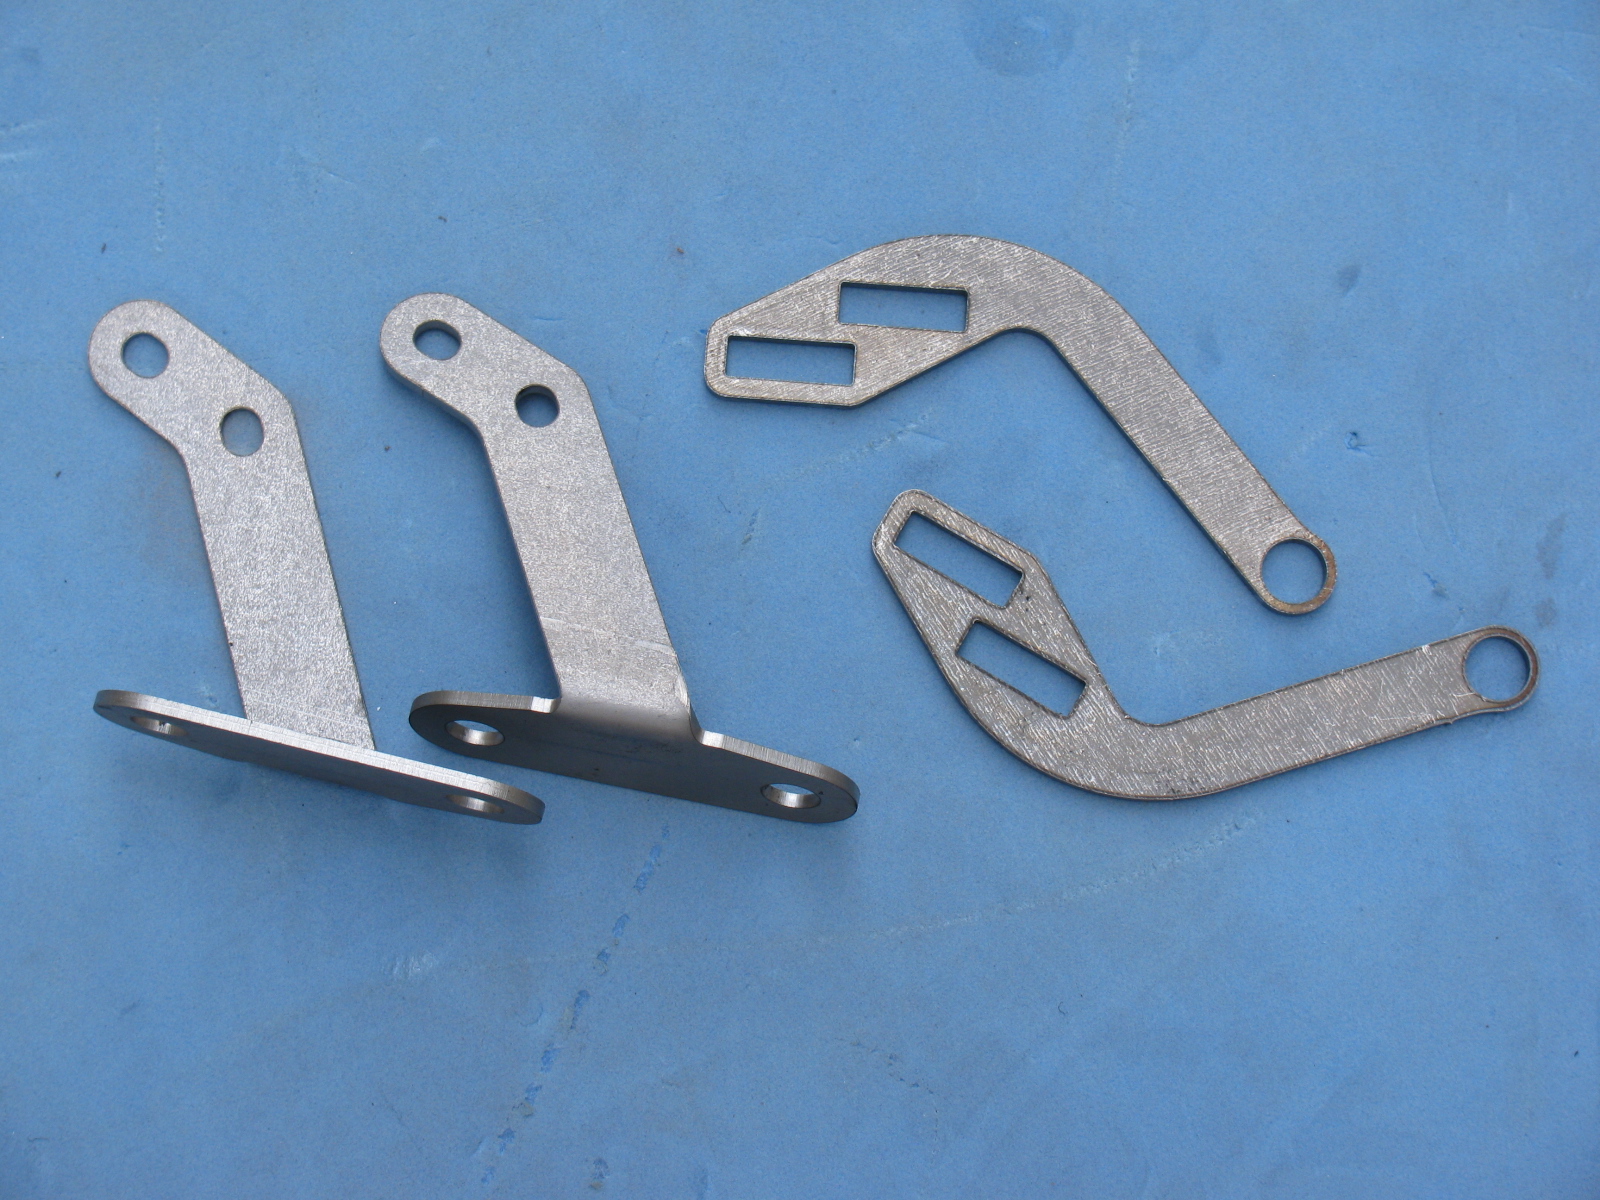
Moving back to the IRS, I received some advice from the veteran builders, and so here is what I did to the lower control arm mounts. The shims (thin black steel washers) F5R supplies are slipped into place and some adjustment is done by placing shims here and there. However, it makes more sense to limit the toe and camber adjusters so that the tweaking can be as simple as possible. By “fixing” one side of the control arm, and limiting it to one adjuster for toe and one adjuster for camber, alignment is simplified and less time consuming.
Currently, this stage is to just “eyeball” the adjustments, and continue the build process. Wheel alignments – both front and rear – may be done after the wheels and tires are mounted. (Probably can be done at the “go kart” stage, when the chassis is complete and the engine, drivetrain, electrics and brakes are installed and running.)
Here are some pictures. As this step gets closer to completion, I will add more details for future reference.


Above left: The Type 65 Coupe IRS lower control arm mounts. One shim on the front side of the mount, six shims on the side toward the rear of the car. The heim joint is threaded on so that 5/8-ths of an inch of thread are showing.
Above right: Here is the trick I use to install slippery washers, shims and spacers onto things – Use a punch or some other tool to poke through the stack of parts together, thus aligning the holes of each part. Then . . .


. . . push the fastener – and the punch – through the stack of parts. Wiggling, pushing and pulling will help. Sometimes a quick-clamp can help, too.
Maker Faire 2013 Update: Application is In!
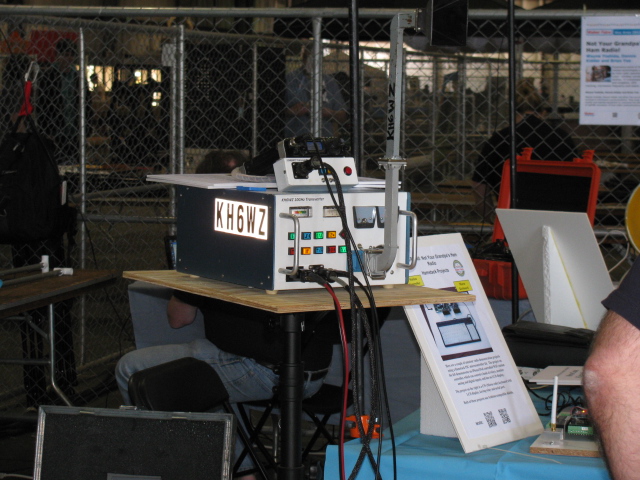
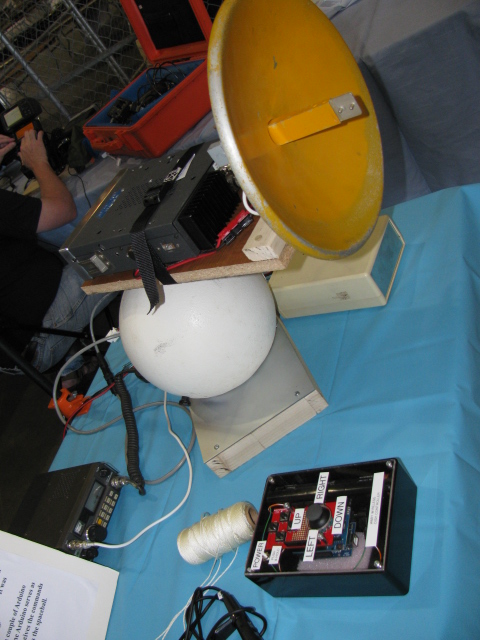
I turned in an application for Maker Faire Bay Area 2013. Our Maker name is “Not Your Grandpa’s Ham Radio 2” and we will continue the theme my team entered last year. We will have some new projects on display, and we will bring some of the more popular items from last year. Here is a look at some of our projects from last year – as well as some other interesting and amazing things I saw last year.


Above – One of the most interesting exhibits at Maker Faire 2012 — The Electric Giraffe named Russell – it is a scaled-up and enhanced version of a plastic model kit – it is 17 feet tall. Below left: Jeri Ellsworth, aka Circuit Girl, and her electric Key-Tar at Maker Faire 2012. Below right, Maker Alex shows us her finger tip no keyboard keyboard.


More Maker Faire 2012 images are posted on my YouTube channel.
I did not do much work in the garage this past weekend, since I had to pull an all-nighter to get my CQ magazine article finished before a deadline, and there was a Coupe welcome party at a fellow Factory Five builder’s house.
Here are some pictures of a brand new Type 65 Coupe kit that recently arrived at QSL and Mrs QSL’s house. (They just finished a Factory Five Racing Roadster. It looks great and is finally registered and running.)
It was good to meet some of the other builders in the area and see the special parts QSL bought for MRS QSL’s Coupe.
Follow the Casey Family Coupe Thread for the latest updates on Mike and Julie’s Type 65 Coupe.


I took a nap shortly after I got home, lack of sleep from the all-night writing session before wore me out. I woke up, and it was dark outside, so I just went back to sleep, and woke up at 3AM on Sunday.
After doing some chores around the house, I decided to prep and paint the other steel parts on the Coupe. Here are some before and after pictures of the steel items painted with gloss black Rust-Oleum Appliance Epoxy. It is a great finish, and looks almost like black powder coat.


For some reason I didn’t take a picture of the hatch hinge parts or the door frame after painting. Oh well.
Hopefully will be able to get some more work done on the chassis and the rear suspension in particular next time.
Stay tuned for more. . . .


