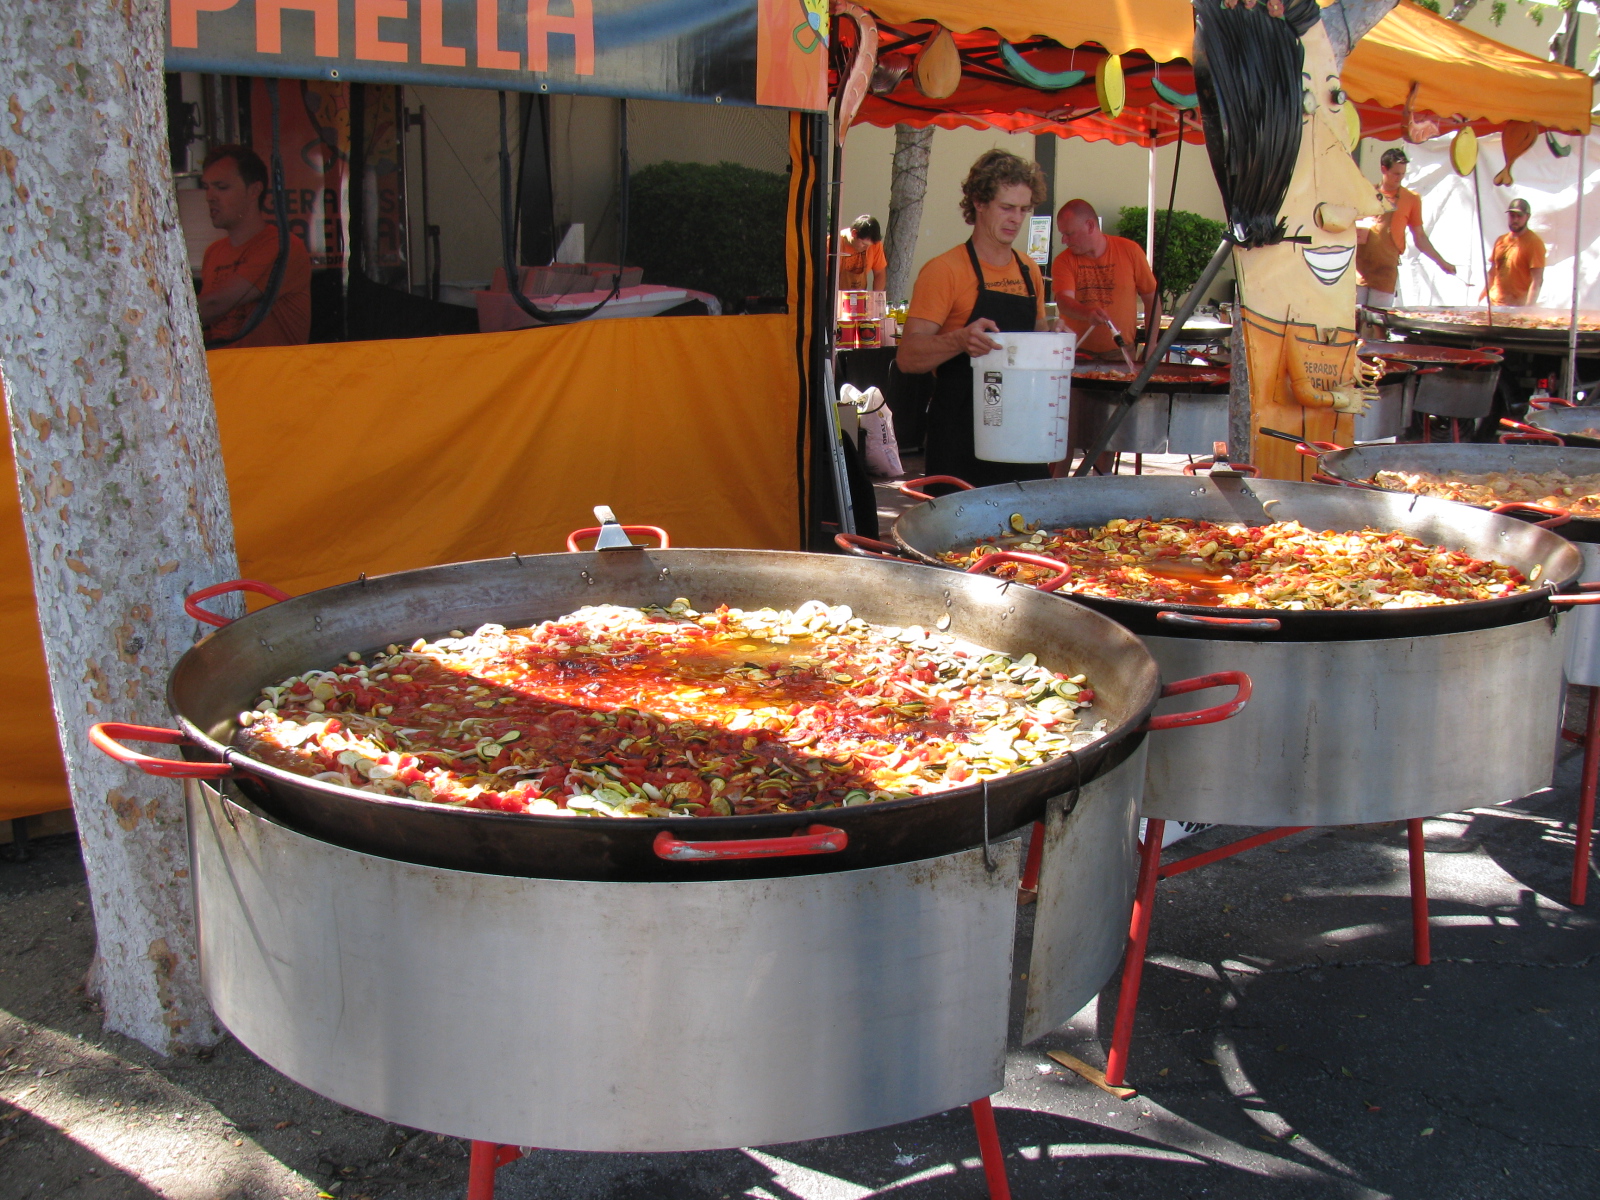
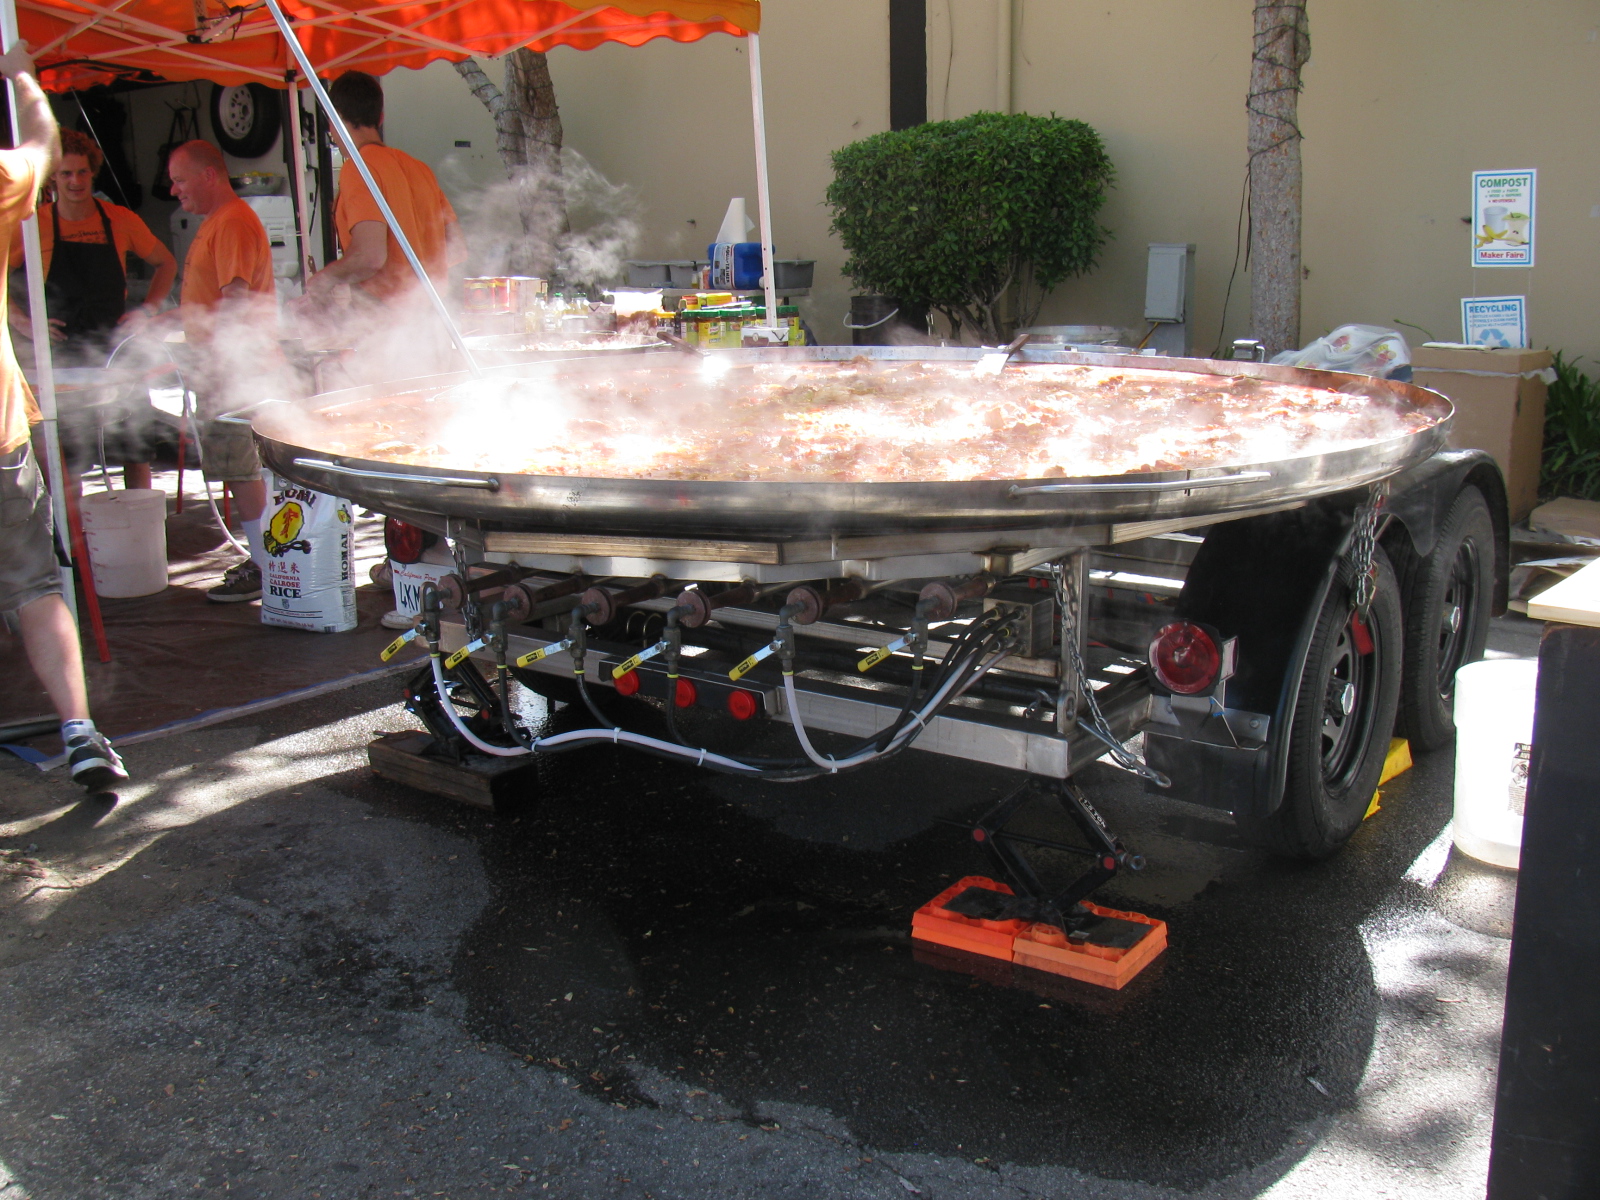
Every year, the Maker Faire hosts a paella dinner for the Makers. This year, the event was sponsored by Liquid Wrench. Here are some images, and you can watch the Paella video on channel KH6WZ. . .
Gerard’s Paella feeds 2,500 people very quickly!
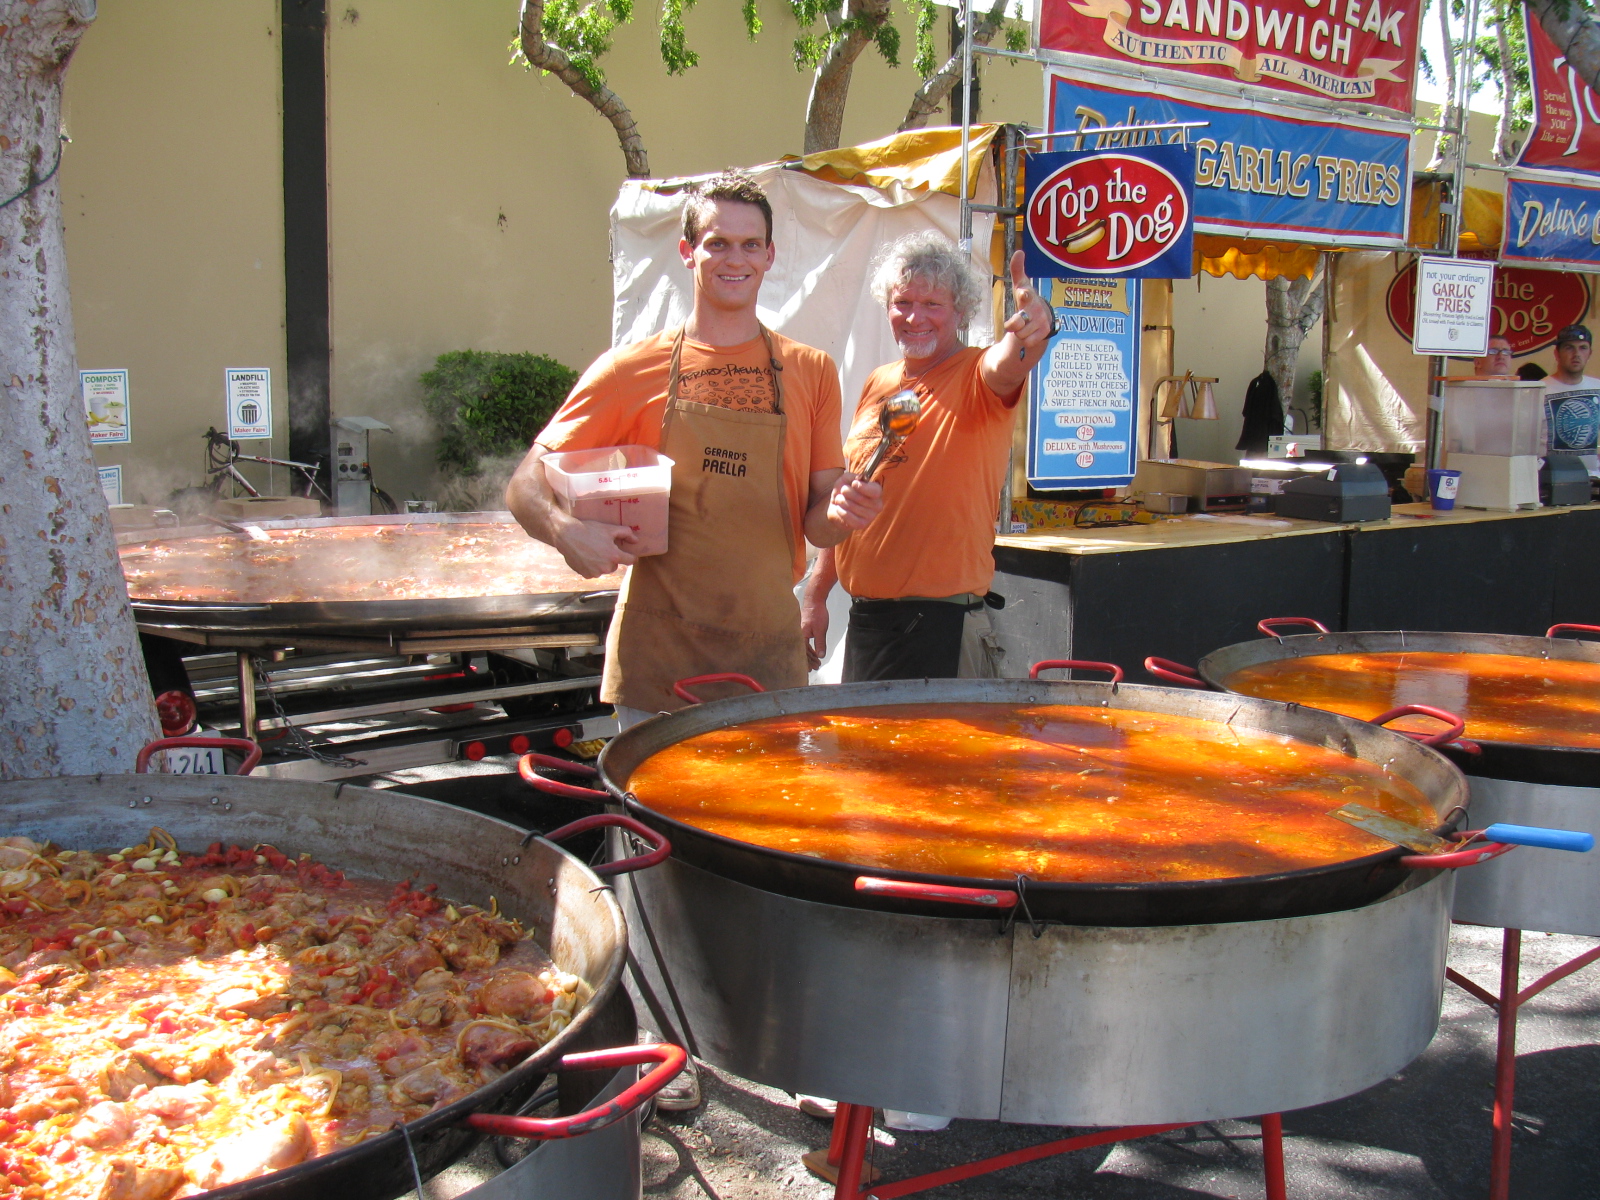

Every year, the Maker Faire hosts a paella dinner for the Makers. This year, the event was sponsored by Liquid Wrench. Here are some images, and you can watch the Paella video on channel KH6WZ. . .
Gerard’s Paella feeds 2,500 people very quickly!
I love a good pastrami sandwich. The salty, peppery, thinly-sliced meat on a toasted bun with a little mustard kind of pastrami sandwich, like they serve at a place in West Los Angeles (Culver City) called Johnnie’s Pastrami. Amazingly, my dad used to go there when he was a single dude in the 1950s. . . . and he brought us kids there. I still remember the bowl of pickles and the giant box of French fries – and of course, the pastrami sandwich. On the Johnnie’s Pastrami “About” page, it says, “Johnnie’s Pastrami was established in 1952 and has become a Southern California landmark. The juke boxes on the counters and booths are all original. So are some of the waitresses.”
So when I saw the Turkey Pastrami on the first season of Primal Grill (on DVD), I had to give it a try. It was several summers ago, and I looked at several supermarkets for a turkey breast, but couldn’t find any. So I made it with chicken breasts instead. And it tasted great!
Earlier today, I made turkey breast pastrami – and it is equally good, although a little on the too salty side for me. I think this is because I marinated the turkey breasts too long (almost 2 days) instead of 24 hours. I will try it again to see if I can get a better result.
Here’s how we did today. . . . .. .
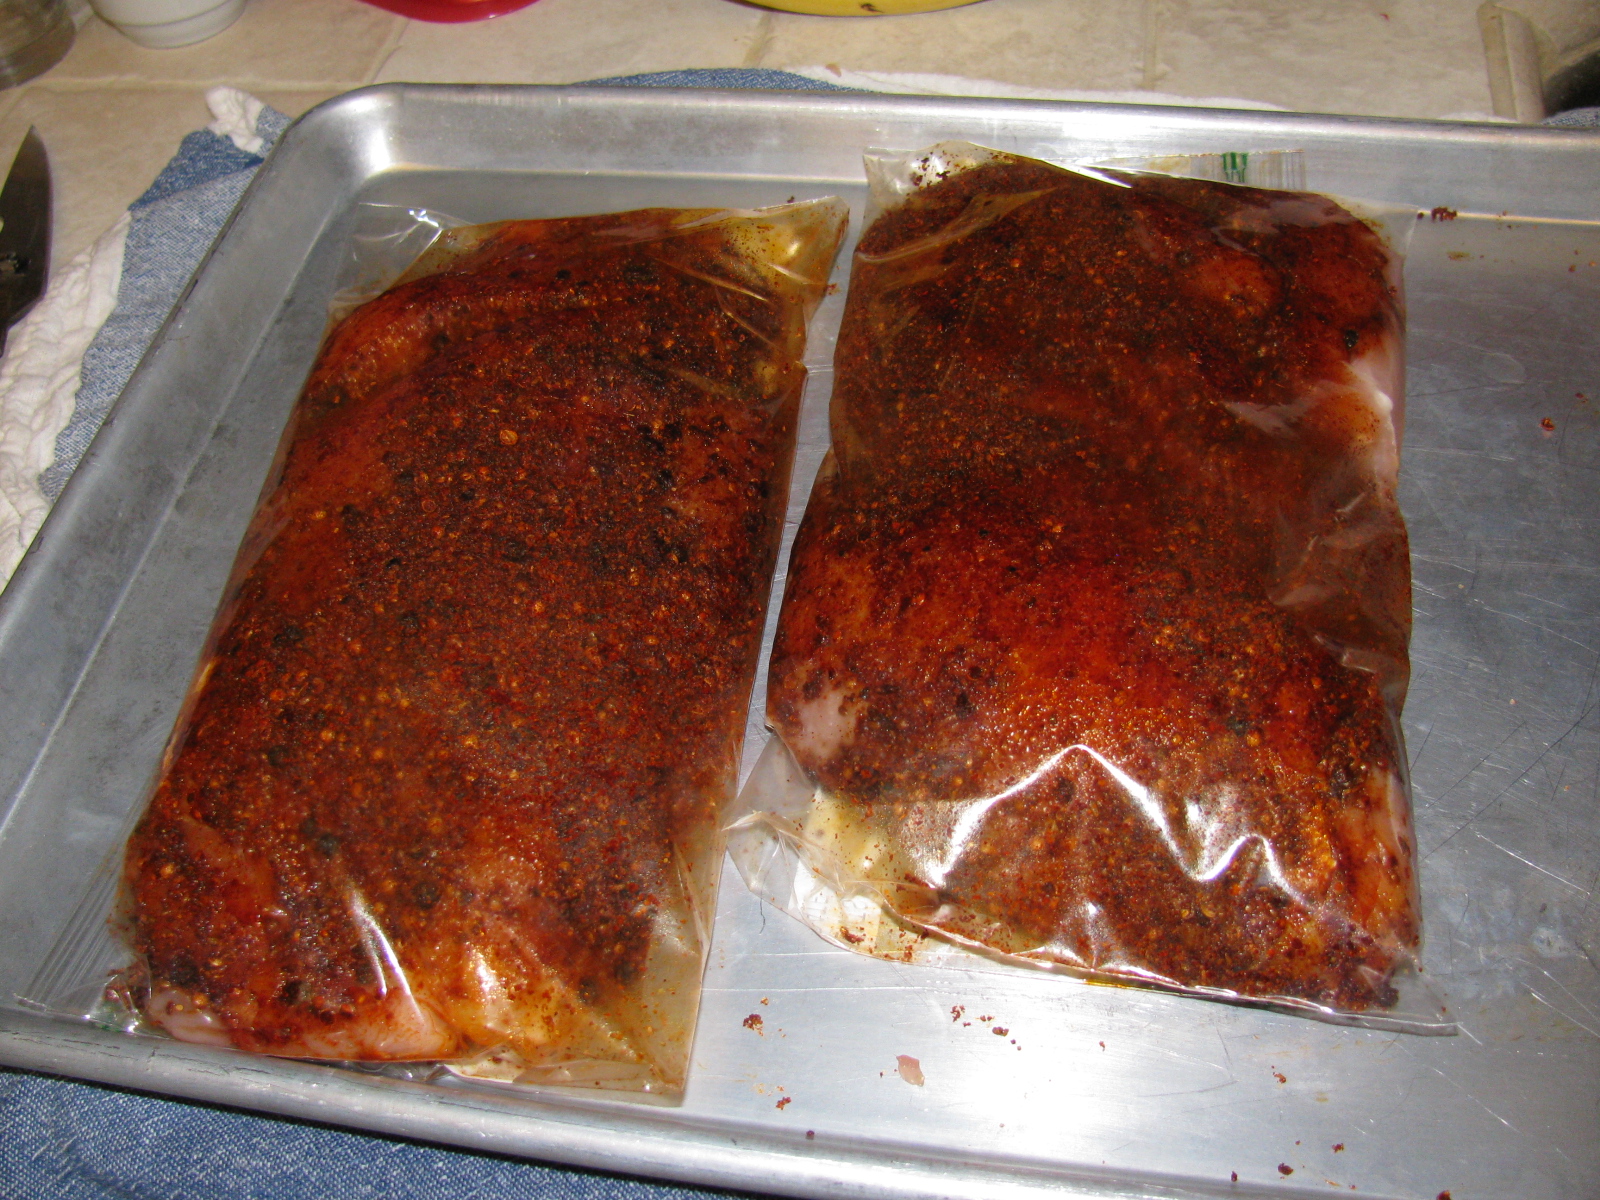
Dry rub marinade for turkey pastrami

On the Big Green Egg – 250 degrees F, with some hickory chips.
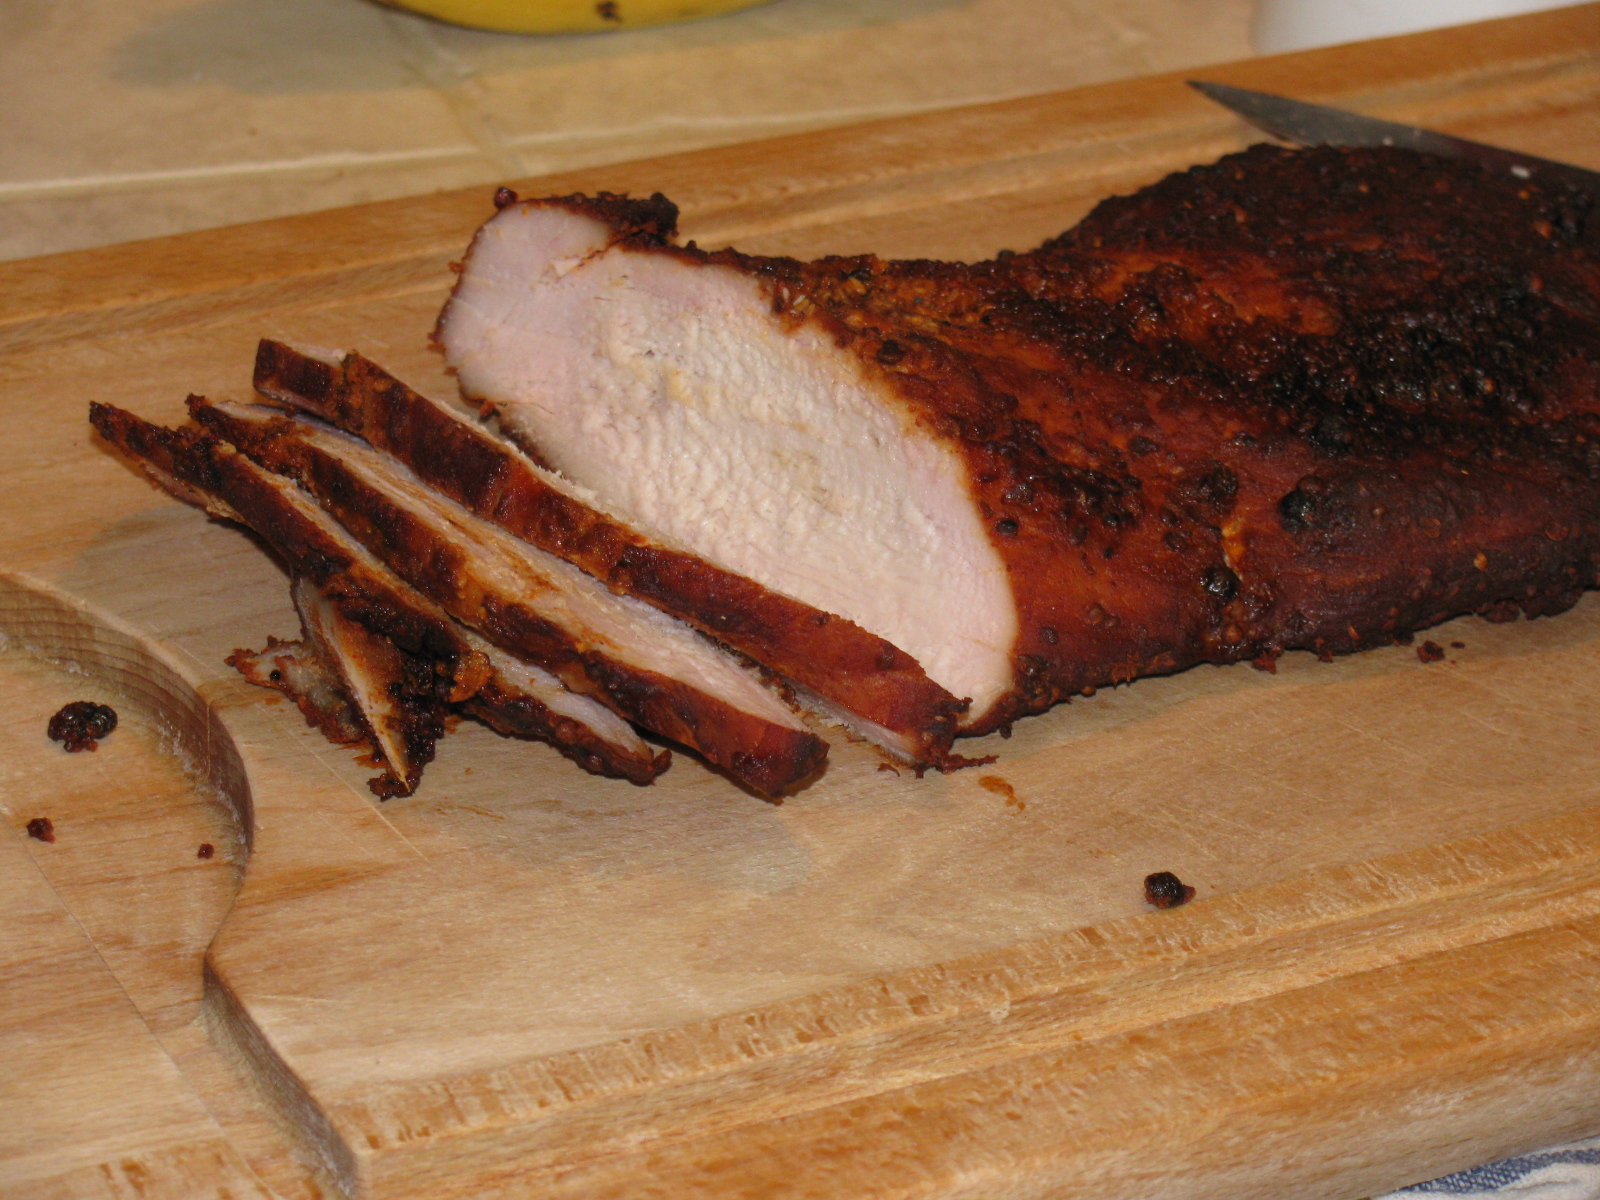
Slicing the turkey pastrami – so juicy it squirts!

A plate of turkey pastrami slices

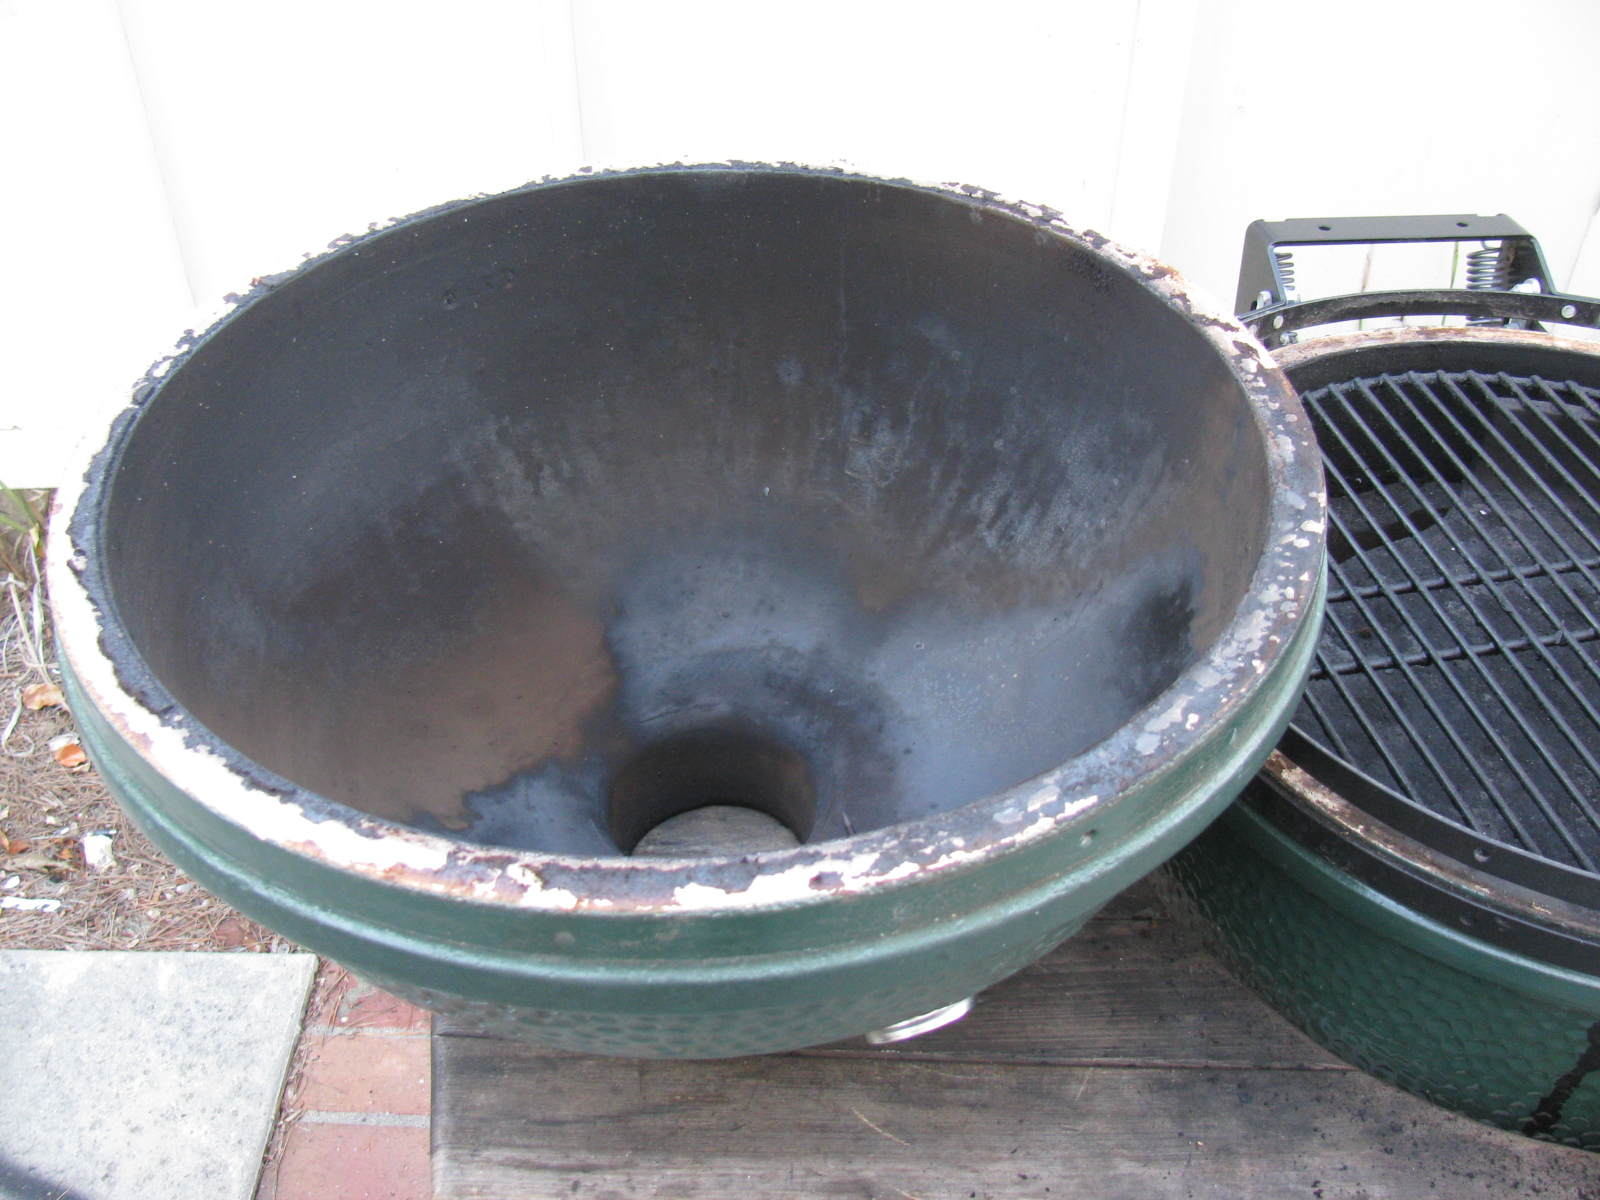
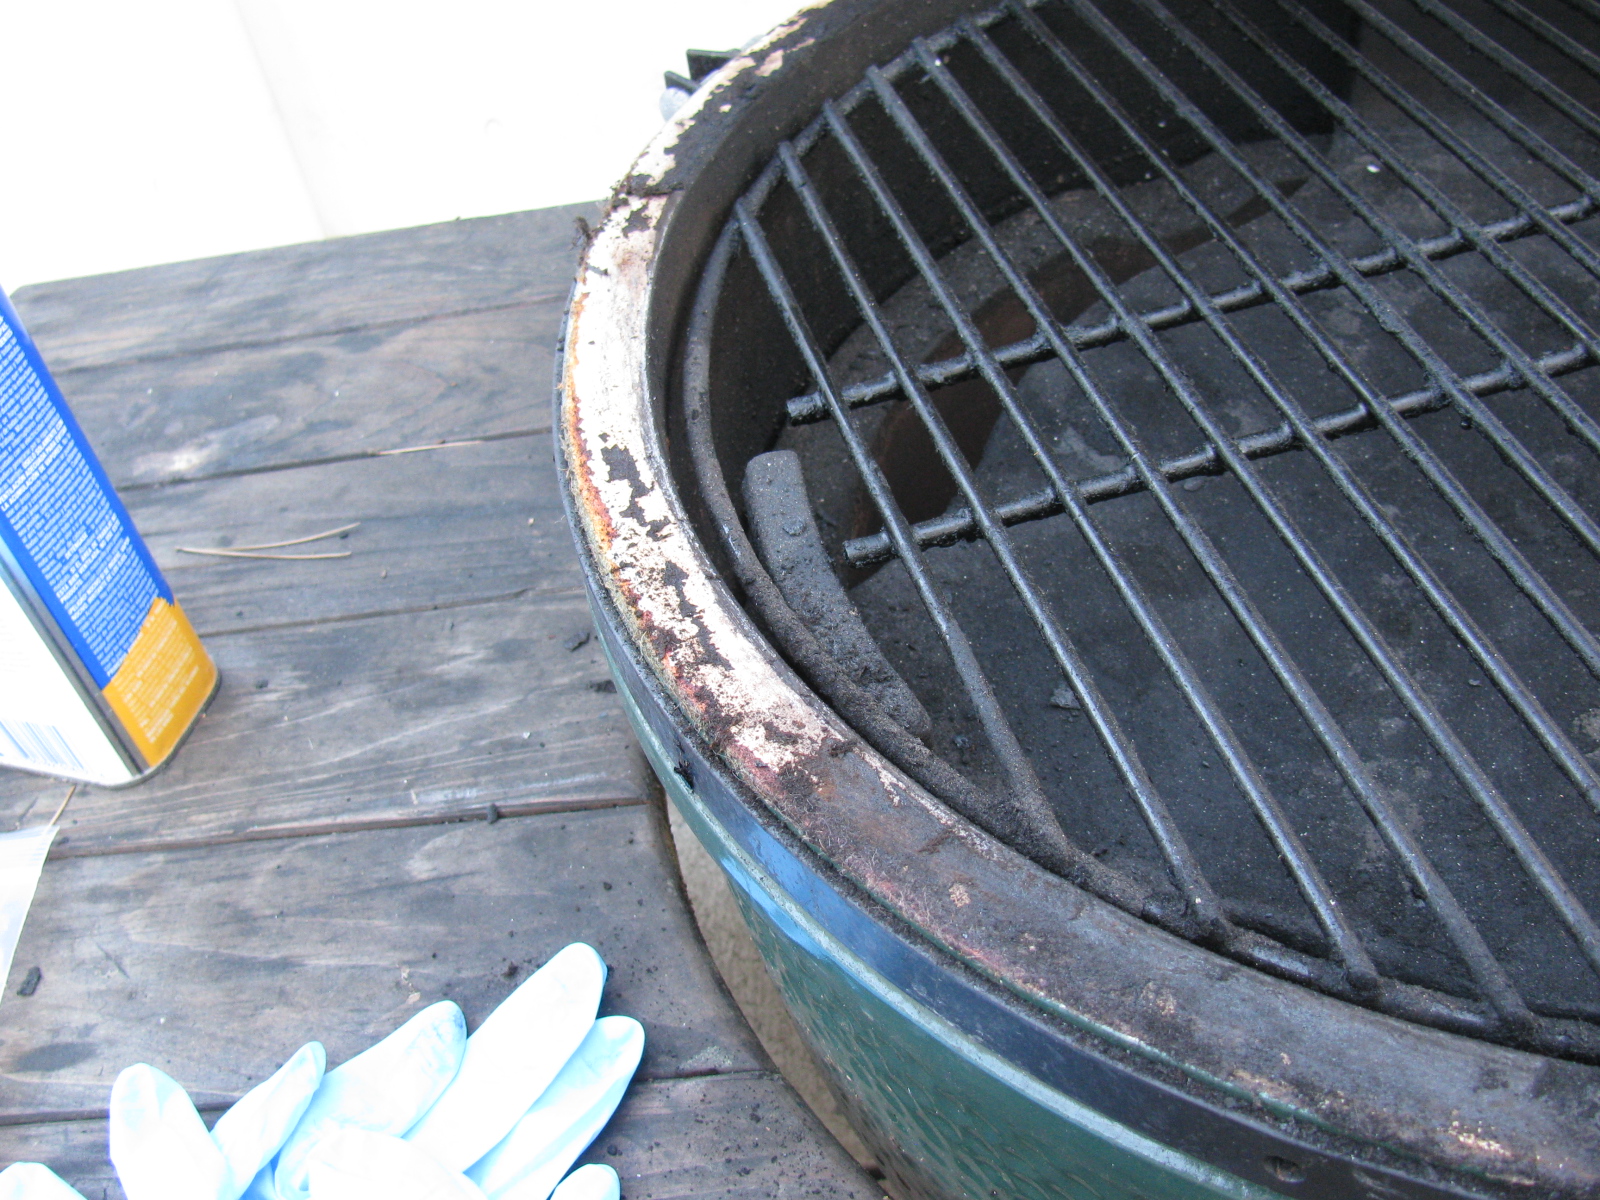
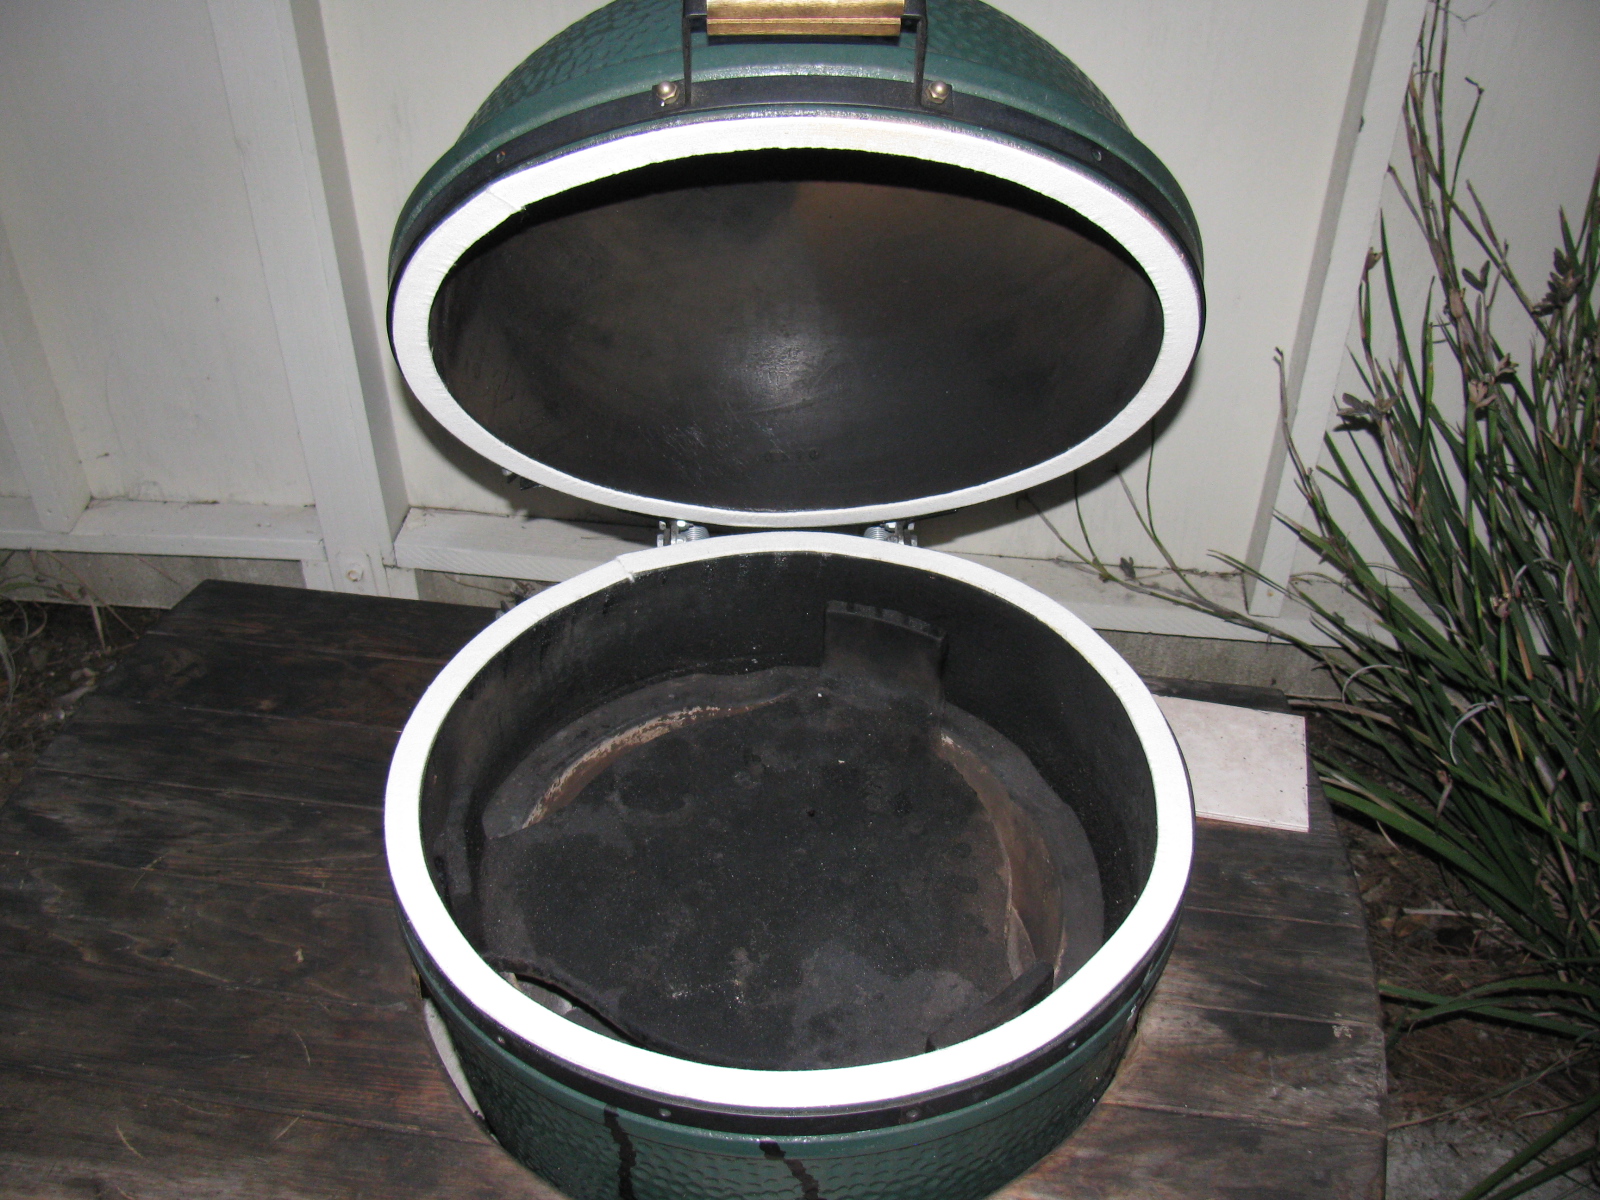


Getting the Big Green Egg up to temperature (250 degrees F). Hickory chips were added.
A recap of my first few cooks with a Big Green Egg ceramic cooker. Click the link >>>> A Barbecue Summer
The front steering arms came in the day before Thanksgiving. That meant that I could continue building the front suspension. These little cast iron parts were the things holding my progress:

I installed the steering arms without too much drama. Installing the front hubs onto the spindles was another matter. The instruction manual says something about them being a tight fit, and that is true. I did not want to damage anything, so I used a PVC pipe elbow (remember the body dolly? This was a left-over part from that…) to protect the hub, and I used a plastic hammer to pound the hub into place. A few whacks and it slid right in. I hope that I won’t have to remove them someday – they are stuck on really tight.

And yes, a coupler or a T would have made a better anvil, but all I had on-hand was this elbow. Anyway – the hubs are now mounted to the spindles.

Torque spec for the hubs is 225 to 250 lbs/ft. This is a lot. The nut takes a 36mm socket and I bought one earlier (Coin Star money) just for this step. It took a lot of cranking on my 1/2-inch torque wrench to meet that 250 lb mark. I thought I was going to lift the chassis off the jack stands!
Thanksgiving Ribs
Meanwhile, I prepared some Kansas City Style pork spare ribs for Thanksgiving dinner at my sister’s house. I was in a hurry, and forgot to completely trim the ribs (the cartilaginous tips). I did, however, remember to remove the pleura – the silver skin on the back of the ribs.
If you don’t know about removing the skin from spare ribs, then I am sure you may have experienced eating that stuff somewhere. The pleura is the tough membrane that you might see on the back of the ribs. If left on, it blocks the spices and will never get soft after cooking – it is sort of like chewing gum, and ruins the eating experience….
Anyway, they were still very tasty, although I was out of paprika. No one else noticed it missing – but I sure did.

Ribs with a dry rub. I made two racks for Thanksgiving this year.

Smoky goodness.
After Thanksgiving Turkey
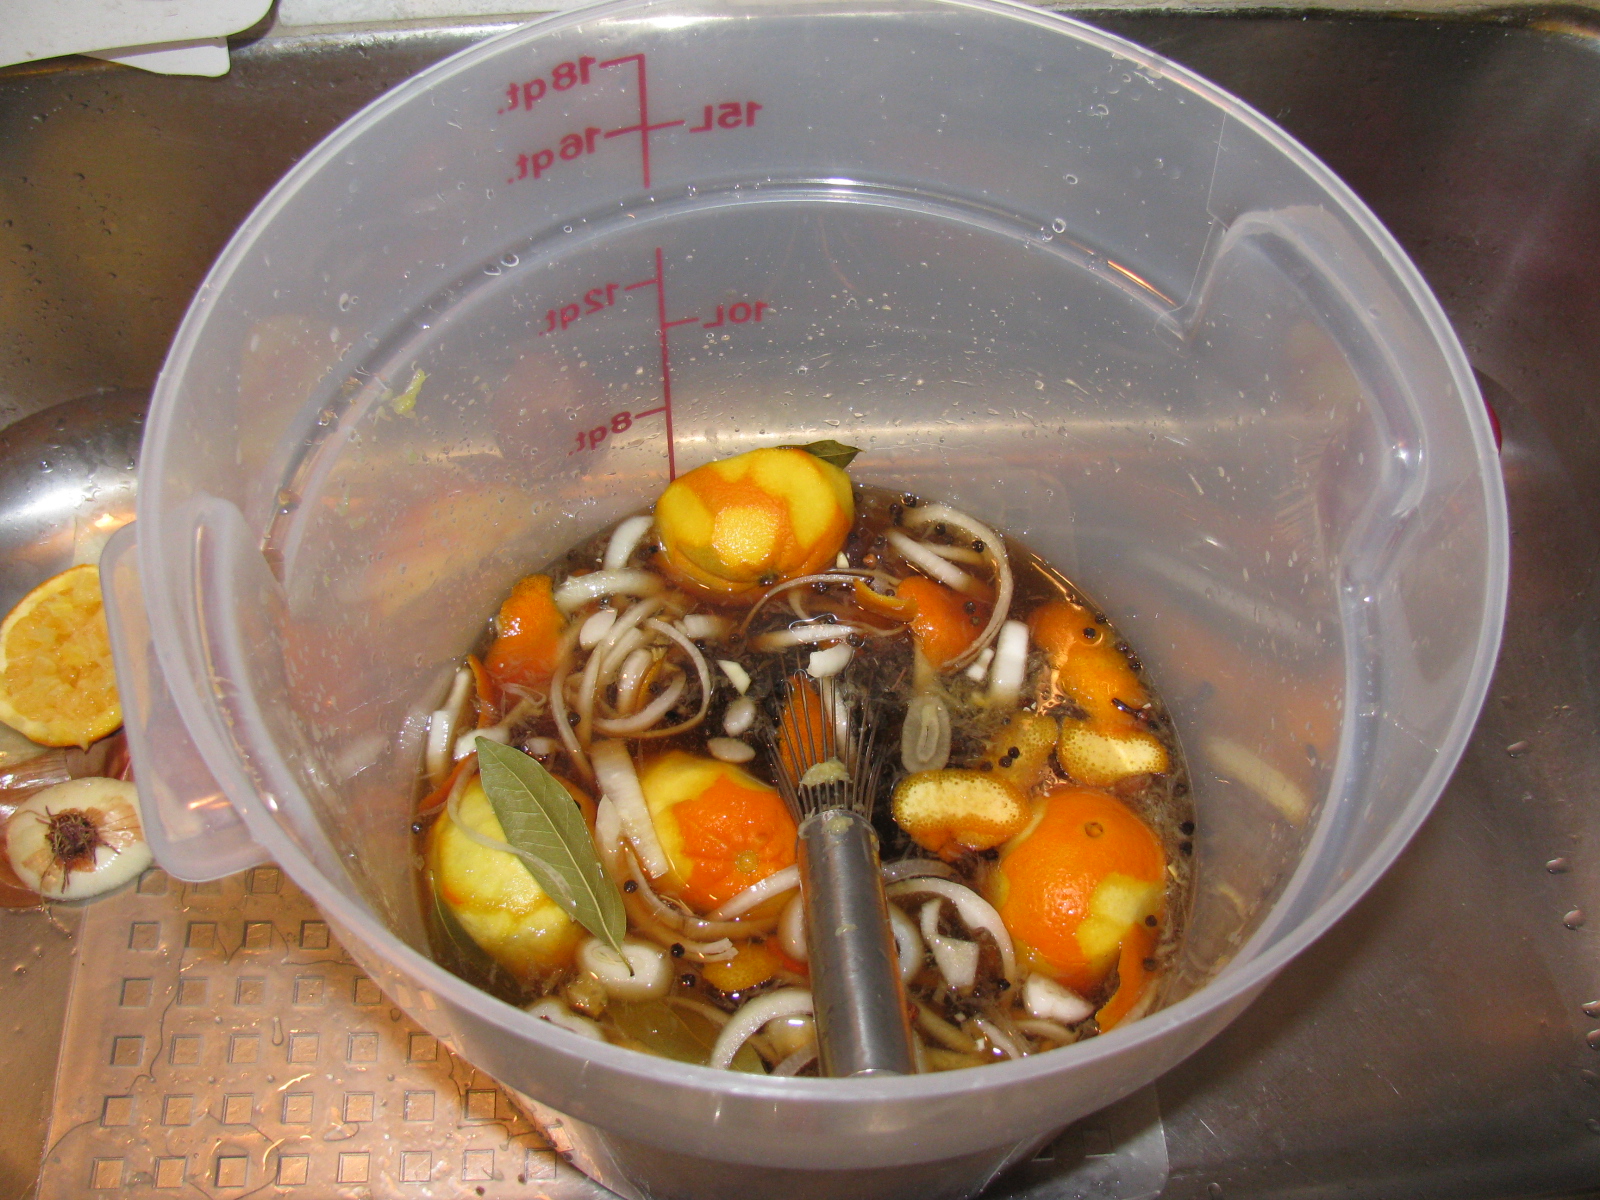
Per my tradition, the day after Thanksgiving, I went to the local grocery store and found a good deal on a fresh 12-lb turkey. I decided to try a recipe from Steven Raichlen’s Primal Grill TV show – see Orange Brined Turkey.
Strangely, both the book and the website say this is for turkey breasts. On the DVD, Steven smokes a whole 12-lb turkey. At any rate, I salivated over this since last year, and finally got to try it. Take a look at my version The bird is a hen, just over 12 pounds . . .

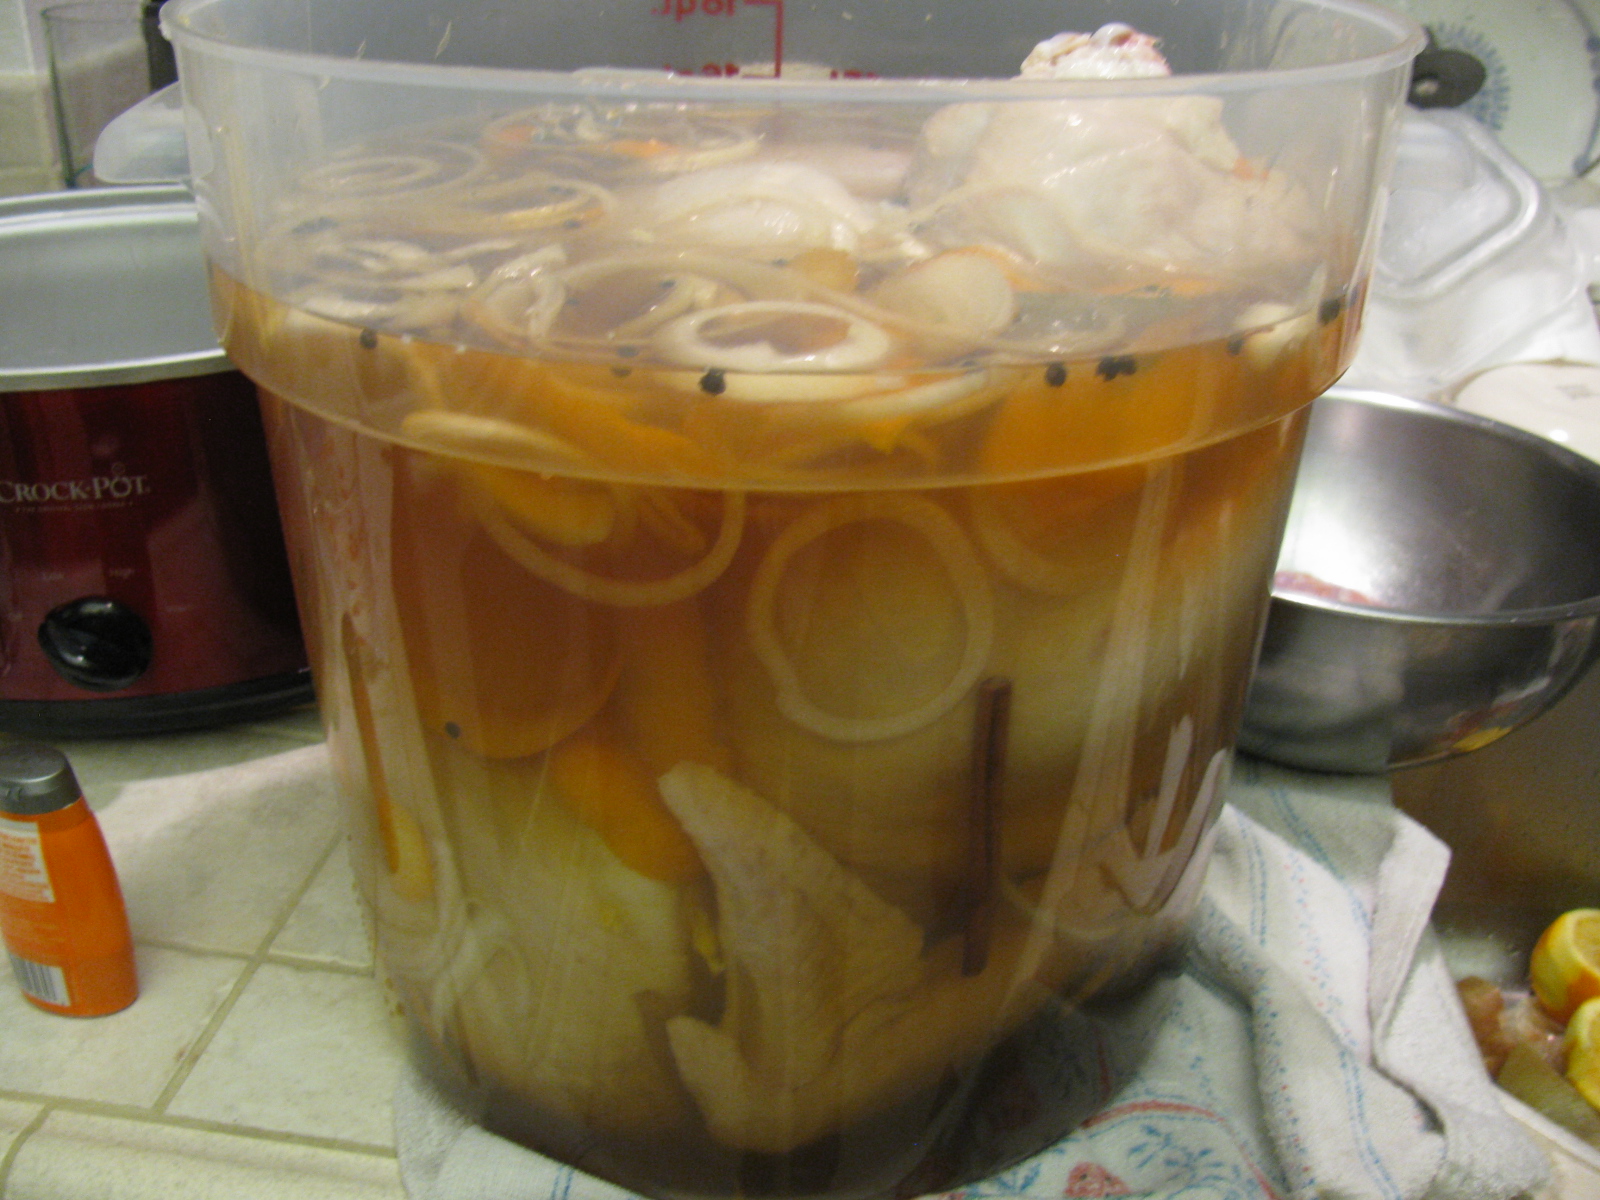
Orange brine for the turkey.

I need a bigger bucket or something for brining the turkey. I turned her (it’s a hen) over in the middle of the night.
Back to Work on the Coupe
Since the turkey had to soak over-night, I went back to the Coupe project. I started to assemble the front disc brakes, when another delay came along: No “supplied grease” for the disc brake slider pins. So I went onto the Factory Five forums and searched on what sort of special grease this might be. I almost skipped this step, but I am glad I did not. Lots of bad things can happen if the brake calipers stopped sliding on the slider pins.
Turns out the grease is special – the grease must be silicone-based, high temperature and must not affect rubber. So I did some more research and found this stuff: Permatex Ultra Disc Brake Caliper Lube Silicone Formula Item #24115. High temperature, silicone based and intended for brake caliper use.
There are some little spring clips that go into the brake housing, and some rubber boots that fit onto the caliper slider pins. The pictures are not too clear and I had to do some fiddling with the parts to make things look right. Here are some pictures that may help other builders. . .

This is the clip that goes into the long slot in the middle of the housing. If you are struggling to get it in, it is probably backwards. Hold it like this and insert it into the housing from the inside. It will just pop into place with a little bit of pressure.

The caliper slider pin boot is easier to install if you “un-curl” it first, like this.

Then you can push the little lip into the shallow groove in the pin. . .

. . . to make it look like this.
Since I was at the car parts store, I also bought a box of disposable gloves and some adhesive for the aluminum panels. There’s a ton of postings on what adhesive to use on the Factory Five Racing car projects. Many different adhesives are mentioned. But there was one build gallery that I found, and I am going to use the product they used – it is Permatex Ultra Black RTV silicone gasket maker, Item #24105. This is what Kirkham Motorsports uses in their projects, so I figure it would be acceptable in my Coupe build. Kirkham has an online assembly manual posted, it basically follows David Kirkham building one of his cars: Kirkham Motorsports Assembly Manual.
What Good is a Sale on Something When It’s Out of Stock?
Since I was running about getting the grease and other stuff, I decided to go tool shopping. A local hardware store chain had a 50 percent off sale on Makita and Milwaukee power tools this weekend – I thought this was the perfect time to go get that right angle drill I wanted. I got to the store, only to find no Makita or Milwaukee right angle drills available. I went to two stores and wasted half of my day looking for the thing. I decided to look for an alternative to the right angle drill – how about a right angle drive attachment? I did not find one of those, either. So I left the hardware store empty-handed – I think this was the first time that ever happened!
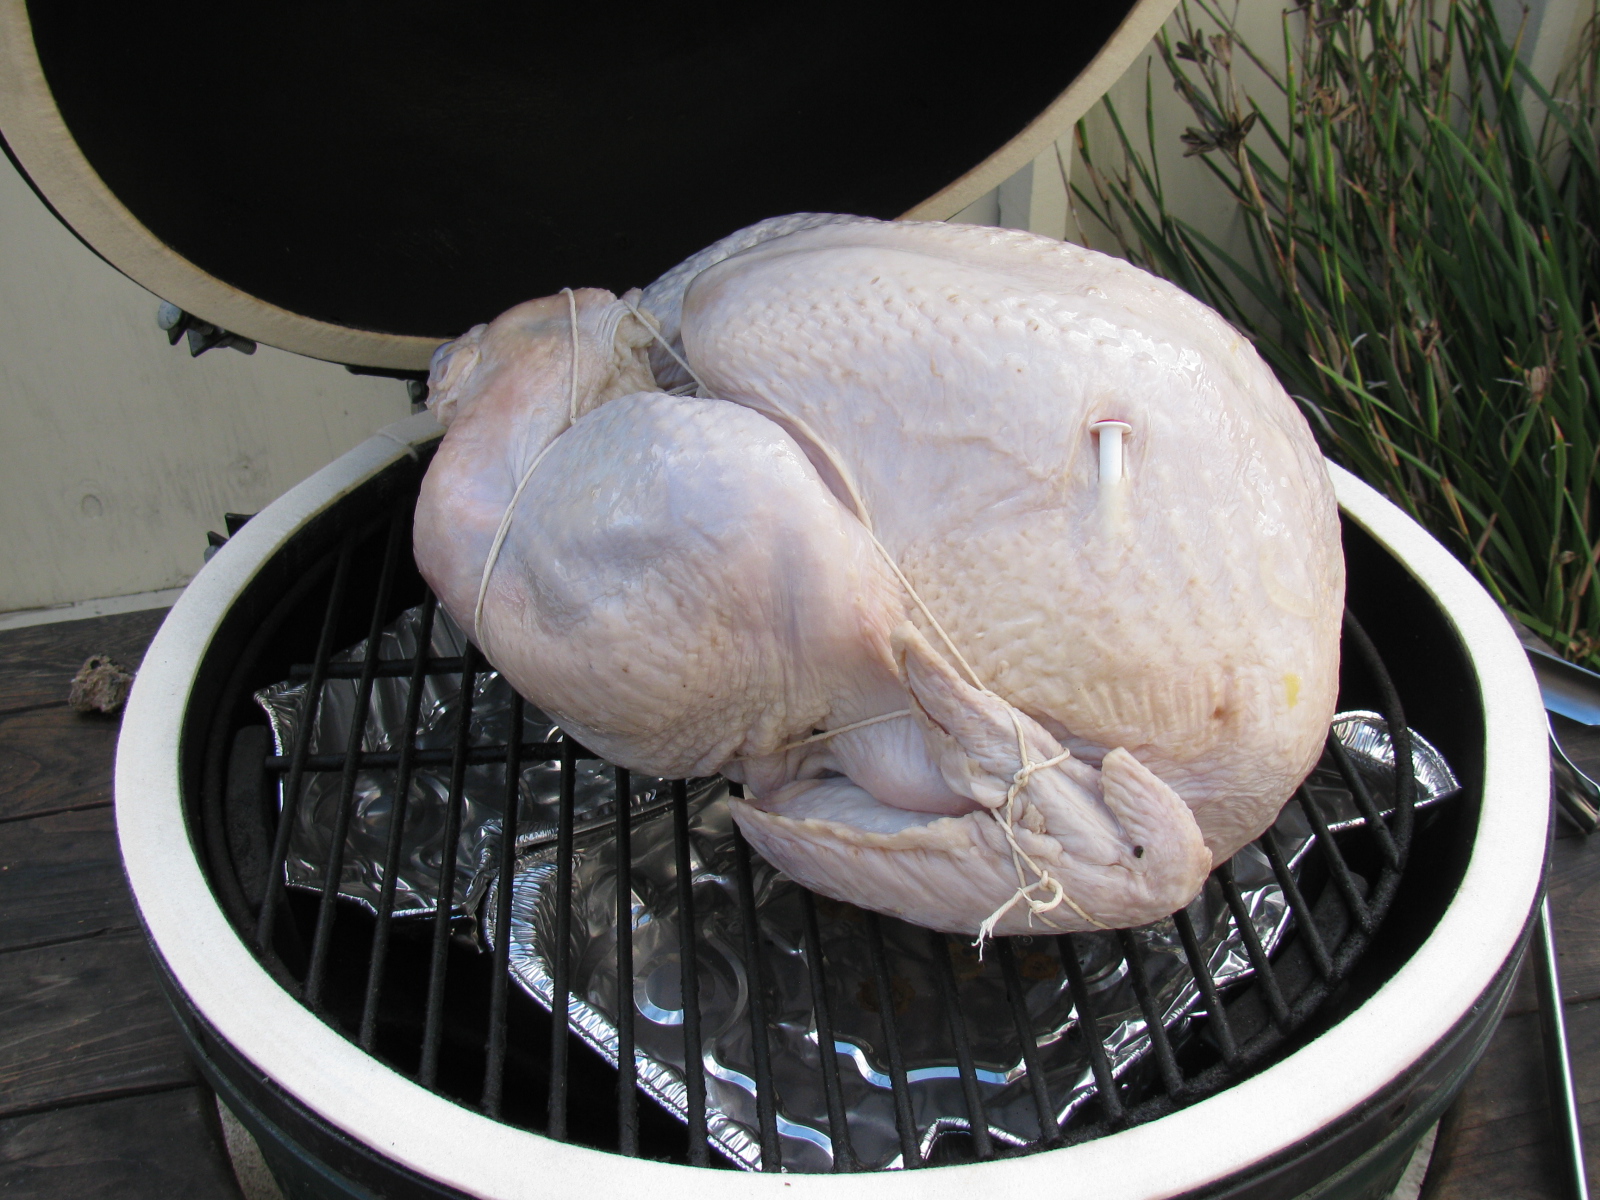
Back to the Turkey
After an overnight soak, the turkey is ready for the smoker.
Getting the Big Green Egg up to temperature (250 degrees F). Hickory chips were added.


I can never resist peeking. Orange brined turkey, after the first hour.

After the 2nd hour. I rubbed the turkey with butter and continued to smoke.

After 4 hours. Almost done.

Total time in the smoker: About 5 hours. Temperature in the thigh 170 degrees F. After a 15 minute rest, time to carve!


Yes, this is as tender and juicy as it looks. The mayo-mustard-triple sec dressing that is part of this recipe is very good. I think I will try this with lemons next time.
So not much work completed on the Coupe today, but the holiday weekend is not quite over. I hope to complete the front end tomorrow.
