Archive for January 2014
The Factory Five Racing Type 65 Coupe is based on the Shelby Cobra Daytona. Only six of them were made.
On January 24, 2014, Daniel Strohl posted an article about this famous and important American racing car. Read the article:
Shelby Cobra Daytona becomes first vehicle on National Historic Vehicle Register

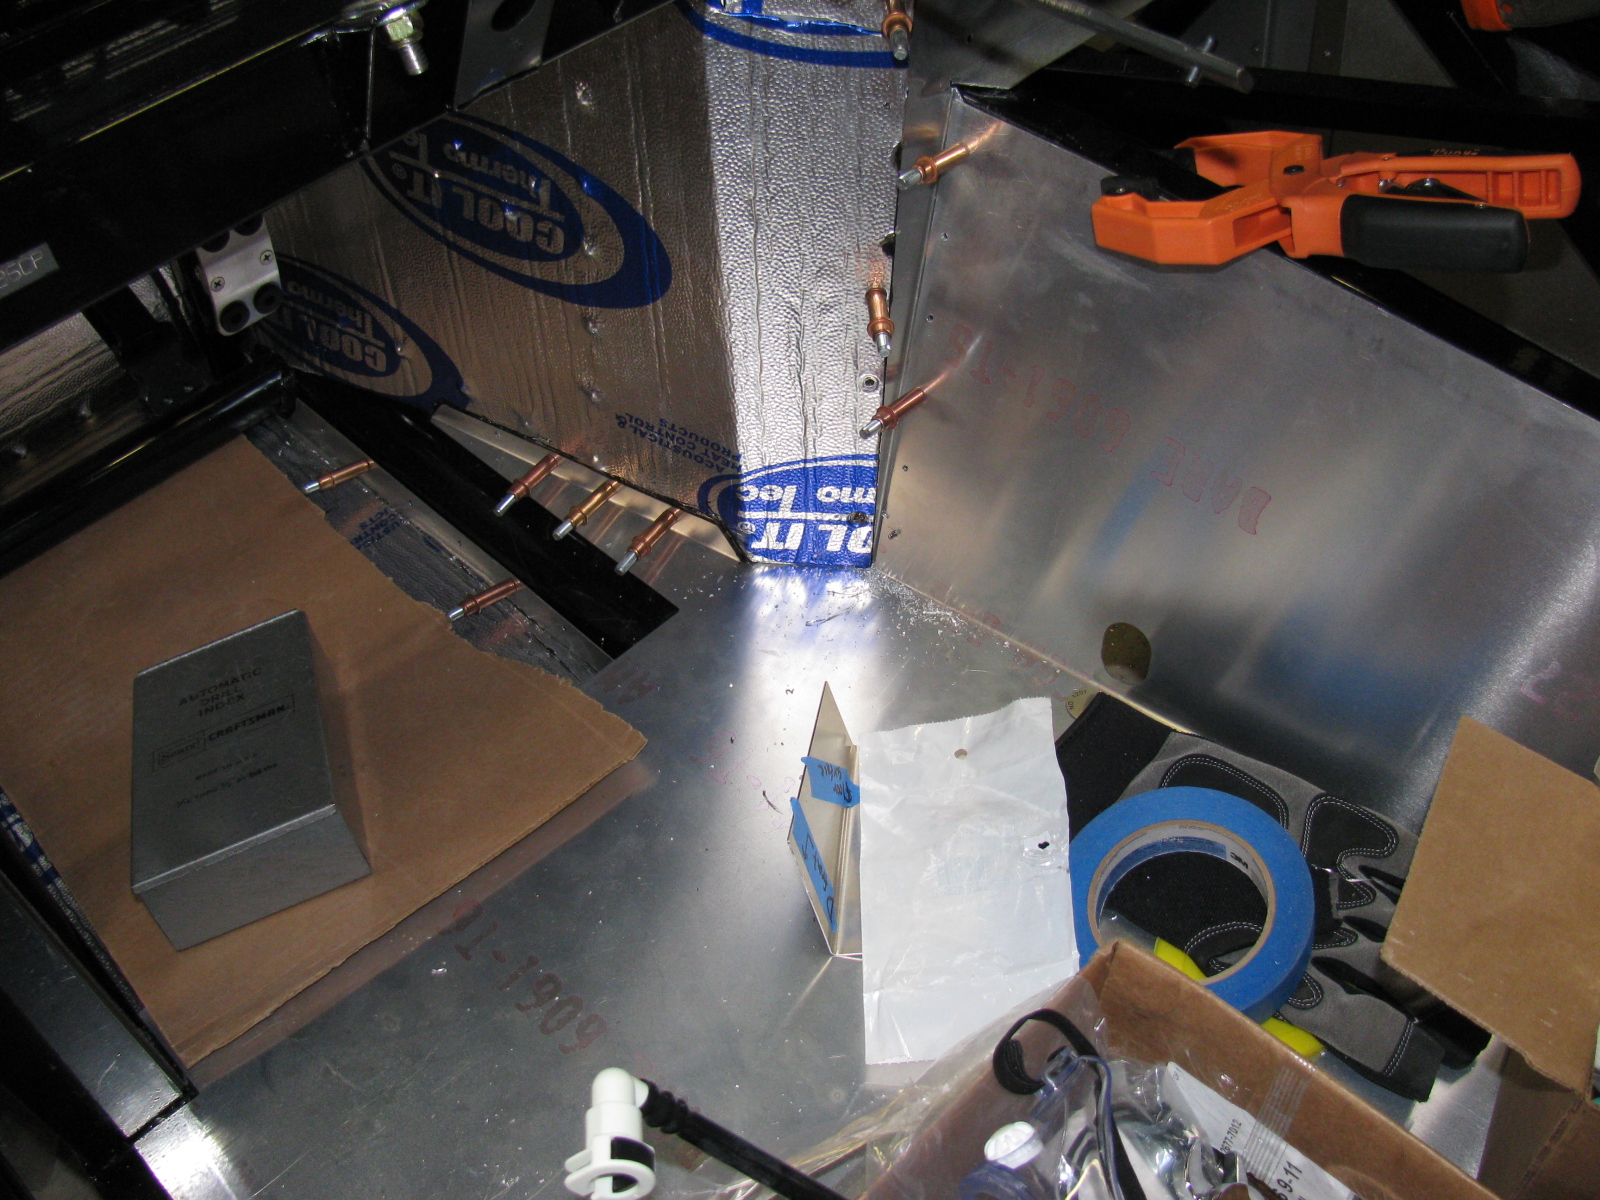
After several weeks, it is good to get back to work on the Factory Five Racing Type 65 Coupe. I finally completed drilling the rivet holes for all cockpit aluminum panels, and added a battery cut-off switch as you can see above.
Here is a hint for builders – there is a fairly large gap in the bottom right corner of the driver’s side floor and the “A” shaped piece that meets the transmission tunnel. I looked at several Coupes and Roadsters and they all have this space. However, by pushing on the A-shaped piece from behind (under the chassis and in the engine bay) – this gap can be closed up nicely. See below. . .


But what about this area, at the rear of the driver’s side door – indicated by a piece of blue masking tape – see that gap? Does something cover this space up or do I need to fabricate a replacement panel? Both sides look the same.

As mentioned in a previous post, I finally decided to mount the external fuel pump under the Factory Five Metal battery box. This is a protected location and is a low point on the chassis.

One problem will be access to the fill and drain holes for the Ford Racing differential. I had to drill out the rivets previously installed and tapped some 1/4-20 holes – this will enable the removal of the battery box when draining and filling the rear end fluid. Not the ideal situation, but I do not see too many alternatives to this arrangement.
My Ford 302 V8 has an MSD Atomic electronic fuel injection system, and I am running both feed and return fuel lines. Here is a picture of the tank end. . .

The fuel line runs from the first filter (right side of the chassis) to the fuel pump, and goes around to the driver side. Then it goes under the rear end to the passenger side of the chassis, where it goes to a second fuel filter mounted under the passenger seat, and finally to the engine.
The same path will be used for the return system. Pretty much standard layout.
Next Build Session
Depending on the weather, I will remove all interior panels and paint the under side with automotive under body paint. It is a rubberized black paint which should deaden some road noise, insulate heat and protect the panels from road debris.
Another item on the next to do list is the wiring harness. Here is a look at the main portion. . .


Nathan’s hot dog wrapped with bacon and dressed with grainy hot mustard and sweet pickle relish. I know – the onions are missing.
For some reason I had a hankering for a good hot dog. My favorite wieners are the famous Nathan’s. I also had a package of thick-cut bacon in the fridge, so I decided to wrap the wieners with a nice slice to make some Bacon Dogs.
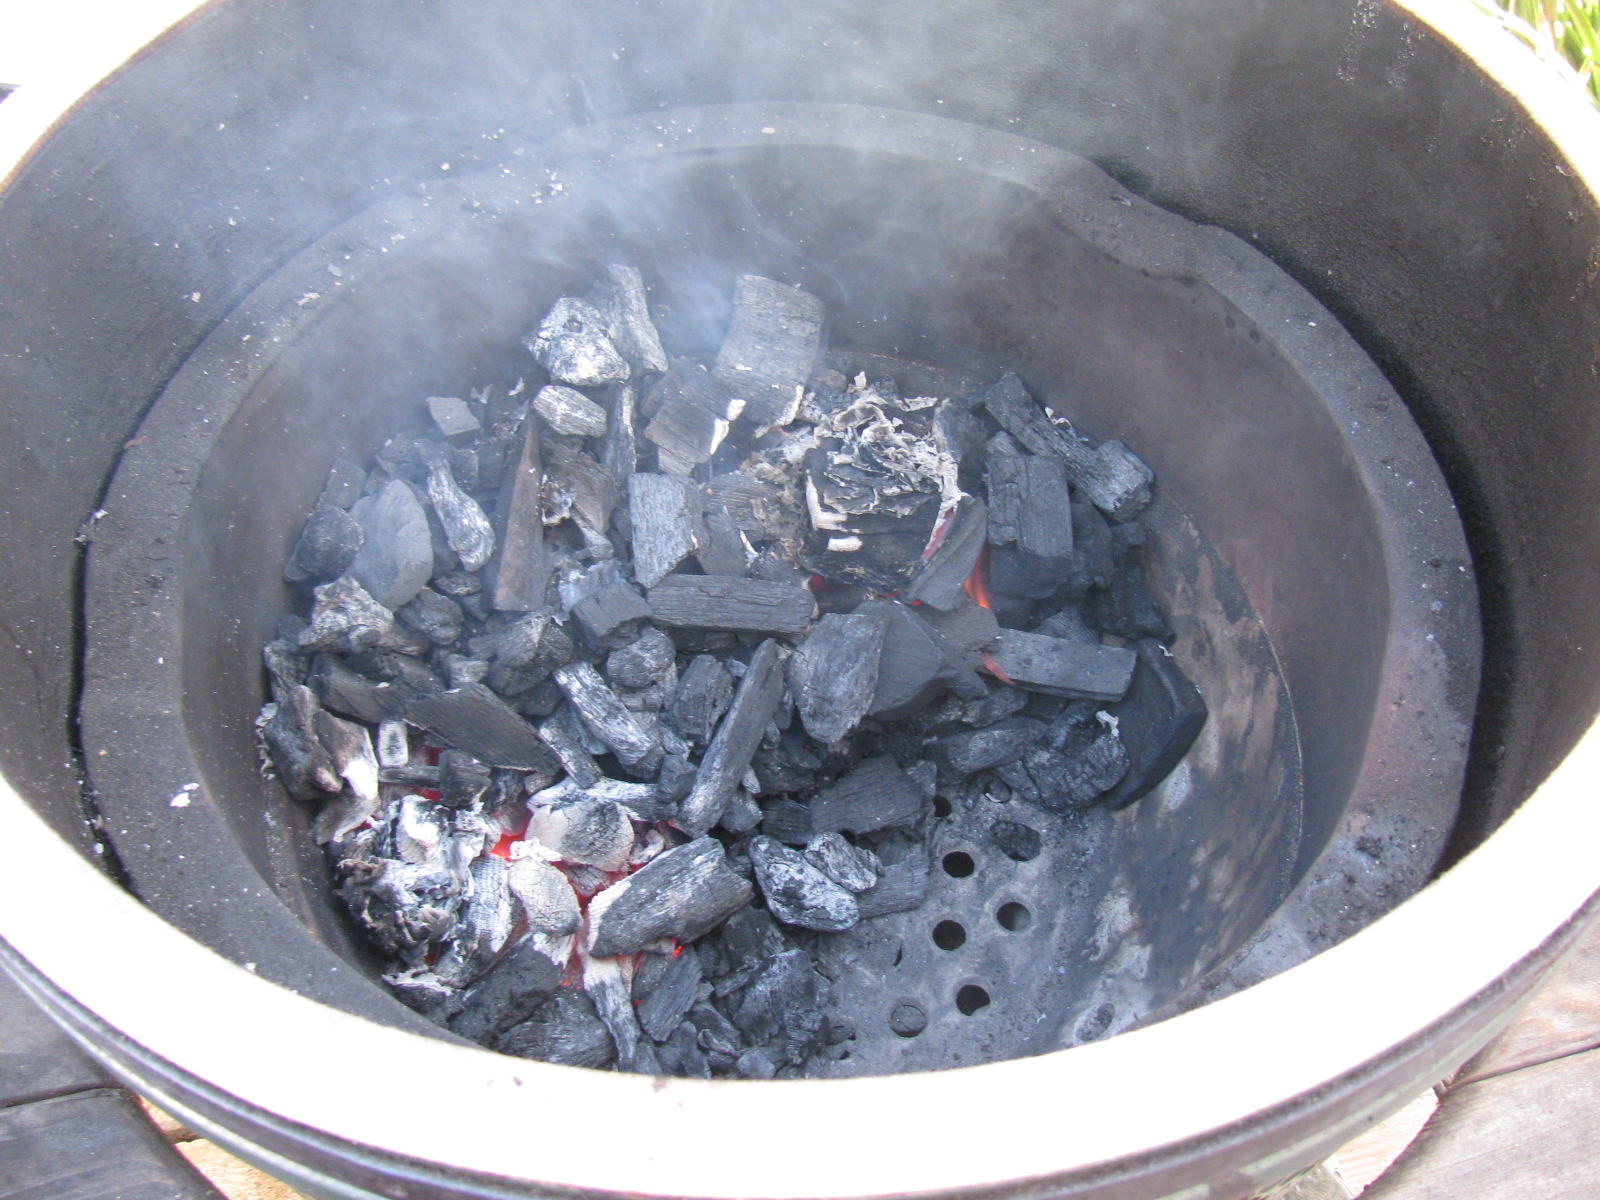
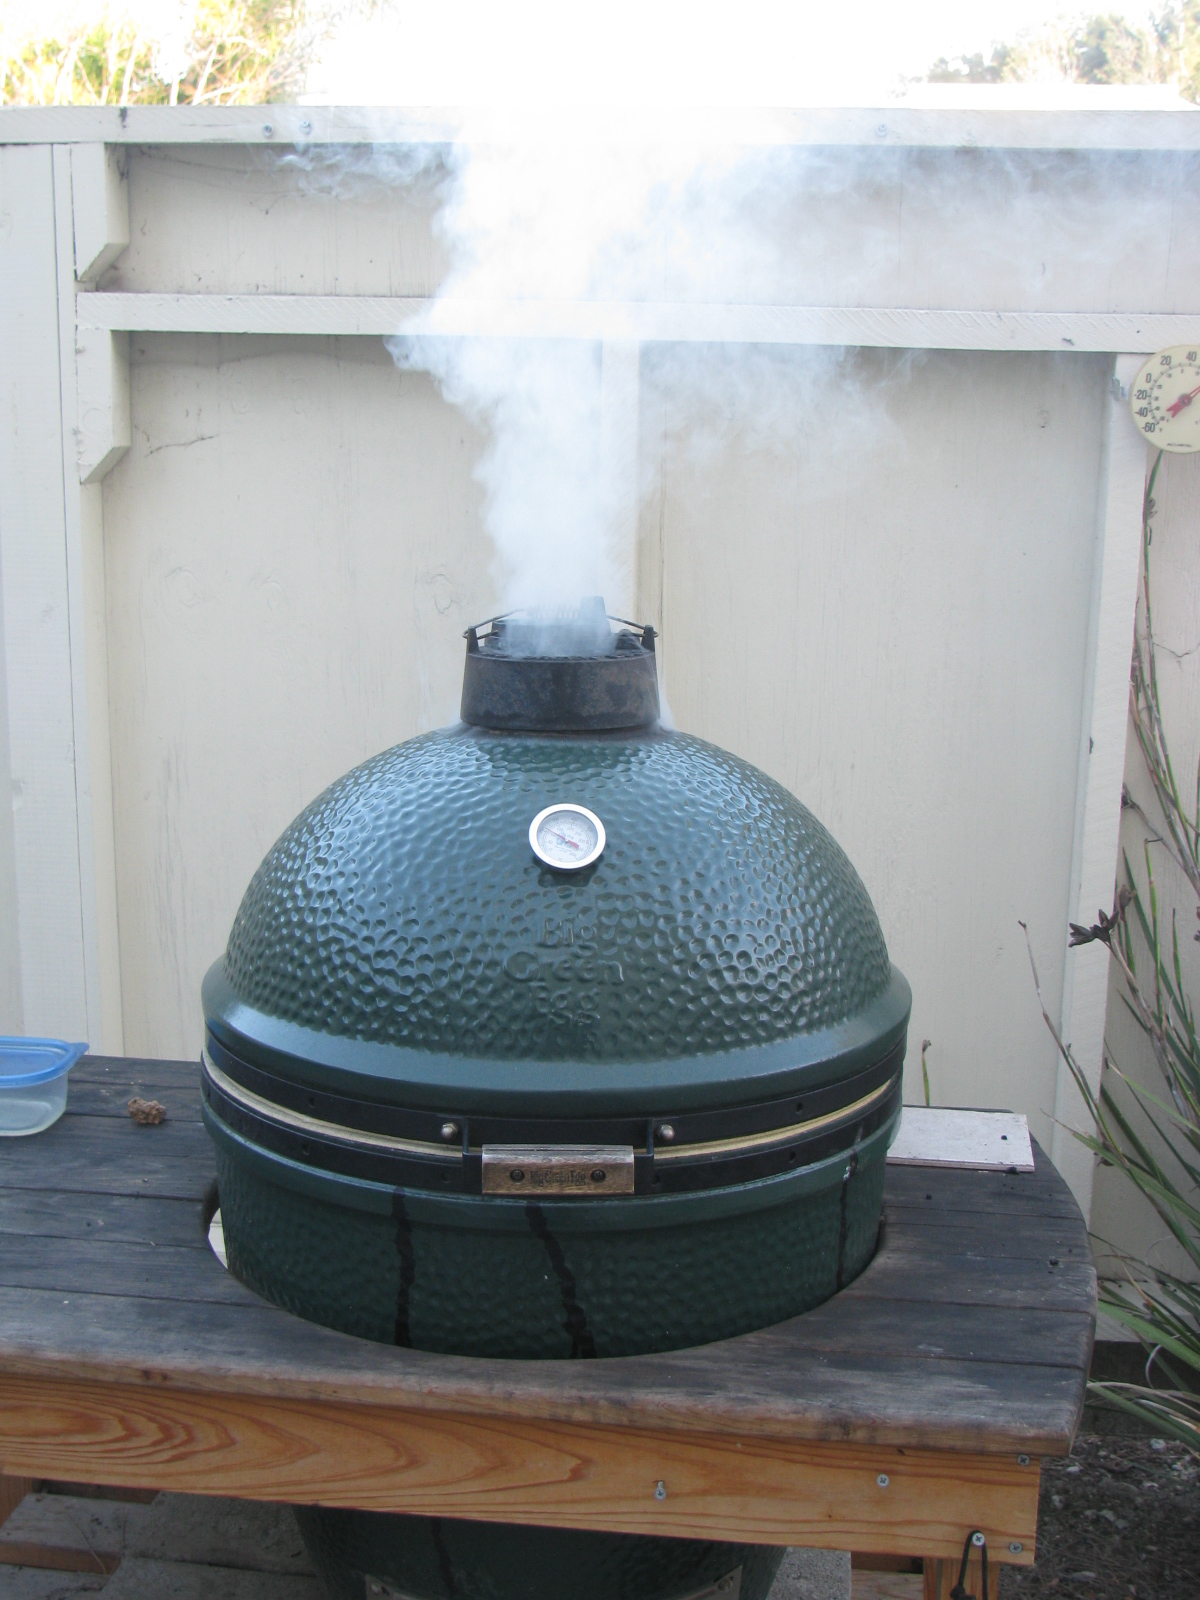
I made a two-zone fire in the BGE, and cooked 4 bacon dogs at a time to cope with the flare-ups.


These were simple and fast and good. I think I need to try replacing the bacon with some Italian prosciutto or cappicola (gabagoul) next time.
And always remember: As Dirty Harry (Clint Eastwood) said in “Sudden Impact” — “Nobody, I mean nobody puts ketchup on a hot dog.”
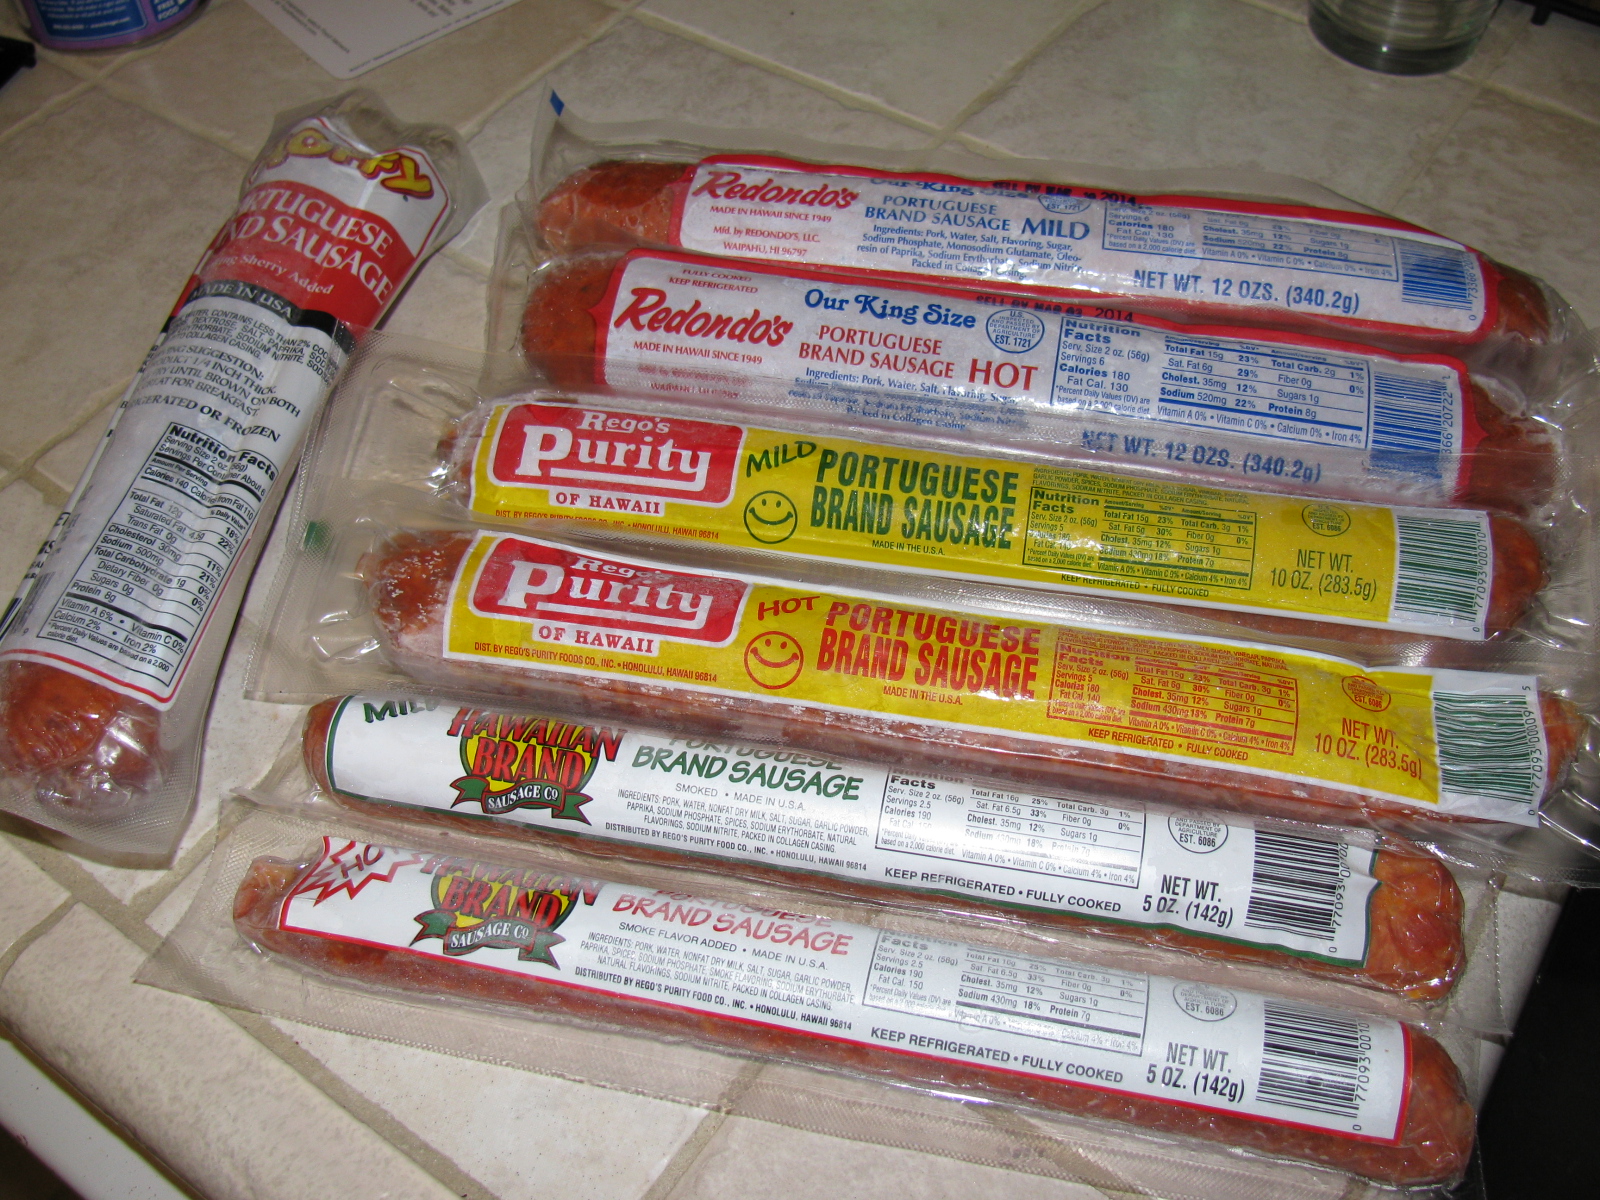
So after making these Bacon Dogs, my mind began to wander at the office today, and I thought about Maui Hot Dogs and Hawaiian Portuguese sausage. So I stopped by the local Marukai market (Costa Mesa, CA) and bought a selection of linguica. I will be doing a comparison of the various sausages at the next cook-out!

UPDATE: Looks like someone already did a Portuguese sausage “shoot-out”

I smoked some almonds recently, using a recipe from the America’s Test Kitchen – the original recipe is available on the WGBH website
I made a batch in my oven several months ago, and they were great, so I wanted to try adding a smoky flavor, so I fired up the Big Green Egg, and added some hickory chips.

But, something went wrong. Although they were okay, they weren’t great, and the smoke flavor was missing, even though I smoked for almost an hour at 300 degrees F.
More experiments are needed. The crunchy and spicy crust is good, but there’s no smoky flavor – – I will try lowering the heat to 200 degrees and smoke them longer next time.
This is a new series from Heavy Duty Trucking and Today’s Trucking magazines. The first review is an excellent look at a classic “twin sticks” manual transmission (1957), and compares it to a modern push-button transmission. Go here:
http://www.truckinginfo.com/channel/equipment/video/detail/2014/01/ultimate-test-drive-video-twin-stick-to-mdrive.aspx

After making the Williams-Sonoma version of bread pudding, I thought I’d try making something more suitable to my tastes – savory/salty rather than sweet and sugary.
Following the same recipe but removing any “sweet” spices or flavorings, I added some grated Romano cheese, green onions and sliced black olives.
It was pretty good, and very easy to make. Feel free to experiment. For example, wouldn’t it be interesting to add some sun-dried tomatoes, roasted garlic and fresh basil?
Here is the modified recipe, based on this version from Williams-Sonoma
Ingredients
1 Sack of stale dinner rolls, cubed
4 Eggs, at room temperature
Pinch of salt
4 Cups whole milk
Handful of Romano cheese, grated
Small handful of cut-up green onions
1 small can sliced black olives
Directions
Lightly butter a baking dish. Dump the bread cubes, olives, cheese and olives in.
In a bowl, whisk the eggs, salt and milk until well blended.
Preheat the oven to 350 degrees F.
Pour the egg and milk mixture over the bread cubes. Let stand for about 20 minutes.
Bake the bread pudding in a water bath for about an hour, or as much as an hour and a half. To test for doneness, poke a skewer into the bread and when it comes out clean, it’s done.
Let it cool, cut it up and serve.
This dish can be served cold or hot.
Enjoy. . . .