Archive for September 2013
The past weekend was a busy one indeed. I made some time to participate in the microwave contest, dragging my rig out to the bluff overlooking the Bolsa Chica Wetlands and then to El Segundo. The 10 GHz and Up Contest is unique, since it spans over two weekends, the first part is in mid-August and the second part near the end of September. This gives participants a chance to fix broken rigs and continue to add points to their scores.
To be honest, I was not prepared for this contest. I did not have any roving plans, my Prius was not modified to supply my 7 watt 10 GHz rig with power and my mobile radio was not programmed with any of the liaison / coordination frequencies. However, I managed to have some fun testing out my homemade 10 GHz (X-band) rig.
I noticed something during the contest: I was afraid of killing the 12V battery on the Prius, so I left the car on and “ready” during the entire contest. I turned off the air conditioner and the courtesy light. As with normal operation, the gasoline engine will only run when it is needed to charge the system, including the 300V (or whatever voltage it is) traction battery.
Since the rig draws 10 amps in transmit, and transmitting a continuous signal for “beaconing” so that other stations can find me is a routine practice in microwave contesting, I was worried that something might happen to the Prius power system.
However, the car seemed to be fine, and the rig was happy to run under full DC power, producing a clean signal and no “unlock” condition. The engine did start up and ran for less than one or two minutes at a time, and the engine is so quiet, sometimes I did not notice it was on.
Using the Prius as a power system worked out so well that I will eliminate my spare battery idea and mount a power connector on the battery box lid so I can use the DC to power station equipment for the next contest. I have a 100 Ah gel cell battery in a big plastic box that I usually use for radio contesting, so it is independent from the car power system – but I discovered the battery was dead and was not holding a charge when preparing for the Disaster Expo – that is another story. . .
Since I operated from these two locations before, I don’t have too many pictures of these places, but these will give you some idea of what operating a rover station in the 10 GHz contest is like. Well, not really.
My un-official score for about 5 hours of operating time is:
1900 QSO Points + 3341 Distance Points = 5241 Final Score
Best DX is 217 km, when I worked K6NKC and KC6UQH in DM12rr (East San Diego County) from El Segundo, DM03tw
The most fun and challenging contact happened to be my last contact. It was a two-way CW contact with WA6JBD in DM14go (not sure where), from the El Segundo water tower location.
Of the 29 total contacts made, 19 were unique callsigns
Here are some pictures . . .
-

-
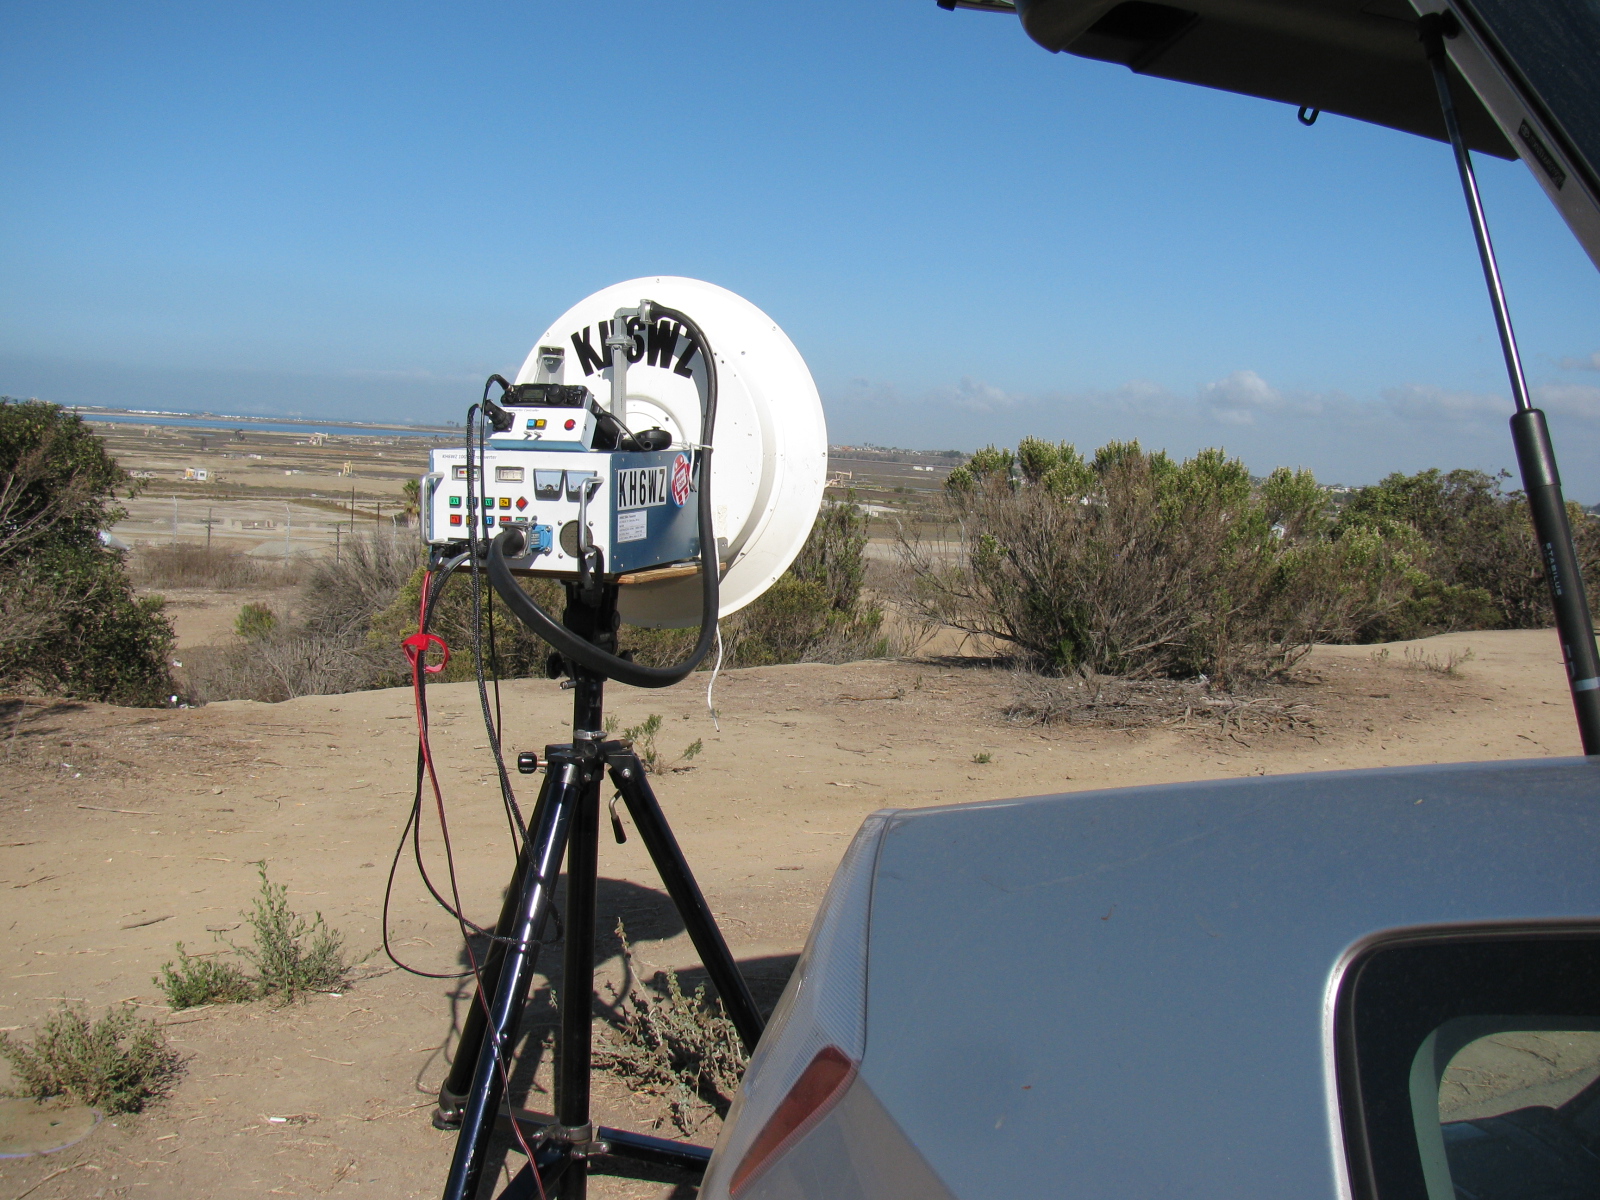
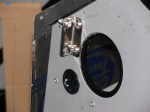
The first stop – KH6WZ in DM03xq – Huntington Beach, CA
-

-
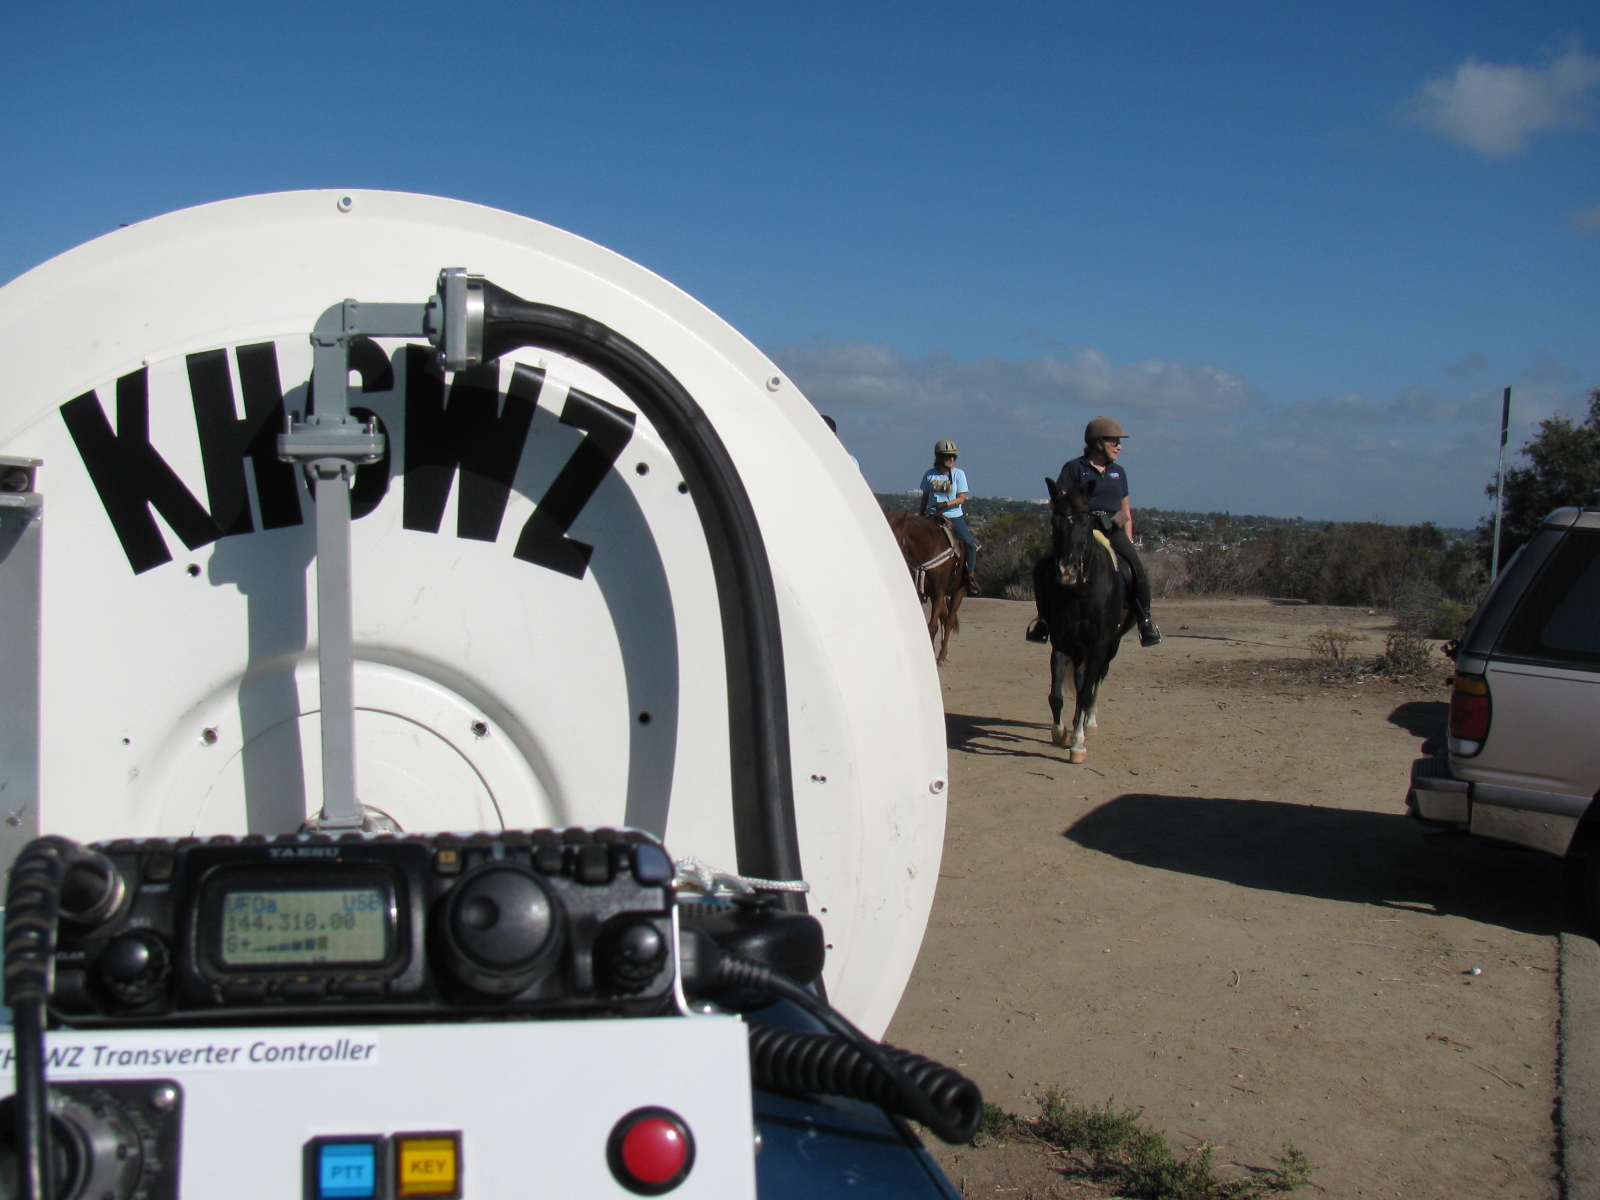
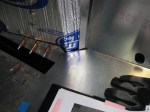
Some human as well as four-legged visitors to the Huntington Beach location. Take a look at the FT-817 S-meter and notice how the N6CA beacon (Frazier Mt., DM04ms) is booming in.
-

-
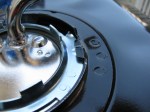
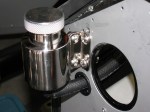
Battery jumper cables clipped onto the little 12V gel-cell in the back of the Prius supplied power to the station, which draws about 10 amps on transmit.
-
-
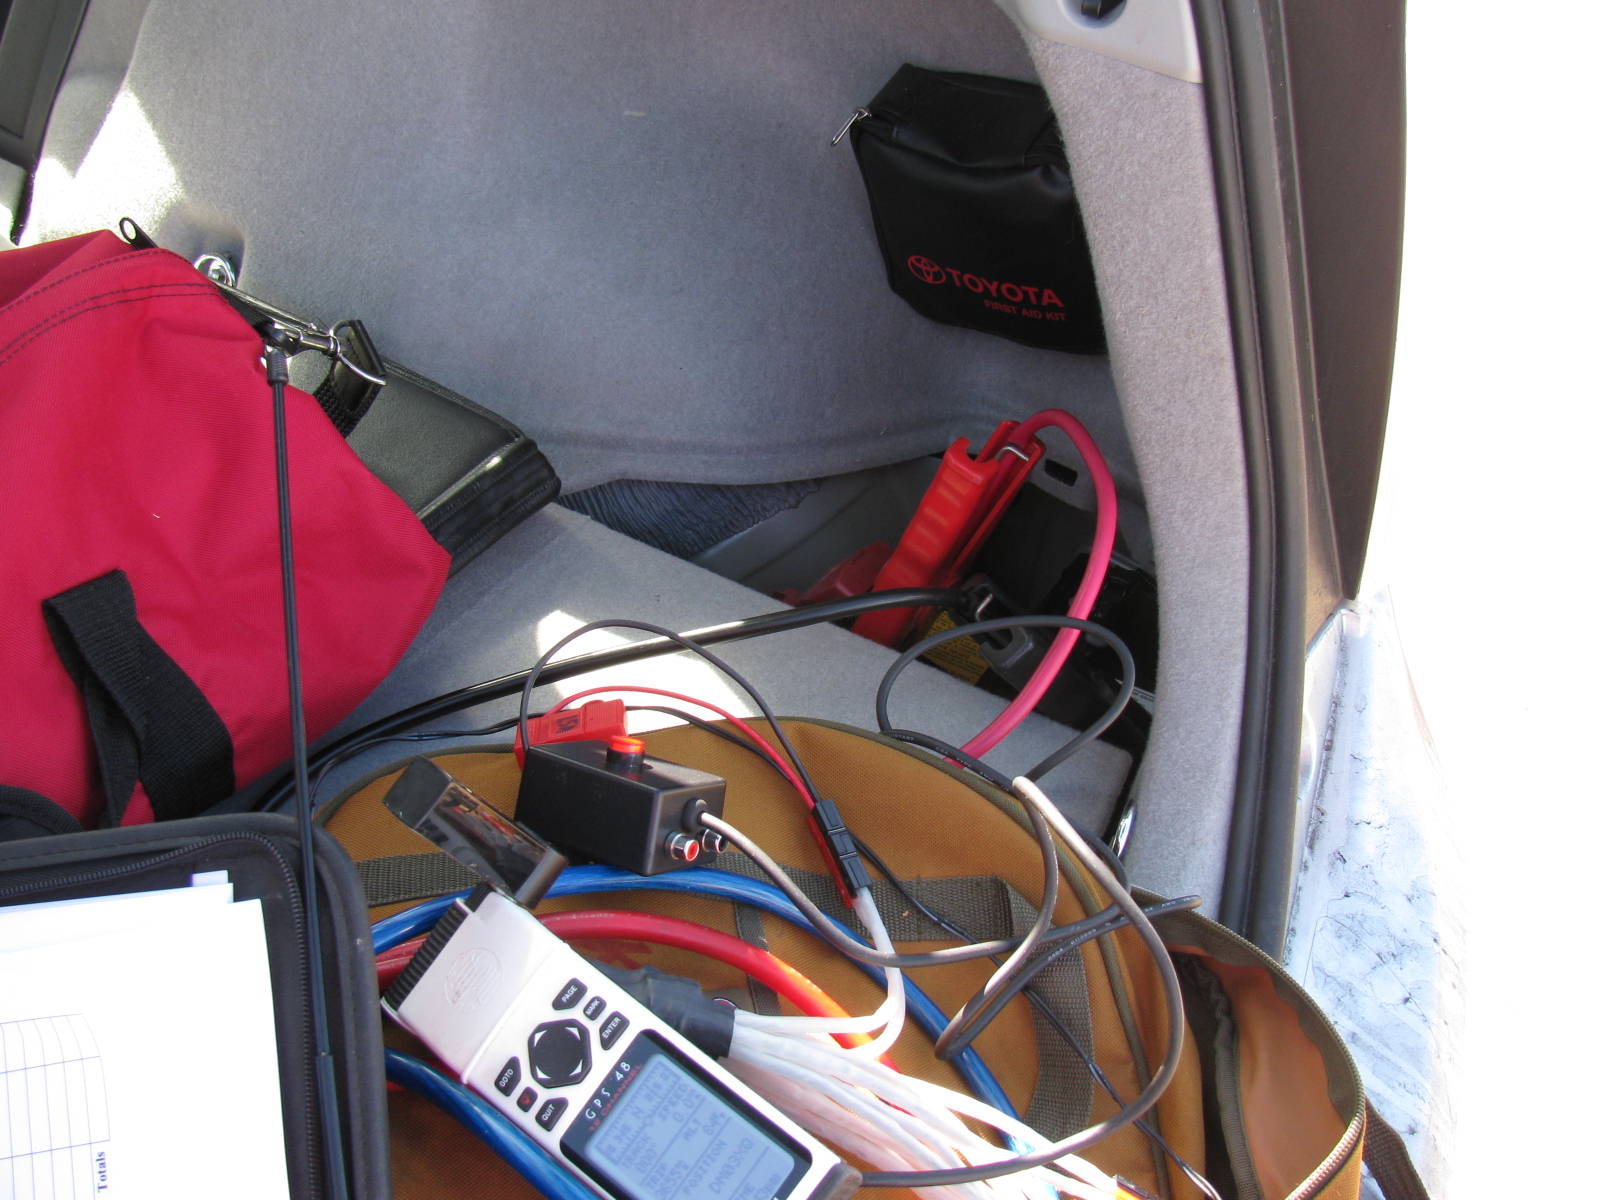
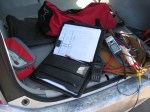
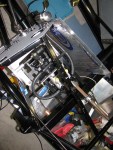
I really need to do something about the operating position inside the Prius. Yaesu FT-60, old Garmin GPS and the log sheets thrown in the back of the car.
-

-
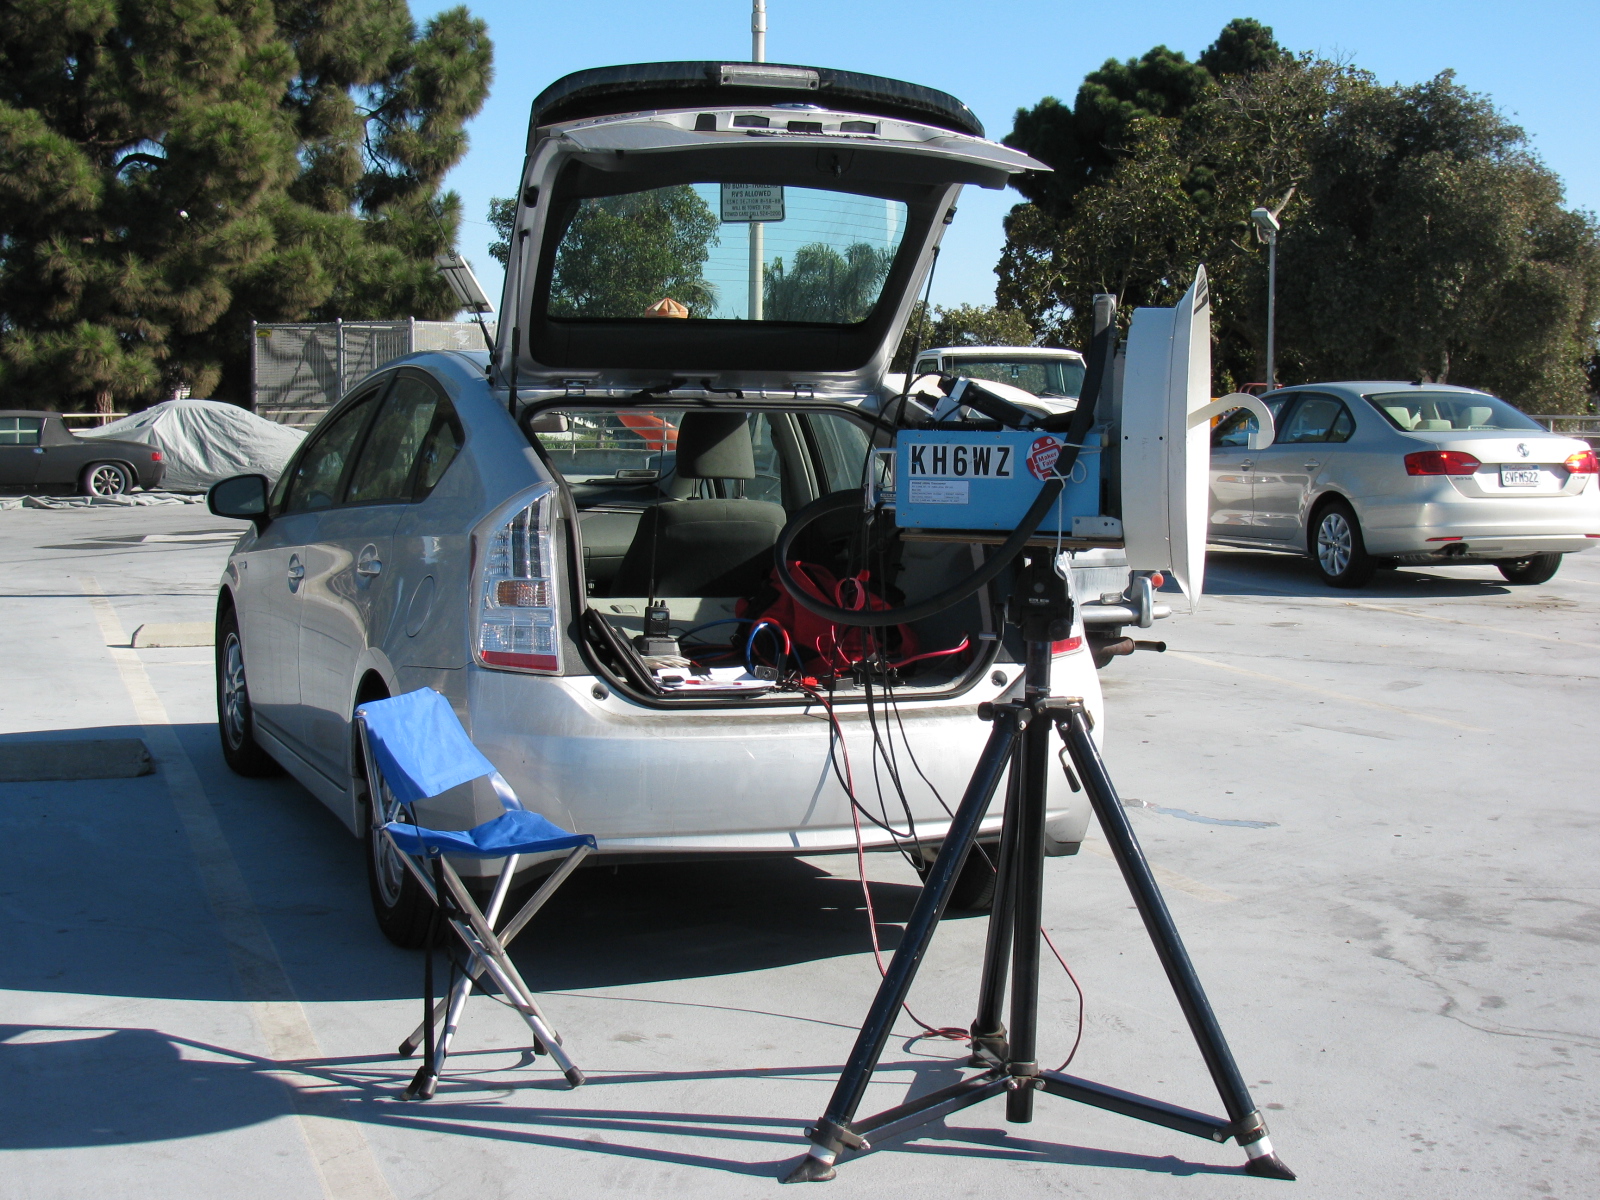
This is the second of two stops on contest Sunday. El Segundo, DM03tw. This is the top of a parking structure for a park, for some reason I never took note of the name. It is easy to find, just look for the water tower.
-

-
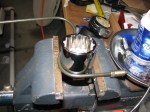
The KH6WZ station at DM03tw. The camping chair is more comfortable than it looks.

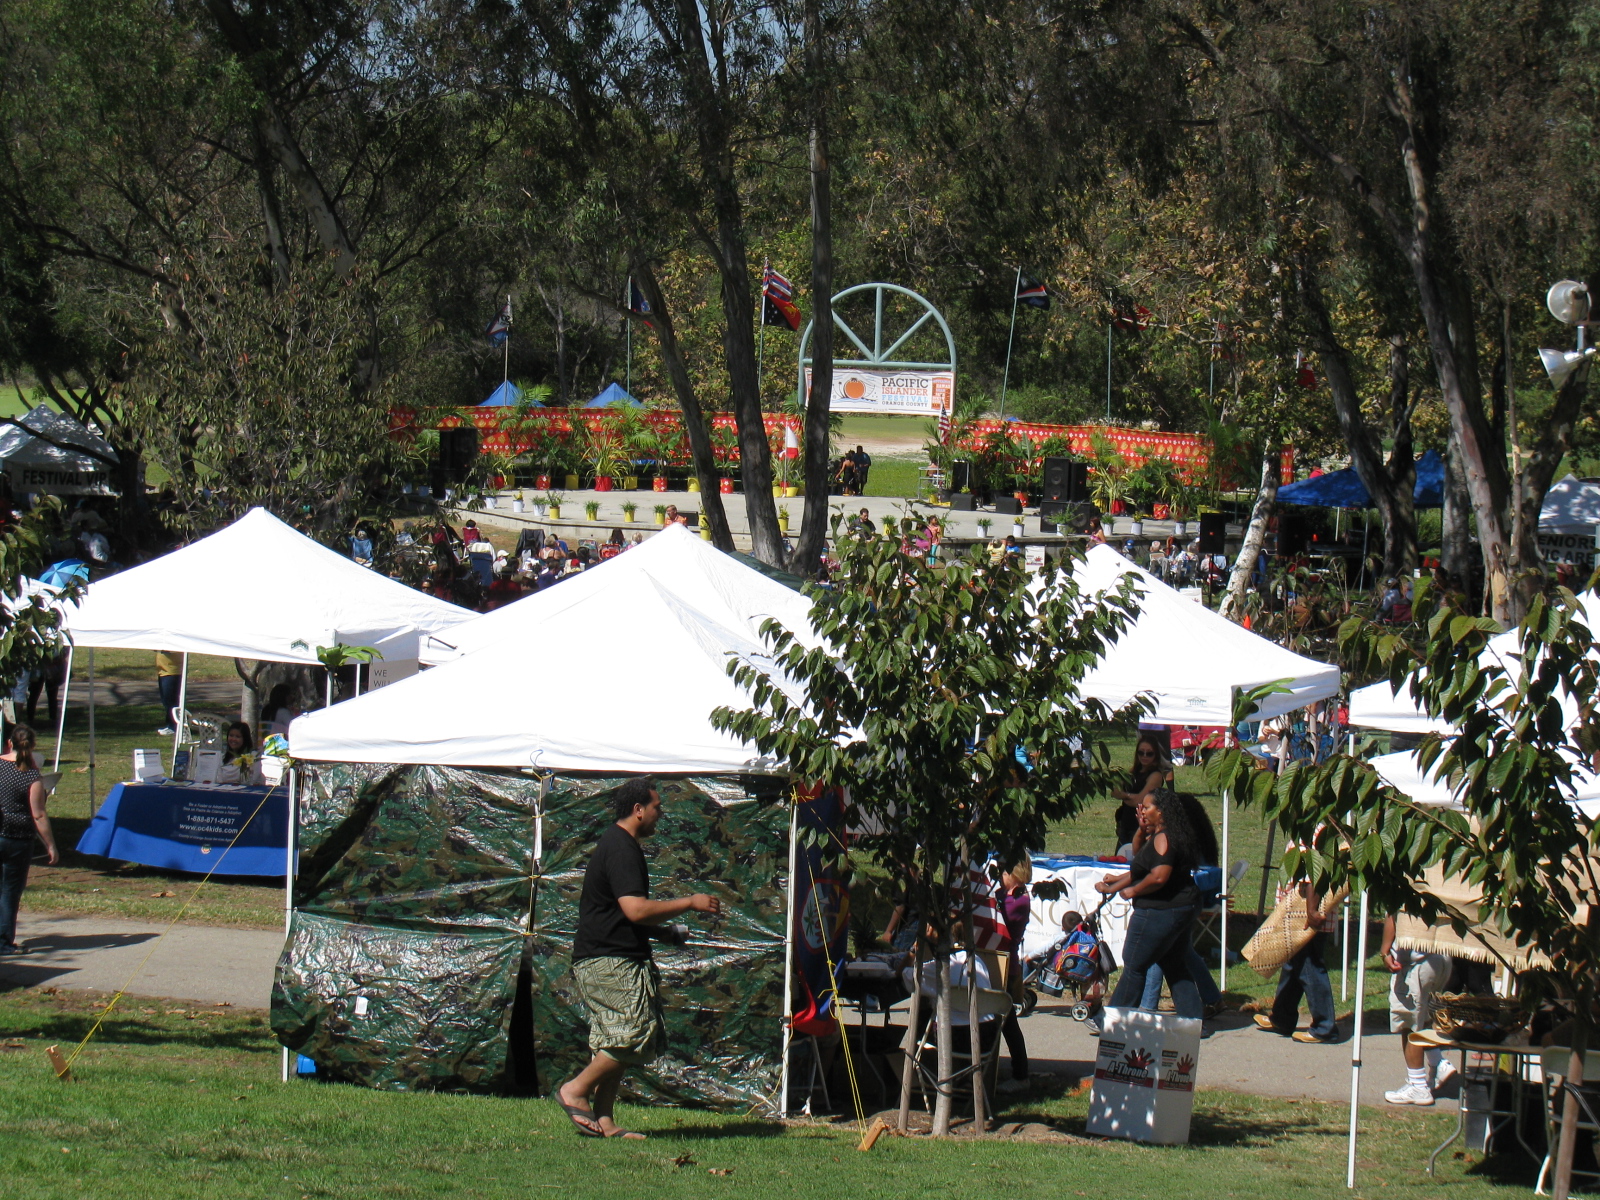
The disaster Preparedness Expo at the Huntington Beach Central Library on September 21 coincided with the Pacific Islander Festival Orange County. It was the 6th annual event…. I stopped to take some pictures and bought a t-shirt, but didn’t stay to watch the programs. There was plenty of exotic foods and displays.
The Huntington Beach events website said, “This fantastic event is meant to be spent among “friends”. The hospitality of the California’s island people originating from Polynesia, Guam, Hawaii, Samoa, Tonga, Tahiti, Aotearoa, Northern Marianas, Belau, Marshall Islands, Micronesia, and Fiji, is undeniably alluring and enchanting, as you’ll see when you come to the free Polynesian fest. . . . ”


Looks like I should visit this event next year. Aloha.
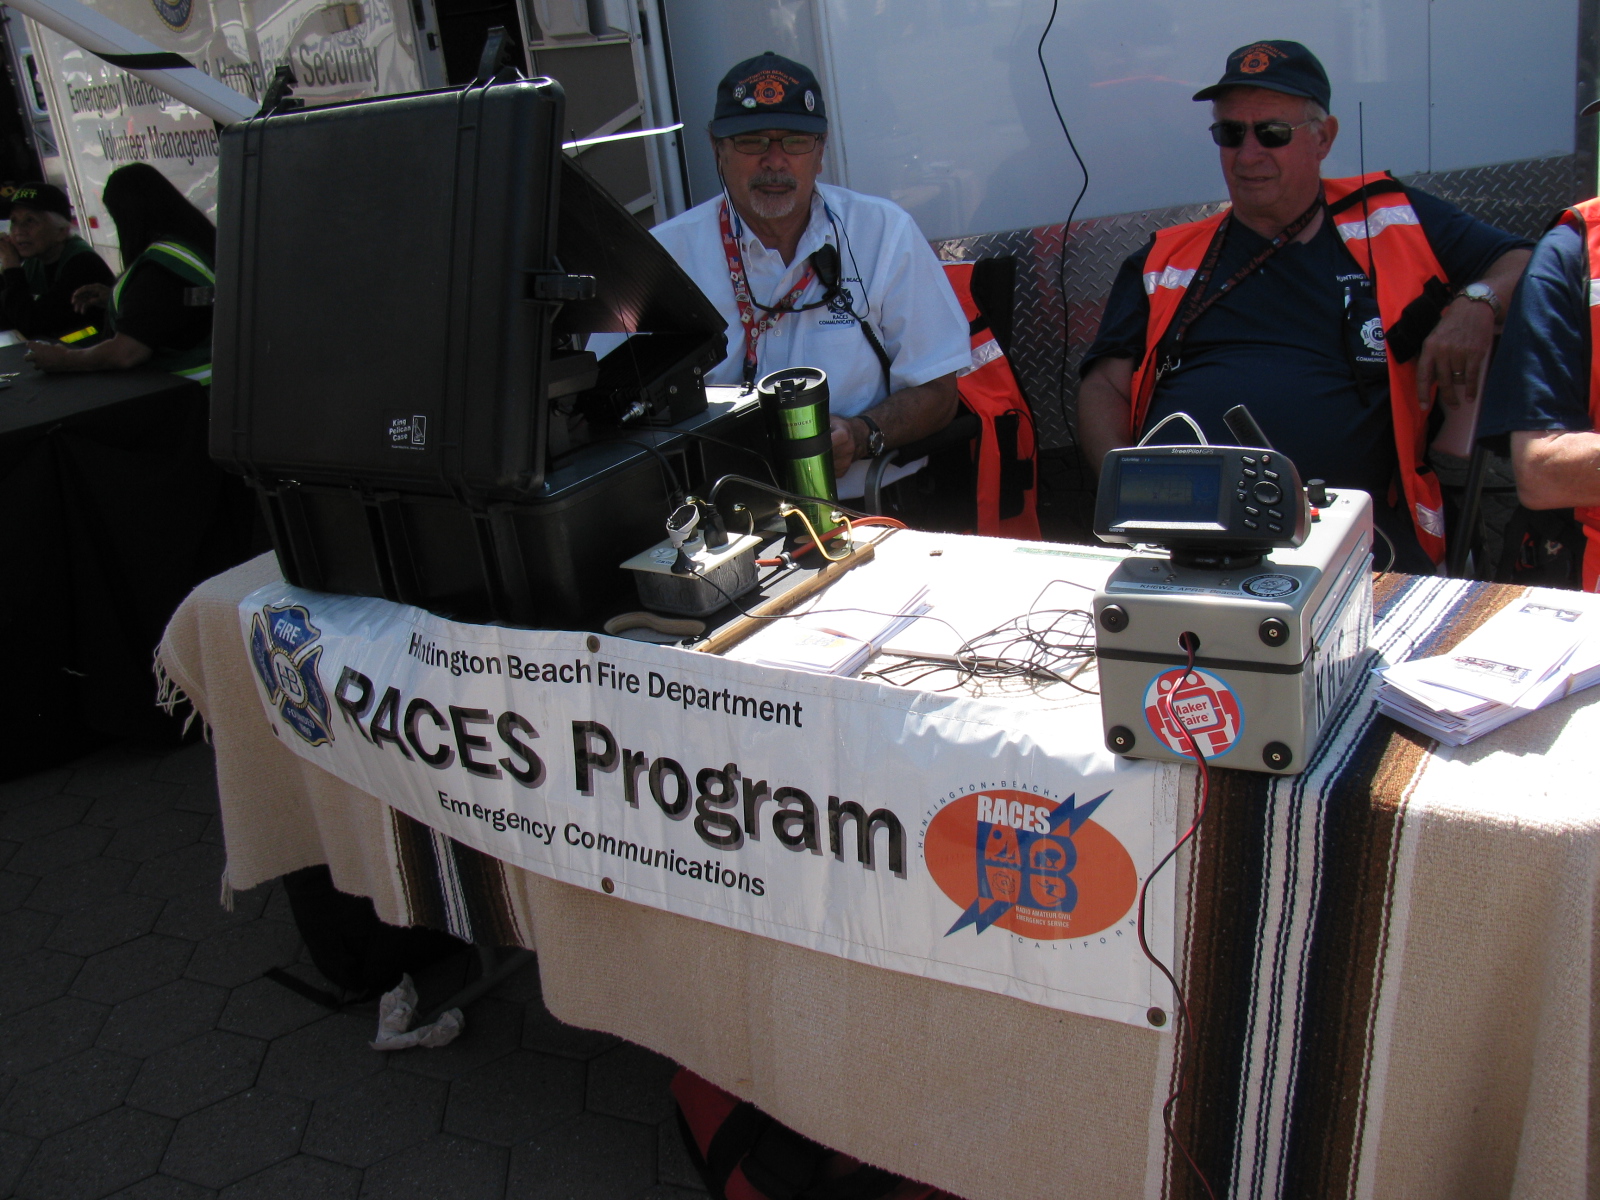
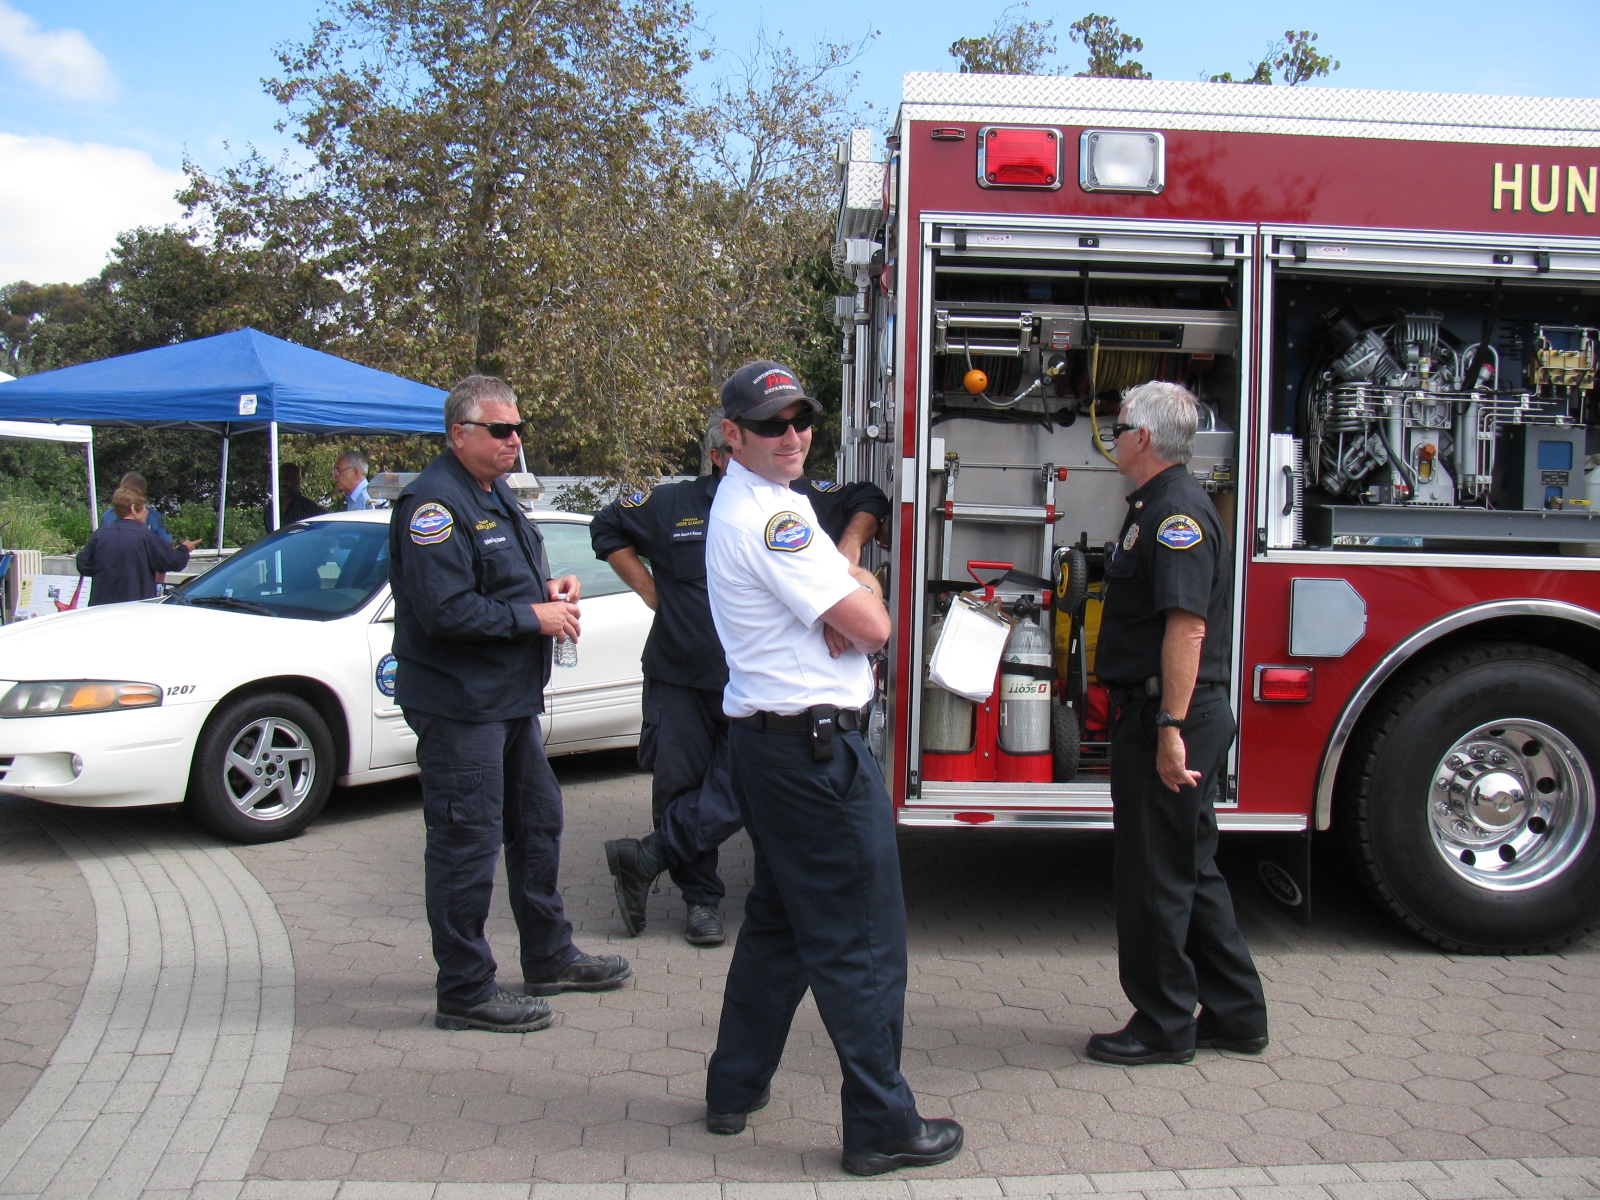
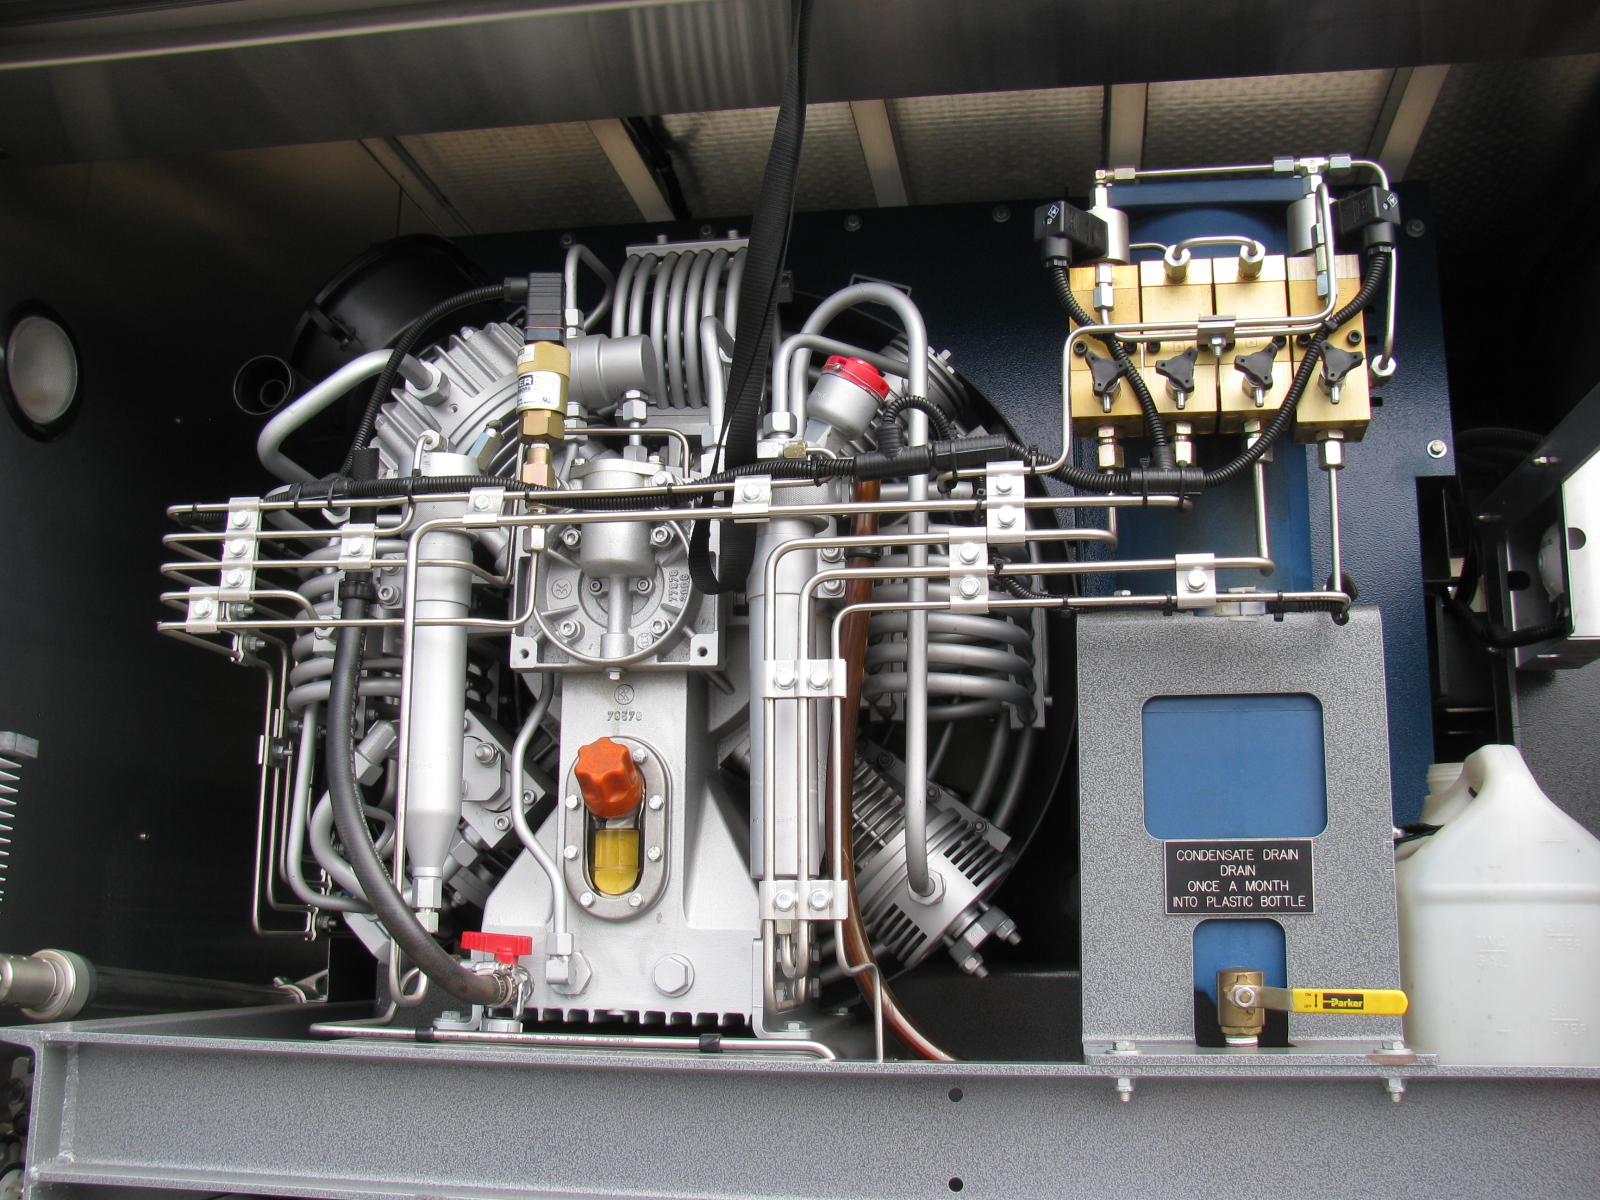
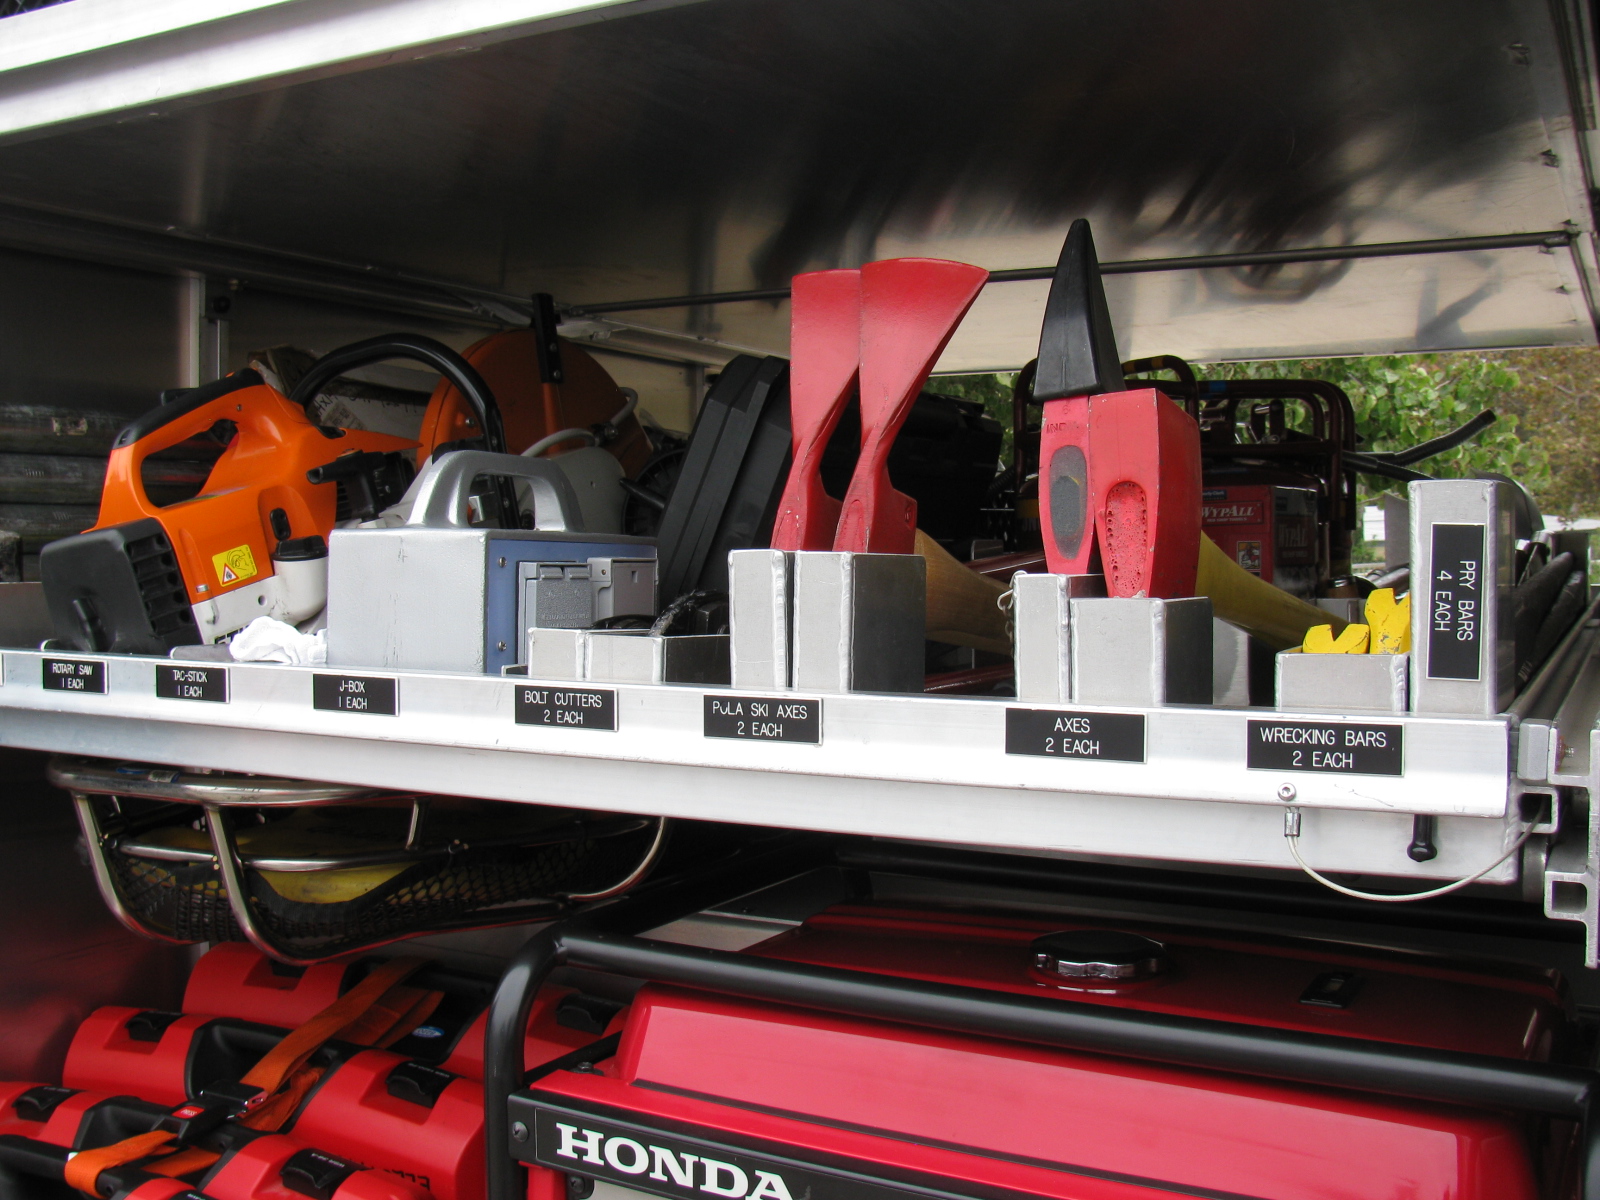
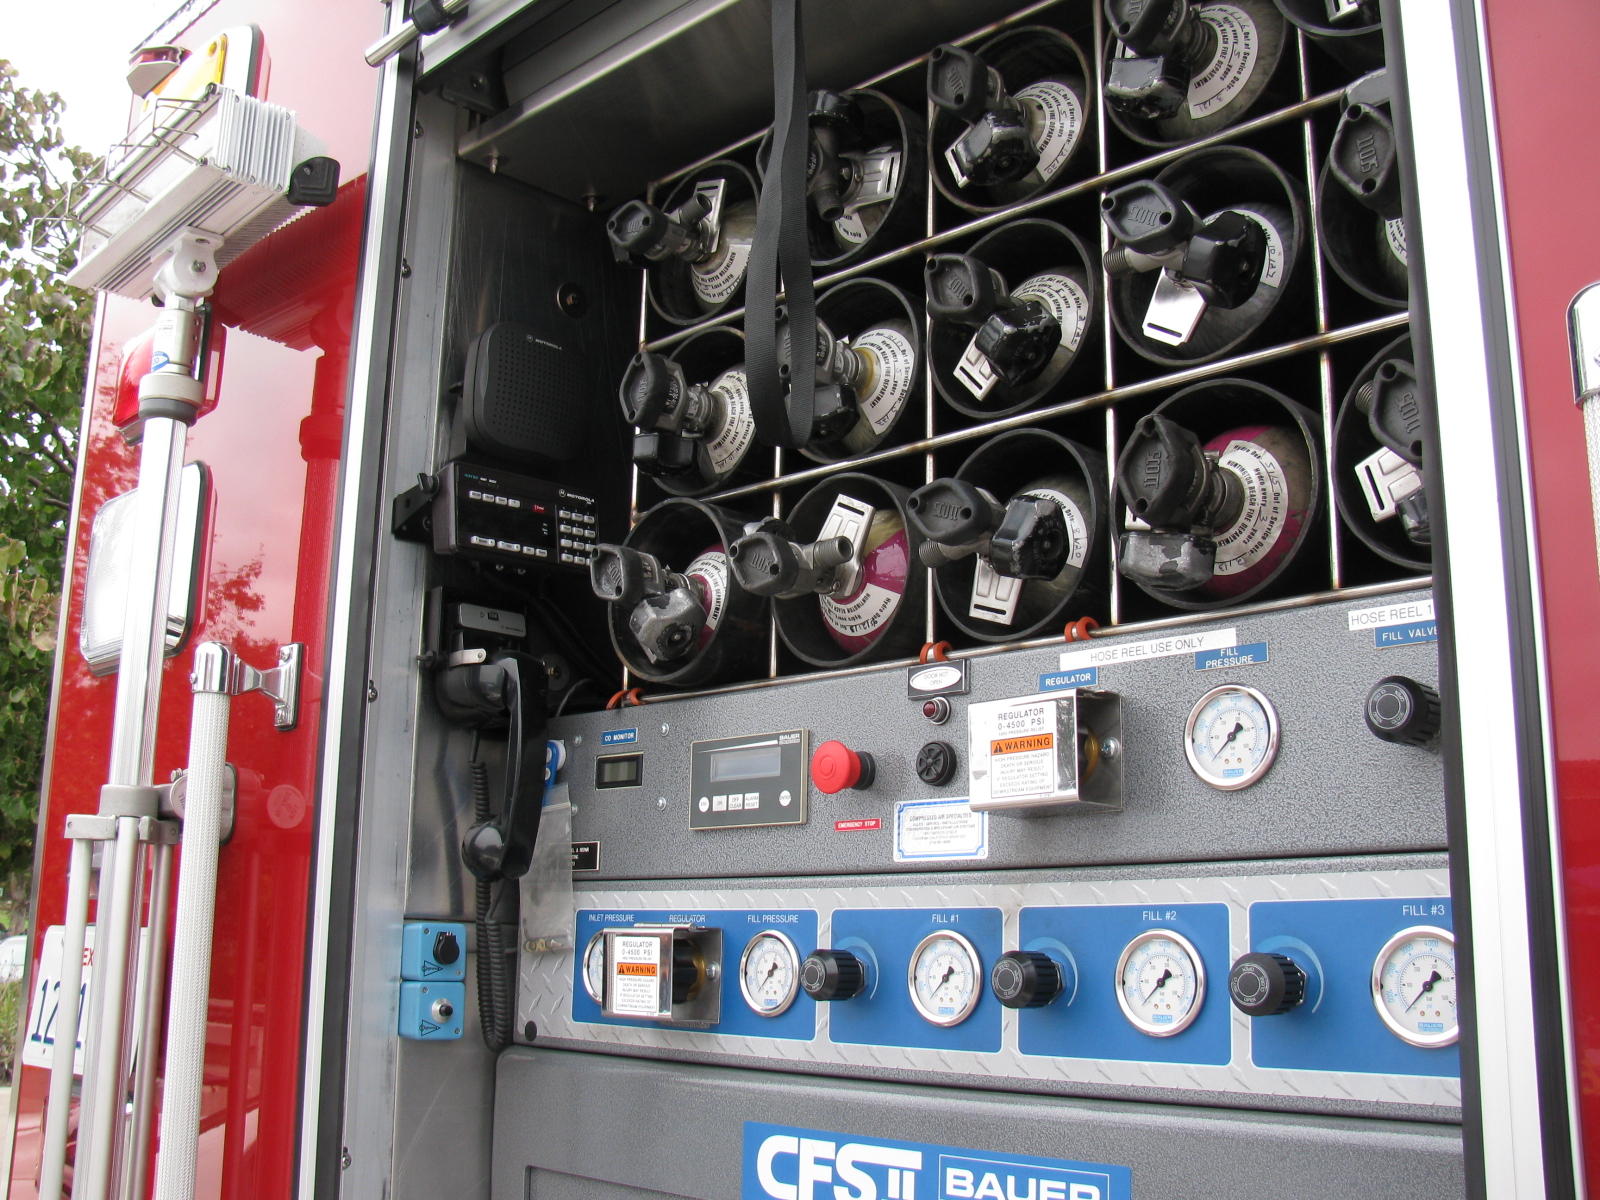
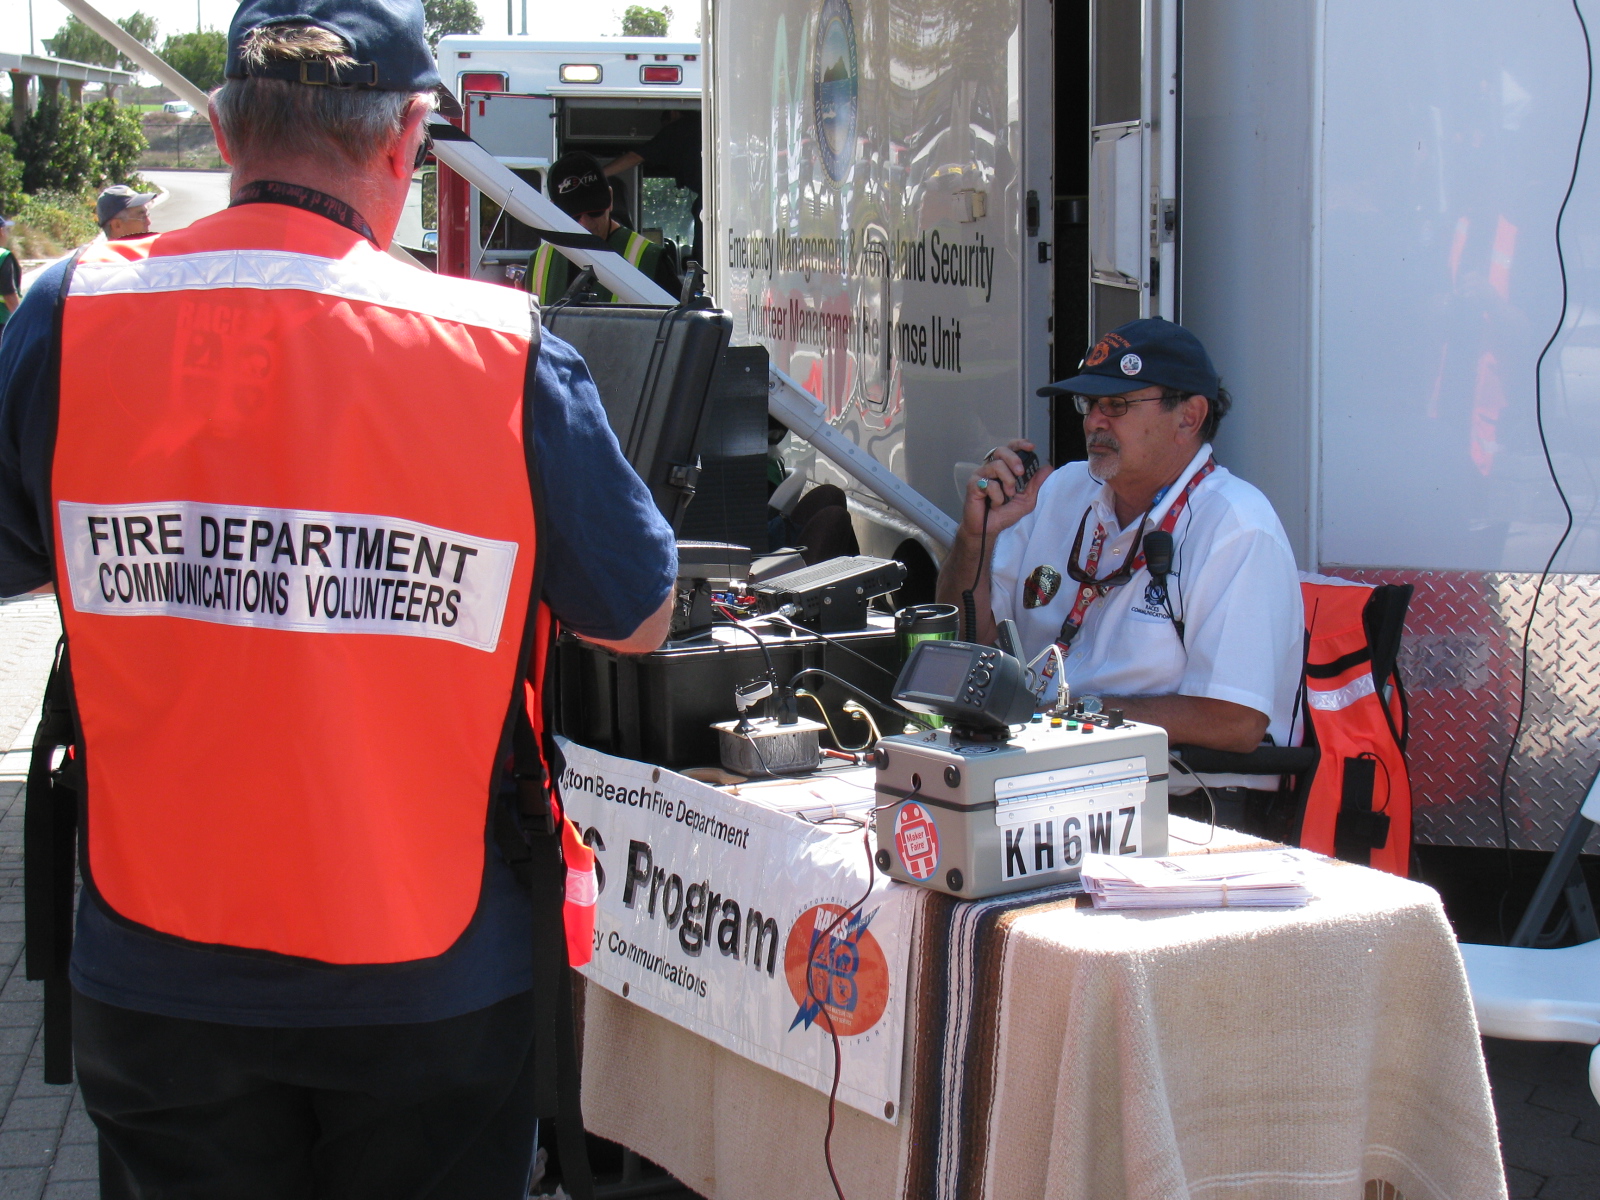
Six active Radio Amateur Civil Emergency Service – RACES – members were on-hand to meet and greet visitors to the Disaster Preparedness Expo on Saturday, September 21, 2013 at the Huntington Beach Central Library.
The RACES volunteers explained what the RACES group is and what we do for the City of Huntington Beach. Joe Tom, KB6JOE, brought his portable radio system, shown in some of the pictures. Wayne Yoshida, KH6WZ and Public Information Officer (PIO) for the RACES team, brought an Automatic Packet Reporting System (APRS) beacon, which transmitted the demonstration station location. A screen capture of the map can be seen below. The Expo location is indicated by the eye icon and the KH6WZ-5 callsign. The APRS message also points to the HB RACES website, www.hbraces.org/.

Screen capture of the APRS beacon information. The Disaster Preparedness Expo location is indicated by the callsign KH6WZ-5 as well as the eye icon.
The Disaster Preparedness Expo is an annual, free event where the City’s emergency services organizations educate the public about emergency preparedness and the possible disasters that can happen to the city of Huntington Beach, such as earthquakes and tsunamis. The Expo is also a demonstration and recruiting tool for emergency preparedness volunteer groups in the city.
Additional information about the event can be found on the Huntington Beach Events website.
HB RACES volunteers at the Emergency Expo
Ray Coulon WA6CTS
Mike Fitzgerald KE6WUO
Gary Labb KM6VC
Joe Tom KB6JOE
Jeff Turlis KE6BNS
Wayne Yoshida KH6WZ
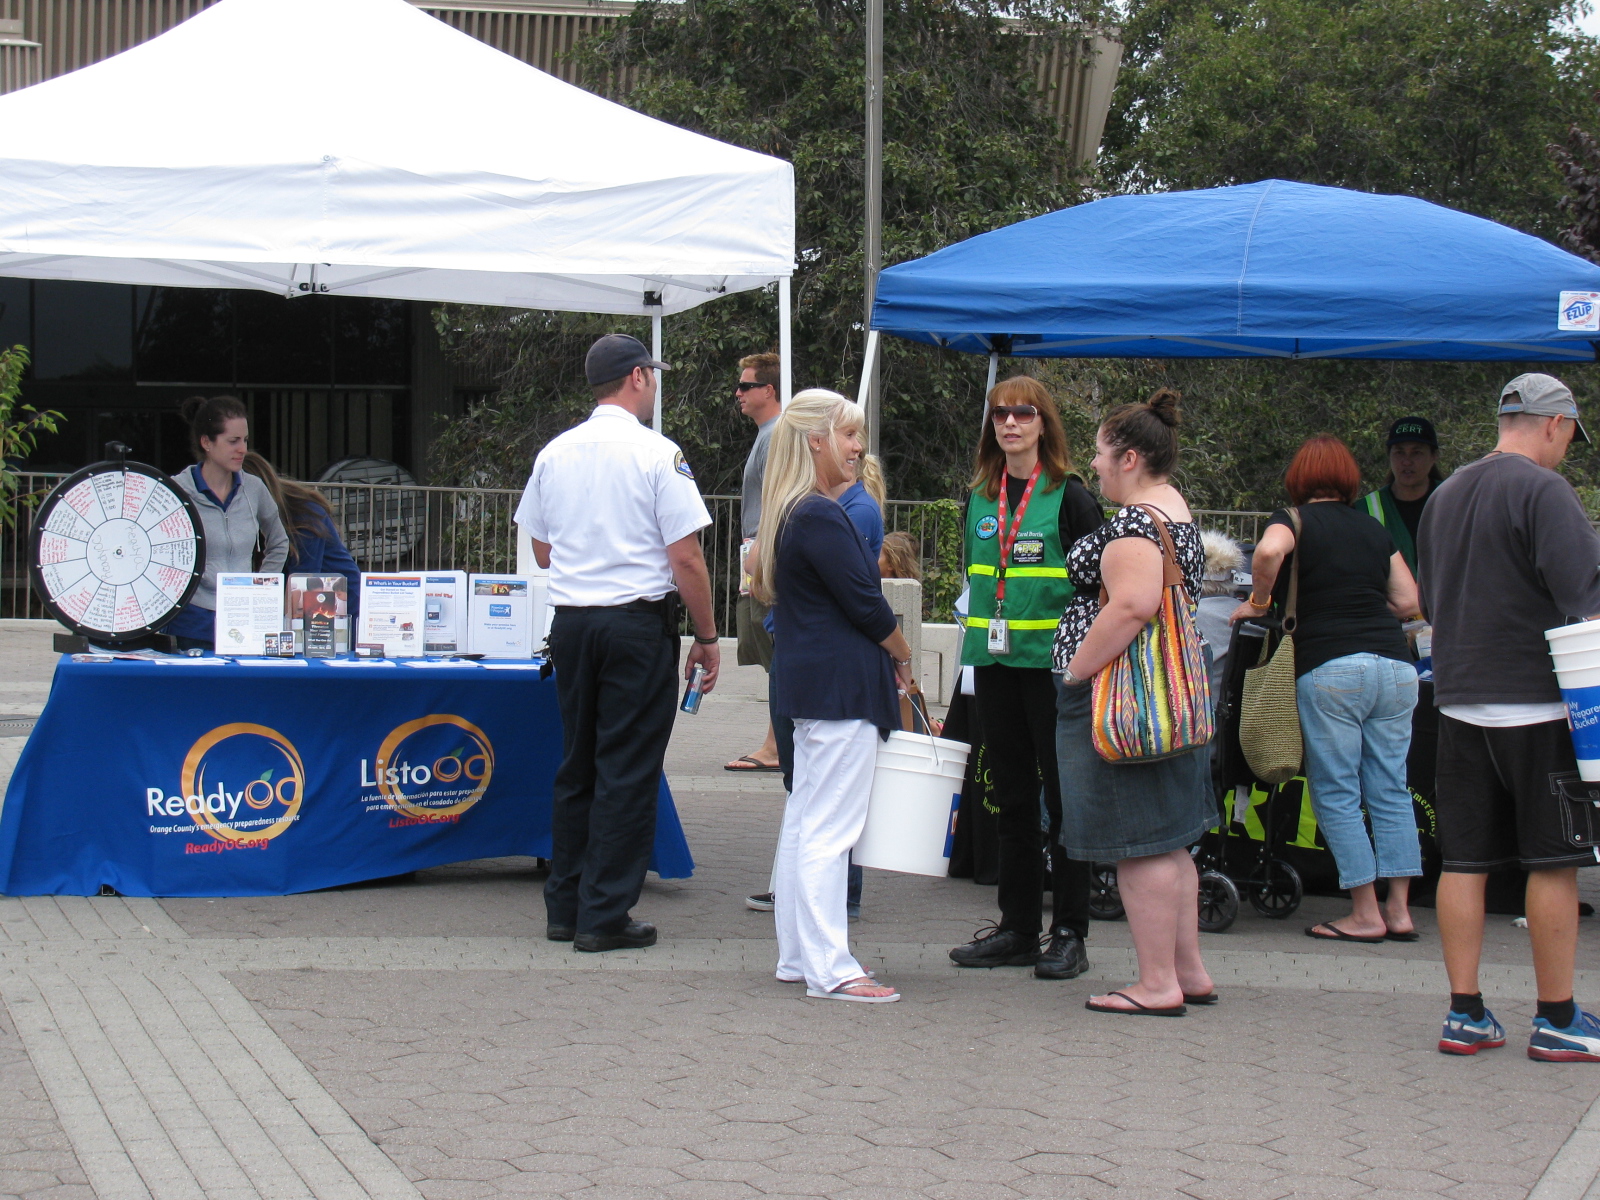
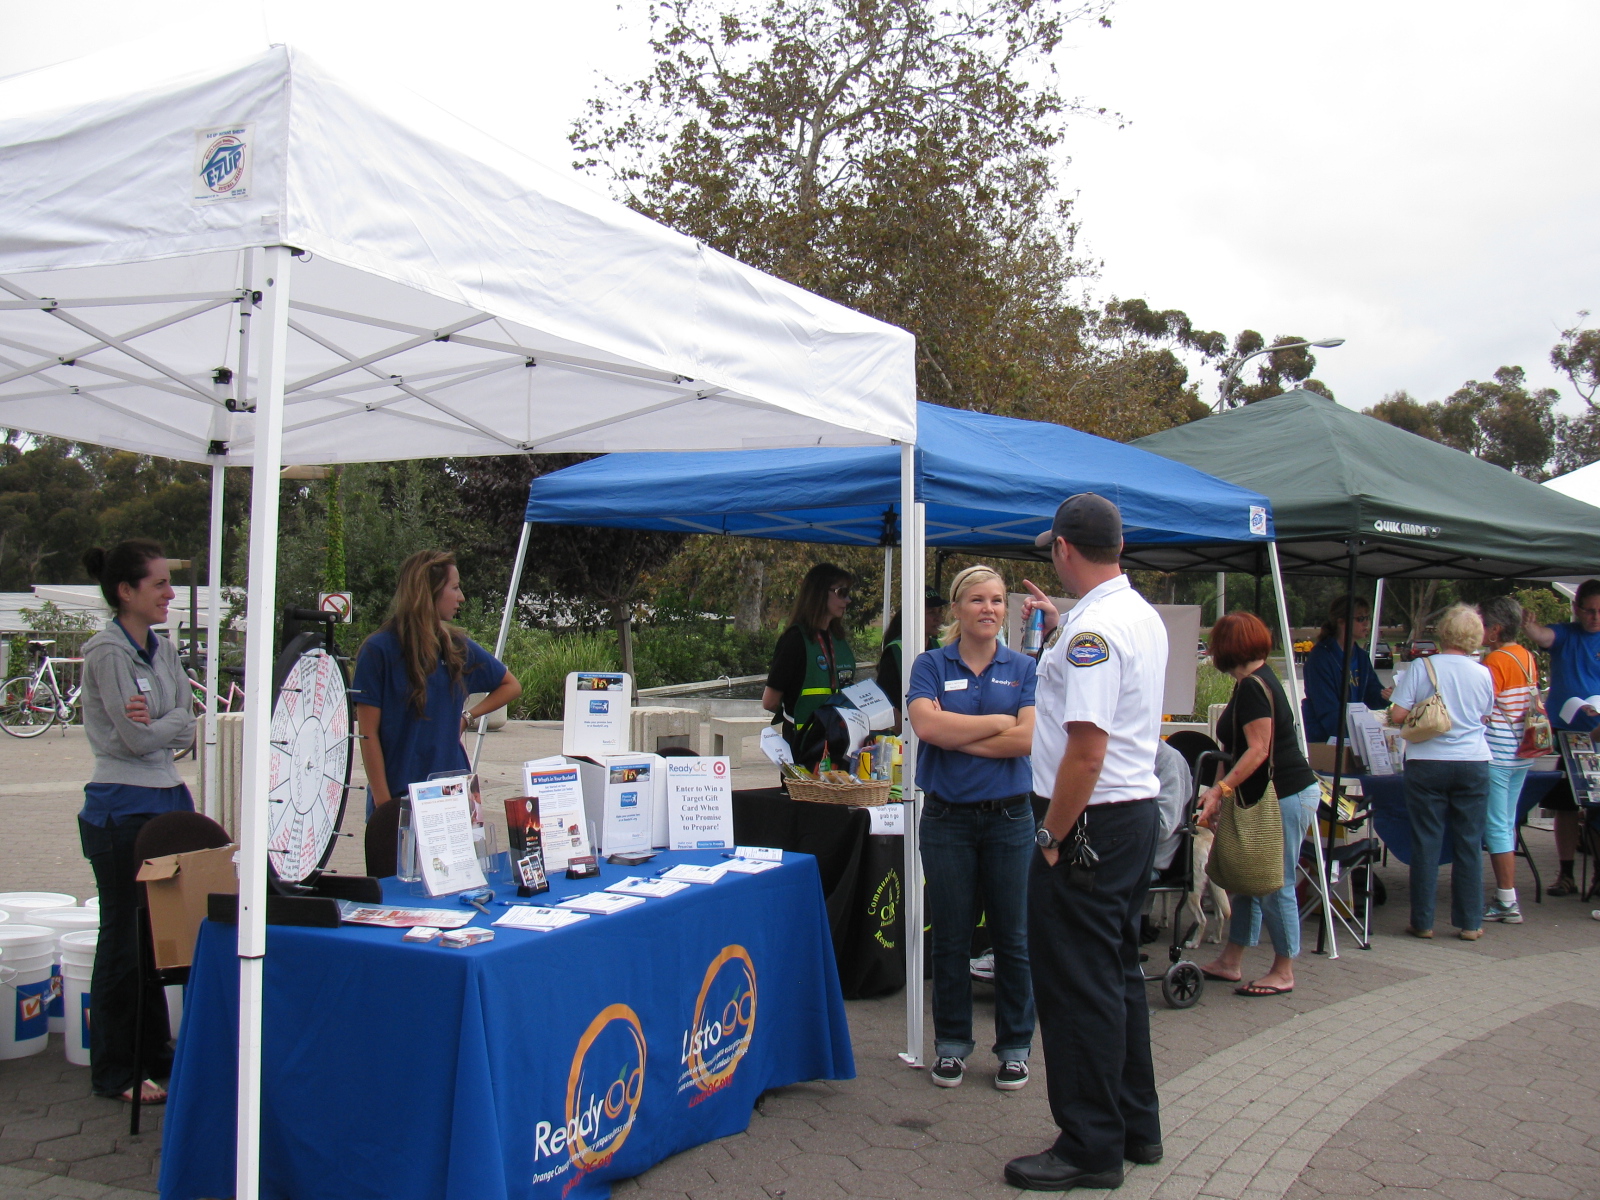
Other Groups at the Expo
American Red Cross
FireMed
HB Community Emergency Response Teams (CERT)
HB Radio Amateur Civil Emergency Service (RACES)
Huntington Beach Fire Department Urban Search & Rescue (USAR)
Huntington Beach Police Department
National Weather Service
Ready OC
Huntington Beach cable TV channel 3 was at the event, and shot plenty of video of the demonstrations and displays. Several of the event volunteers were interviewed and may appear on TV soon.
Here are some pictures of the event. . . .
No, not the long distance phone company. MCI is Motor Coach Industries in Schaumburg, IL USA.
MCI recently won an order for 84 of their CNG buses ($107.4 million) from New Jersey Transit.
Take a look at the beautiful buses made by MCI, powered by clean-burning compressed natural gas fed via Agility Fuel Systems.
More CNG news is posted at NGV Today, go to www.ngvtoday.org to subscribe.
I came across this sculpture while doing some research on mechanical sculptures. The video is a bit long, but the creations look like a good way to use a bunch of surplus motors. . . They make a noise that sounds like falling rain or a racquetball court – or – something.
>>>> Click here to see the works made by the artist called Zimoun
Freightliner website shouts:
Think it can’t be done?
THINK AGAIN.
Freightliner Trucks drove a Cascadia 113 day cab tractor powered by CNG from LA to DC…
>>> Click here to see a video about this CNG-fueled cross country trip
It’s been a long time since I posted an update on the Factory Five Racing Coupe. Here is an update in pictures and captions . . .
-
-
Type 65 Coupe complete kit brake reservoir bracket location
-
-
Polished stainless steel brake reservoir can, Type 65 Coupe, Complete Kit
-

-
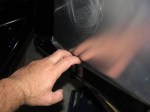
I added a plastic grommet from the hardware store electrical section to prevent chafing the brake fluid hose.
-
-
I followed the hose layout as shown in the current Roadster build manual.
-
-
I used a big socket (35mm, I think) in a bench vise to bend my brake lines. Nothing fancy.
-

-
Brake lines are bent into rough shape, then taped in place along its route. Final bending is done on the chassis by hand.
-

-
Brake line held in place with tape, More adjustments are done by hand. Notice the way the excess lines are curved – this allows flexing in two planes – up and down and left and right. This is a 40-inch, pre-flared line I bought at a local car parts store. The supplied 60-inch line was way too long.
-

-
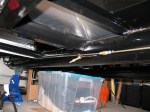
I start my brake line layout by marking the center of the span. This is the large rectangular tube going across the rear. The white wire (number 12 solid copper house wire) is used to make an extremely rough approximation of how the line will run.
-

-
Here you can see the white wire mock-up next to the steel brake line. The roughly Ohmega shape is centered above the IRS pumpkin.
-

-
I decided to run the rear brake line on the inside of the firewall. It will look cleaner in the engine bay and will help keep the line cooler.
-
-
I got lucky. I used a 60-inch line from the rear master cylinder, down the inside of the firewall, and ended up under the driver seat area. A second 60-inch line goes from the union to the rear brake tee. No custom length needed.
-
-
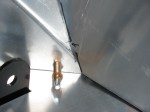
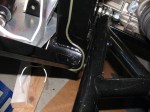
Here’s how the line goes up the support next to the lower rear sway arm. It will be slightly bent away from the chassis and held in place with the insulated line clips to prevent chafing.
-

-
Going up to meet the rear brake flex line, driver’s side.
-
-
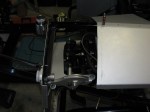
A peek into the pedal box – I am still not quite sure how this is going to work. The sheet metal on the right is going to be covered by the Coupe body, so this will be riveted – or screwed – into place. The open side on the left is going to have a one-piece cover. Will this provide enough access for brake balance and clutch cable adjustments?
-

-
Inside the pedal box, showing the front brake line going to the master cylinder. Not as pretty as some others I have seen, but I can always re-do this later, right?
-
-
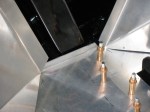
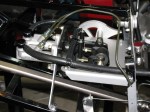
Here is a view of the rear brake line going to the second master cylinder. I drilled out one rivet fastening the sheet aluminum to the firewall and replaced it with an 8-32 stainless steel screw. It holds the line clip as well as the firewall panel.
-
-
Next on the to-do list: Wiring
-

-
Next on the to-do list: Fuel tank.
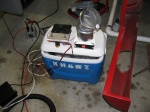
It has been very hot in the garage over the last several weeks, temperatures in the garage were about 95 degrees F (35 degrees C) – I finally did a functional test of my portable air conditioner. This is not a new idea, I saw this several years ago on some maker/hacker site, and there is a commercial version of something very similar to this sold at recreational vehicle and camping stores.
Basically, it is an ice chest filled with ice water, some 12VDC fans, an automotive heater core, a marine bilge pump and some hose. Ice water circulates through the heater core while one fan blows air into the cooler and another fan blows air out of the cooler.
I need to cut a notch in the cooler to make way for a bracket, but it is otherwise complete.
This thing made me think about making a water-cooled vest, using a smaller pump and my back-mounted water carrier – it would be perfect for events like Burning Man and ROCstock!
-
-
The KH6WZ Air Cooler under its first test. Ambient temperature was 95 degrees. The cover does not fully close because of some mounting bracket interference. This will be corrected and more tests will be run.
-
-
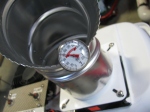
Fan only running, with ice. A drop of almost 10 degrees.
-
-
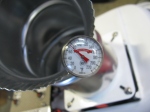
With fan and pump running, an additional 3 to 4 degree reduction. I think the effectiveness will improve if the container is fully sealed and more ice is added.