Archive for the ‘Ford’ Tag
Overcast skies and 10 percent chance of rain, after months of drought conditions….
The Pre-Party
A generous tradition started by David Hodgkins. Here is our host at the BBQ, working hard to feed all of the guests. I met one of the Car Warriors builders from the East Coast Team, Mark Stackler.

David Hodgkins, our generous host of the HB Cruise-In Pre-Party
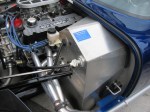
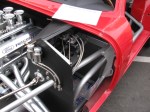
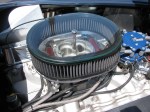
Another guest at the Pre-Party was Scott Merrell of Coupe Connection. He talked about the 8-stack induction system fitted on a Ford Coyote engine. Very interesting, and I may use that engine in my next project car.
The Event
More gray skies, but no mention in the forecast of rain. As usual for me, my focus was to gather as much info about Coupes as possible, so I can apply these ideas into my car project.
Also as usual, I had to look at all the other Factory Five Racing kit cars on display.
I noticed more completed 33 Hot Rods this year and more Coupes.
Highlights of the Day
I met and discussed body and paint with Jeff “Da Bat” Miller in the early morning. He has probably put the final finish on hundreds of Factory Five Racing cars over the years. Da Bat was the Body and Paint expert for the West Coast team on the Car Warriors Factory Five Hot Rod challenge.
I was lucky to meet and hang out with Karen Salvaggio and Jo Coddington as we visited with the builders and the cars on display. Karen and Jo were two members of the five lady team on the “All Girls Build” episode on Power Nation. The other ladies were Nan Gelhard, Cherielynn Westrich and Courtnie Provencher.
Here’s a picture of Karen on the left with Jo on the right. And that’s Sue from Just Get Dirty Garage in the middle. Sally Bean, one of the behind the scenes people from Factory Five, is in the background, making sure things are going as planned…..

Factory Five Racing Ladies

Factory Five Racing president Dave Smith introduces Jo Coddington to the crowd.
Meeting Peter Brock, BRE Racing
Peter Brock, the body designer of the Daytona Coupe, came to Huntington Beach for this event. I have several of Peter’s historical posters on my walls, but I wanted to meet him in person. Peter is a nice guy, and he truly loves the Factory Five Racing version of the famous Ferrari-killer from 1965.

Factory Five Racing president Dave Smith (right) introducing Peter Brock to the Cruise-In crowd. There’s Mark Stackler in the background.
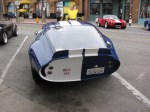
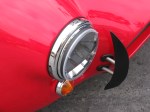
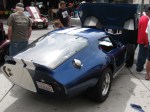
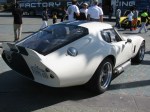
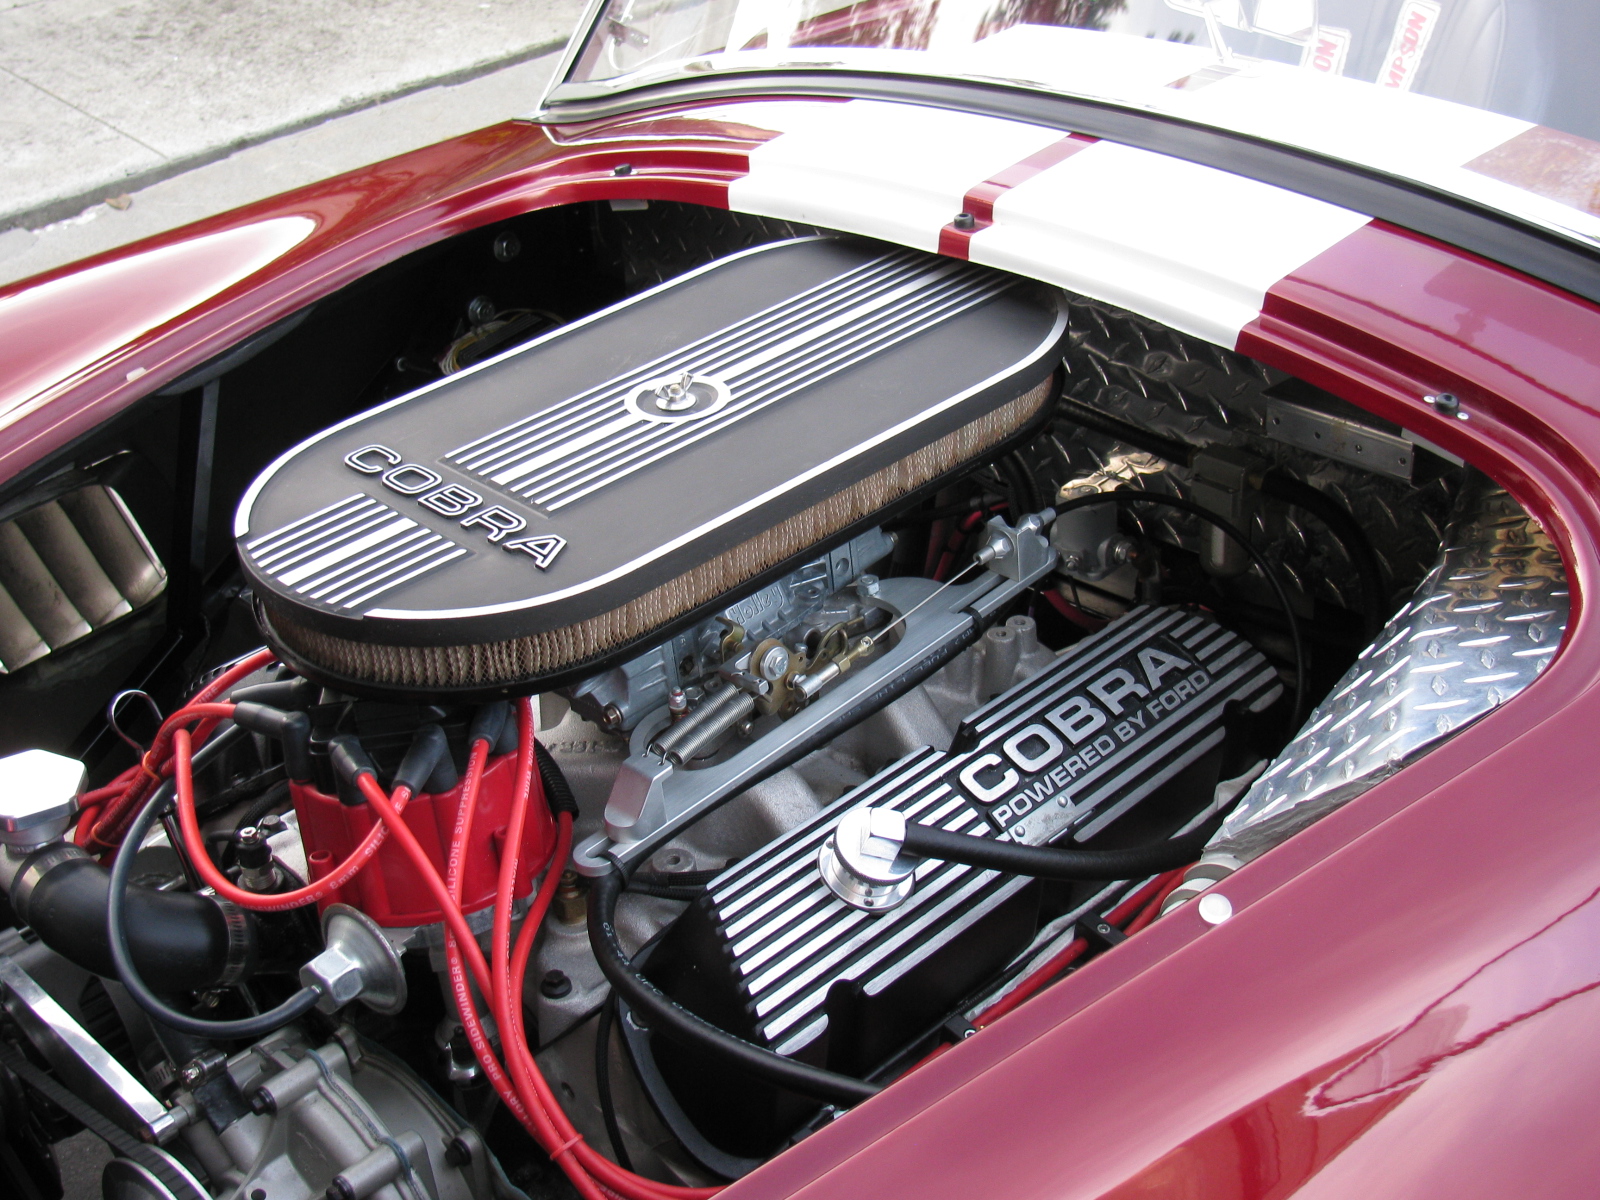
The Fastest Factory Five Racing Coupe in the World
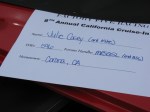
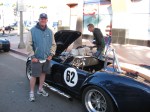
On display was the SoFast Racing Factory Five Racing Type 65 Coupe. This kit car holds a land speed record at the Bonneville Salt Flats. Allen Grant was there to sign autographs and display the car.
-

-
The fastest Factory Five Racing Type 65 Coupe and land speed record holder.
-
-
-

Watch this in-car video: Ride Along 200+ MPH Coupe at Bonneville
GoPro Videos
I made a few “walk around” videos with my new GoPro Hero 3. The footage is raw and needs some editing. I will post some after I do some editing.
Just as the event was ending, it started to rain. It was only a few minutes, but it managed to get stuff wet. I guess we can call it a California rainstorm. The local weather reports did not report any rainfall….
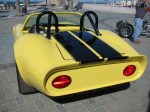
Here are some more pictures of this great annual event. Someday my Coupe will be there, too!

The lead photo for this entry is Erik Hansen’ electric 818 cockpit. It is in “go kart” stage (a work in-progress), without a body. Click here to read Erik’s Electric 818 build blog.
By the way, Erik Hansen was part of the West Coast Team in the show “Car Warriors” in which a team of West Coast car builders competed against an East Coast team. They had to build a Factory Five ’33 Hot Rod in 48 hours. Amazing. Click here to learn more details about this competition
I spent most of the day at the 7th Annual Factory Five Cruise-In. It was great to see some of the builder/owners from the previous year, and I also met a lot of builders for the first time. I even met several of the Factory Five staff, including Scott “Honey Badger” Bell; Jim Schenck, Director of R and D; Tony Zullo, Tech Manager; and Sally Bean, Marketing at Factory Five, who does a ton of work behind the scenes of these great get-togethers.
Two cars were un-veiled today:
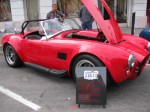
First, an “All-Women 427 Build Team” Factory Five Racing Roadster. The ladies built the car in one week. The build story will be on PowerNation’s “Detroit Muscle” TV in May.
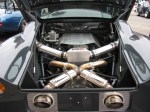
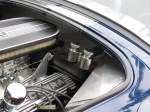
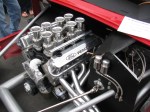
Second, a special, limited edition Hot Rod magazine ’33 Hot Rod. Only 33 of these will be made, and for the first time, Factory Five will be selling the 33 ‘33s as fully-built cars. Two engines will be offered, a monster Ford engine, shown here, and a Chevy engine. I do not recall the details, but I will post them here as an update as soon as I can verify the information.
This year, I planned to gather as much information and pictures on the Type 65 Coupe, since I am always looking for ideas to include in my car. But – with so many beautiful Roadsters on display, I had to look at those closely, too.
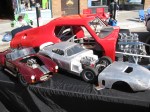
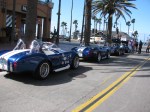
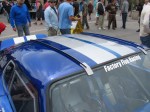
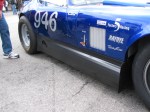
Here are some random images from the great car show!
I am working on several things on the car at the same time. Whenever I get stuck or run into a problem, I move to a different part of the car to build. At some point, things will meet up and progress in a more orderly fashion, but at this stage, nothing is complete.
This Factory Five Racing Coupe project is consuming my life. Even when I am sleeping, I have dreams about the car, the building process or driving the car.
But lately I have been having nightmares about the car….
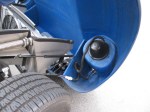
Front Suspension Re-Do
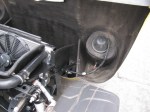
I managed to install a part on the front suspension upside down and backwards. Of course, like a lot of automotive things, in order to get to that part, a lot of other parts must be removed first. Some parts required a tremendous amount of torque to install. These are parts that should never “fall off” like anything in the front suspension and wheel mounts.
So, one of the chores I had to do was to remove the front wheel bearings and hubs. I tried to remove the mechanical lock nut with my ratchet, but it would not budge. This is a good thing, since this one nut fastens the wheel to the car. Installing these parts required several very hard whacks with my plastic hammer and several Rated R and X words and phrases. I could not help but wonder how those parts would come off if I ever needed to repair or replace them.
Reading the forums made me lose a lot of sleep, since it seems that a lot of fellow builders have had trouble with this part, too. I bought an AC-operated impact wrench and some very large (36mm) impact sockets to remove the hub nuts. As a back-up, I also bought a large 1/2-inch drive breaker bar and a piece of pipe to increase the torque if needed.
I called my friend Larry over for some assistance.

Surprisingly, the breaker bar made the hub nut come right off. Even more surprising is the condition of the spindle where the wheel and bearing mounts – it still looks brand-new and without any distortions or scratches.

After purchasing the impact wrench, Larry sent me an e-mail advising me to not use an impact wrench on the front hubs, because this may damage the wheel bearings. I took this advice, and returned the impact wrench. Good thing I did not open the box. . .
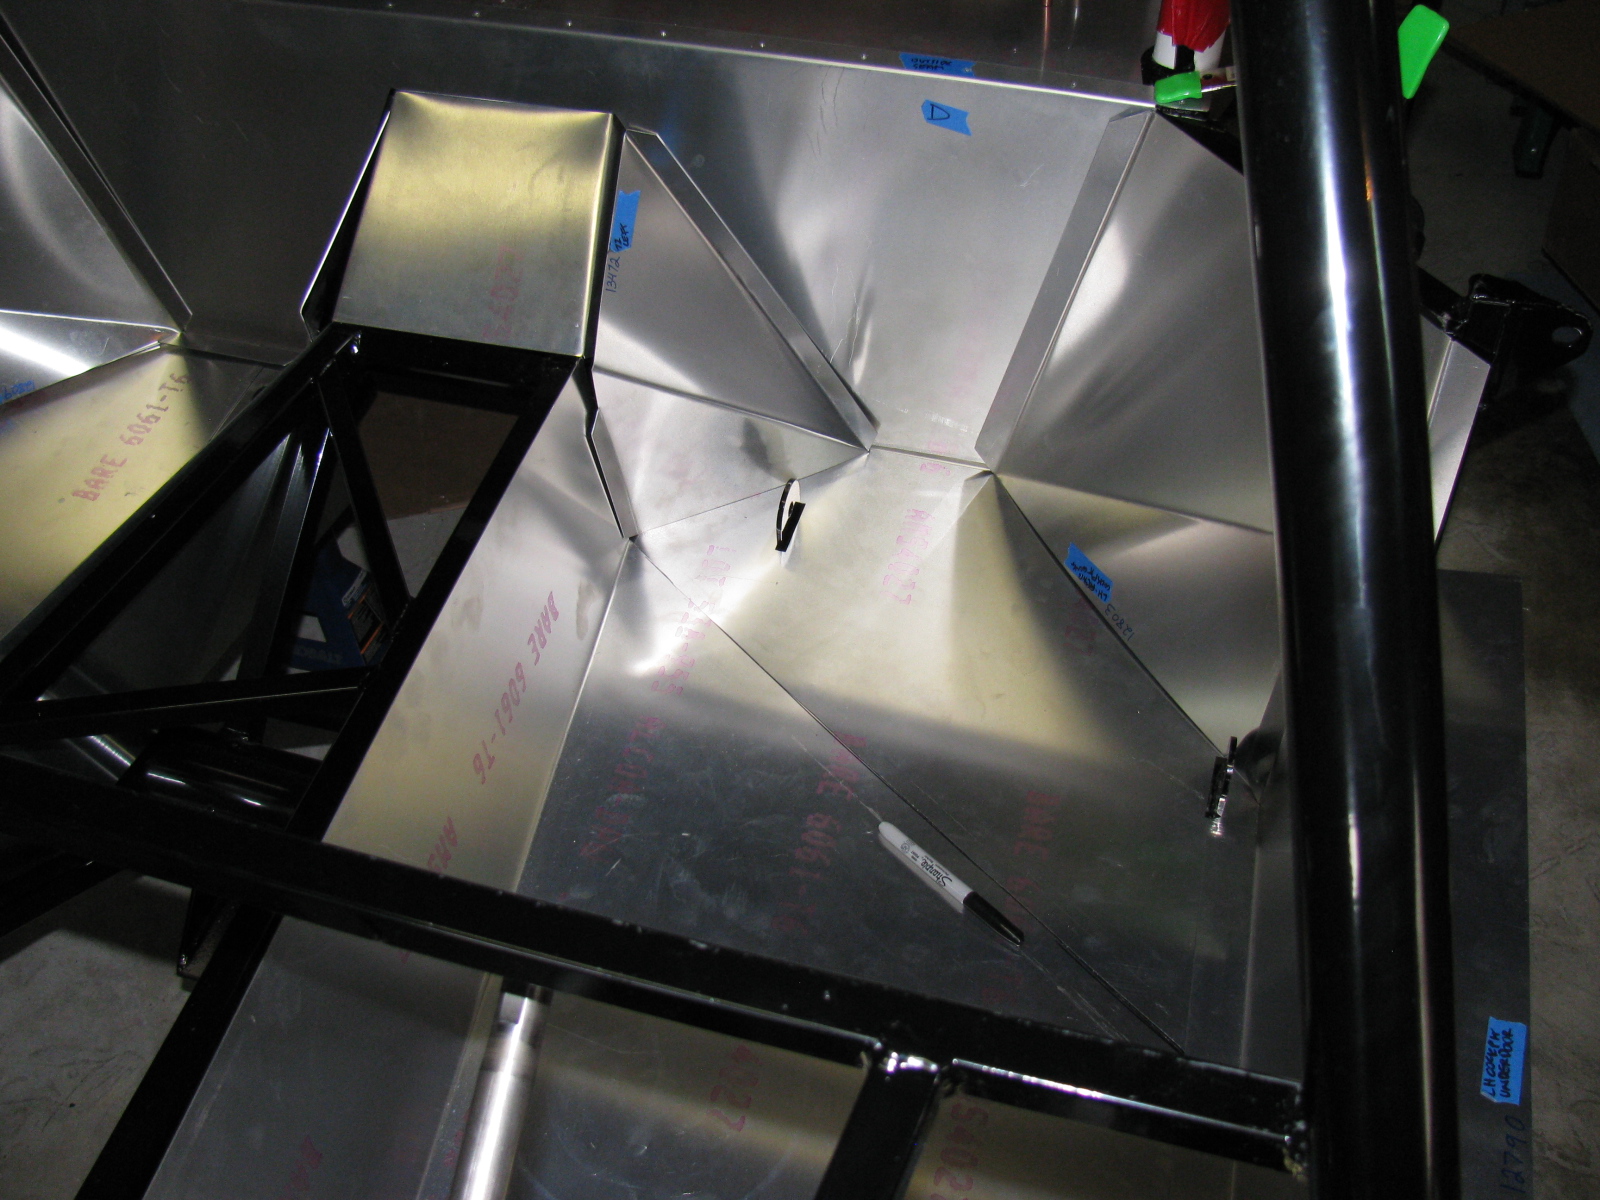
Interior (Cockpit) Aluminum Panels
After the problem with building the IFS, I decided to “dry-fit” all parts from now on. This way I can verify everything is correct – or fix things that are wrong – before tightening the parts into place.
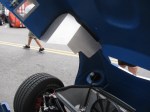
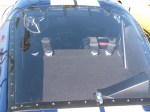
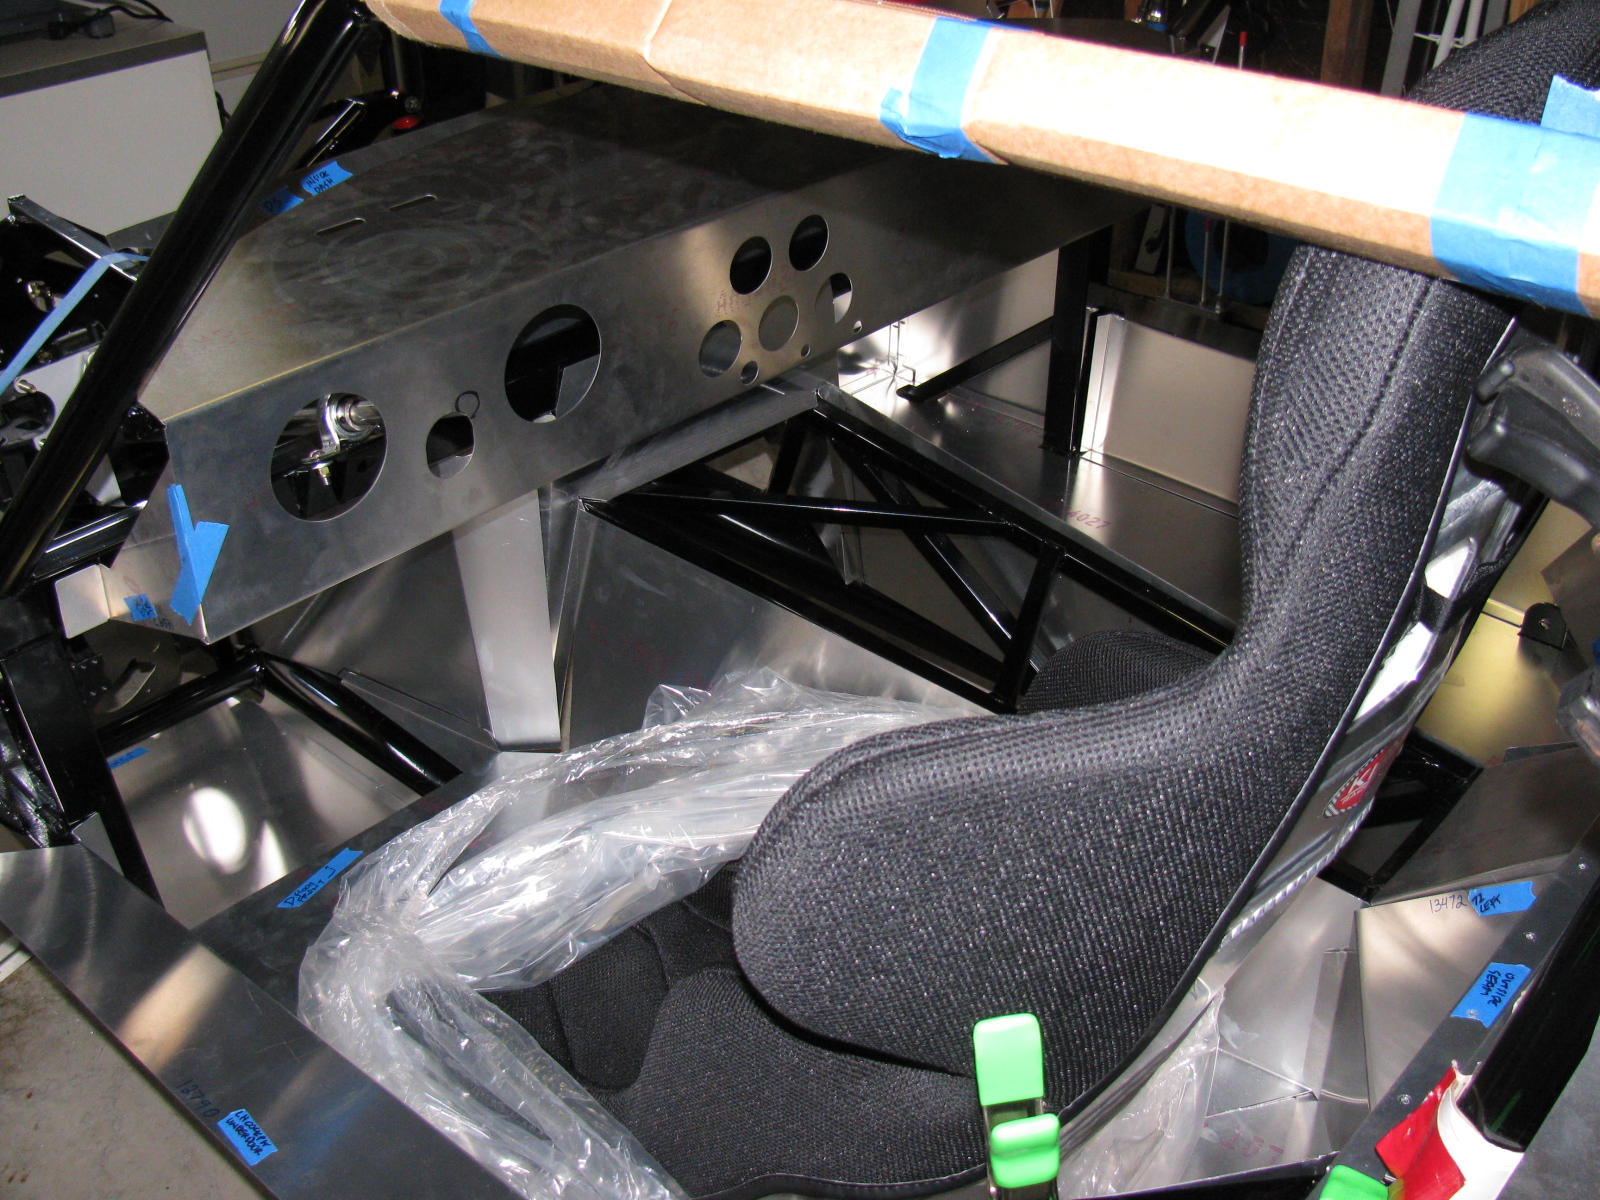
I decided to do some more work on the interior sheet aluminum. Compared to some of the other tasks, fitting the aluminum is easy. I made some diagonal cuts along the floor to make the parts fit easier, and to prevent scratching the nearby interior panels. By cutting the single large pieces into multiple smaller pieces, they will drop into place, rather than bend and scrape into place – preserving the painted surfaces.

The seams and bend directions are hard to see in these pictures, the aluminum sheets do not provide enough contrast. I may use masking tape to show where the parts go and where the seams meet next time. As I said, this is the first attempt to fit the cockpit aluminum. Based on old Factory Five Racing forum posts, it looks like my aluminum panels have been improved somewhat. The only poorly fitting space is this big gap on the driver side, right at the corner of the transmission tunnel.

I may either trim the mounting tab behind one of the panels, or just install some sort of patch over the top. Overall, though, this Generation 2 Coupe seems to have better-fitting interior panels, so far.
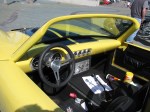
Dashboard
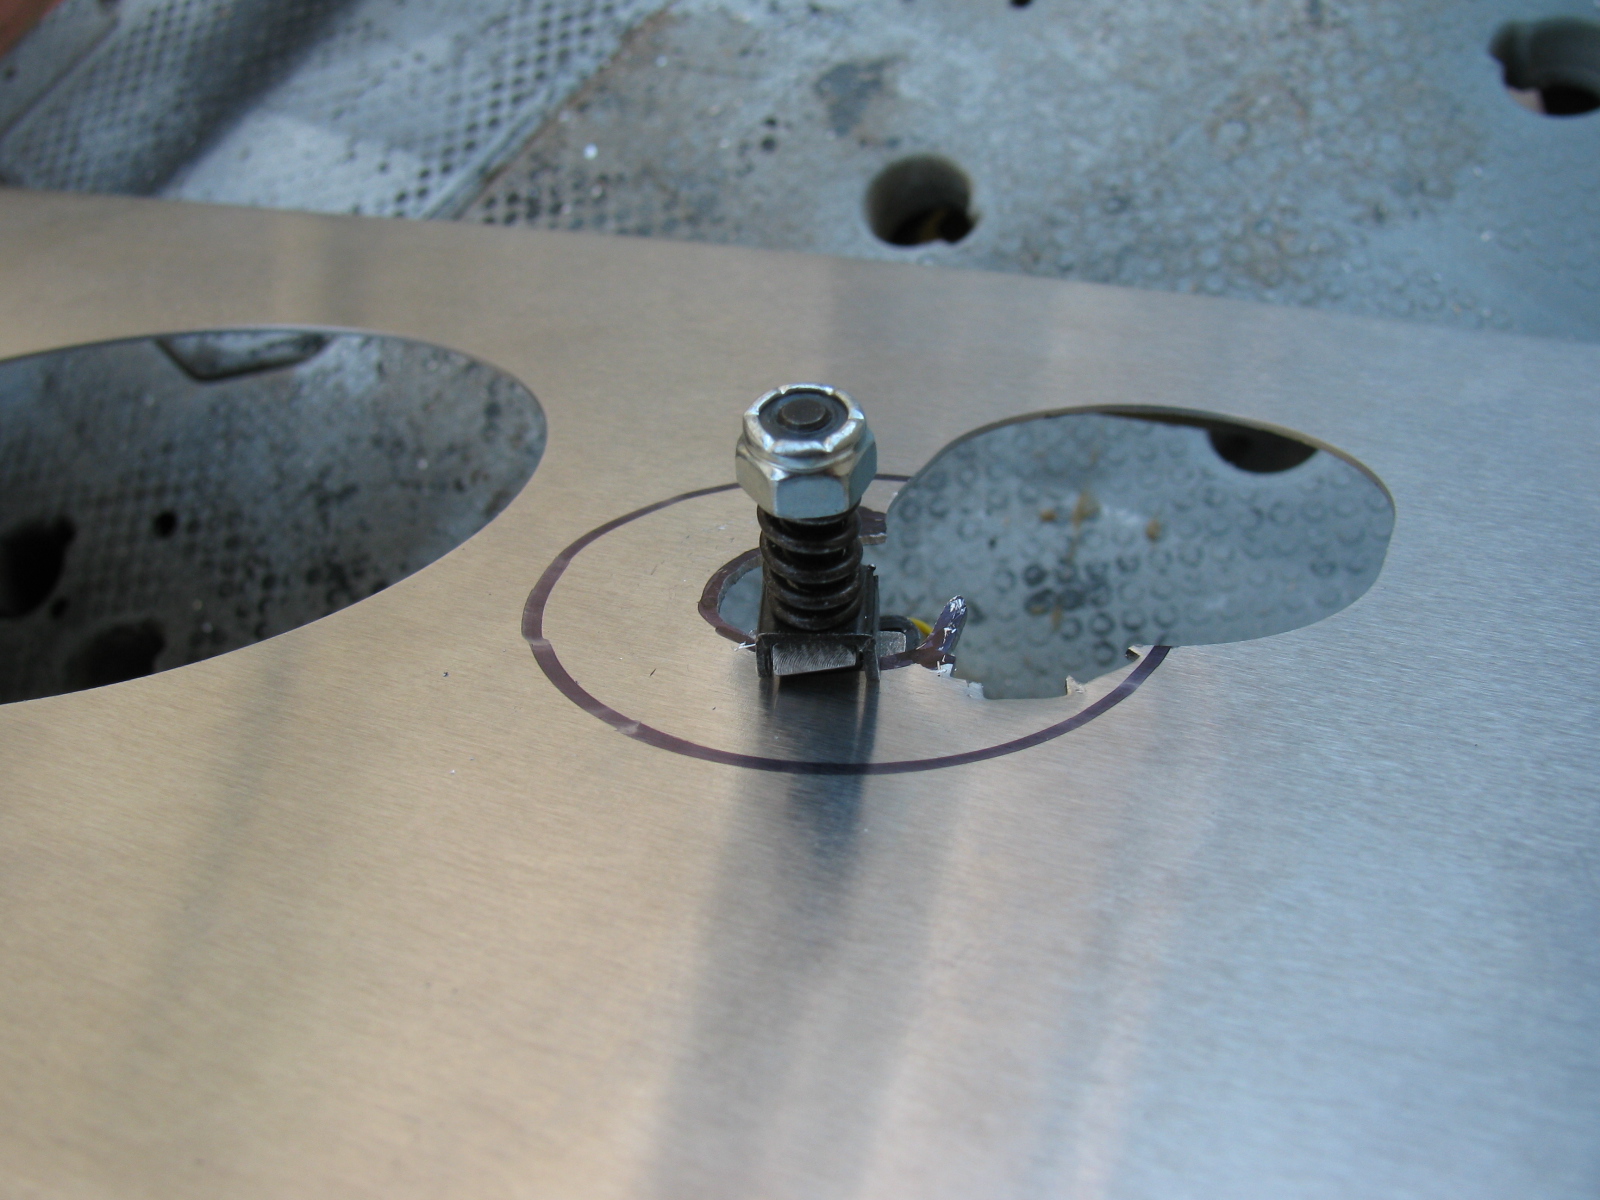
Here is an example of something gone wrong —

Notice the odd-shaped hole for the steering column? The mounting location for the steering shaft is not straight and parallel along the ladder structure in the driver side footbox and clutch quadrant. As I examined all the parts in this area, I believe the factory did this because of an interference issue with the brake pedal. If the steering column shaft were to run parallel to the ladder structure, it would block the brake pedal actuator. Moving the mount – but not compensating for this on the dashboard panel – makes this problem look worse than it may be.
I used a nibbling tool, a round file and a sanding drum to enlarge the hole for the steering shaft.


A popular modification to the dashboard is to cut along the bend, making the one long piece dashboard into two long pieces. This enables access to the inside of the dash from the top as well as the front, and will make installing and maintaining dash components such as gauges, air conditioner and plumbing much easier. I will make this cut at the next build session.
I just have to figure out a way to disguise the big and ugly hole in the dashboard. . .
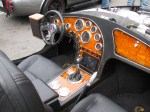
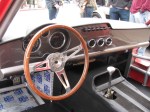
The Racing Seats
I placed the Kirkey high-back racing seats to see how it fits, and although the steering wheel is a bit toward the passenger side, I think it will be all right.


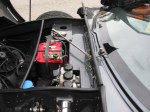
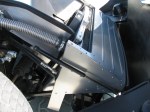
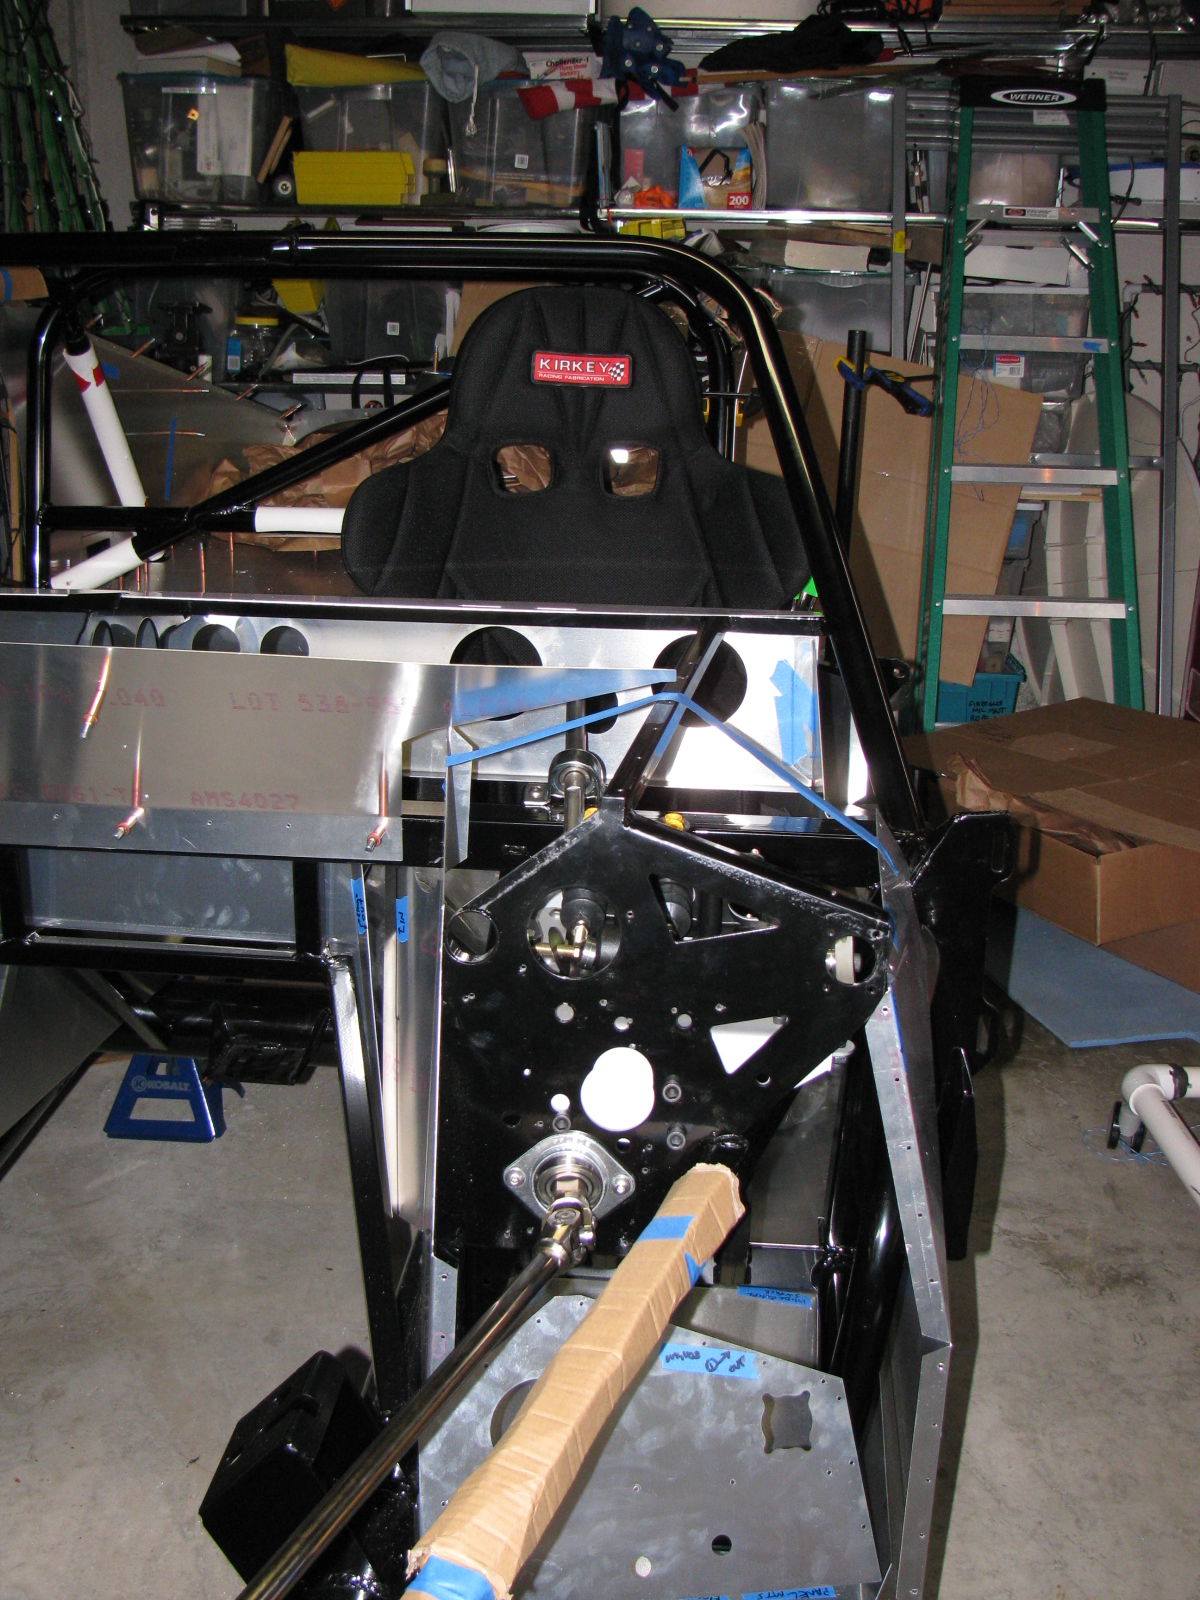
Clutch Quadrant and Pedal Box
Many Coupe builders owe a lot to a guy named Chris, who has documented his Type 65 Coupe build experience with lots of pictures. (I added a link to his flickr photostream in the Automotive Links section.) The Factory Five Racing assembly manual left an entire section out for us Complete Kit builders. There are no instructions for the Wilwood pedal box and clutch quadrant assembly. Thanks Chris for sharing your images!
Anyway – here are some pictures of my Wilwood pedal box and clutch quadrant. I do not have too many fitment issues here, except for the mounting points to the 3/4-inch tubes – I will have to wedge the mounts at the firewall in order to securely mount the pedal box to the ladder structure. I painted my footbox mounting plate with silver Rust-Oleum BBQ paint. I wanted to do a test to see how the color came out and how durable the finish is. I like the color, it is much better than the raw steel and hopefully will prevent any rust from forming inside the car.


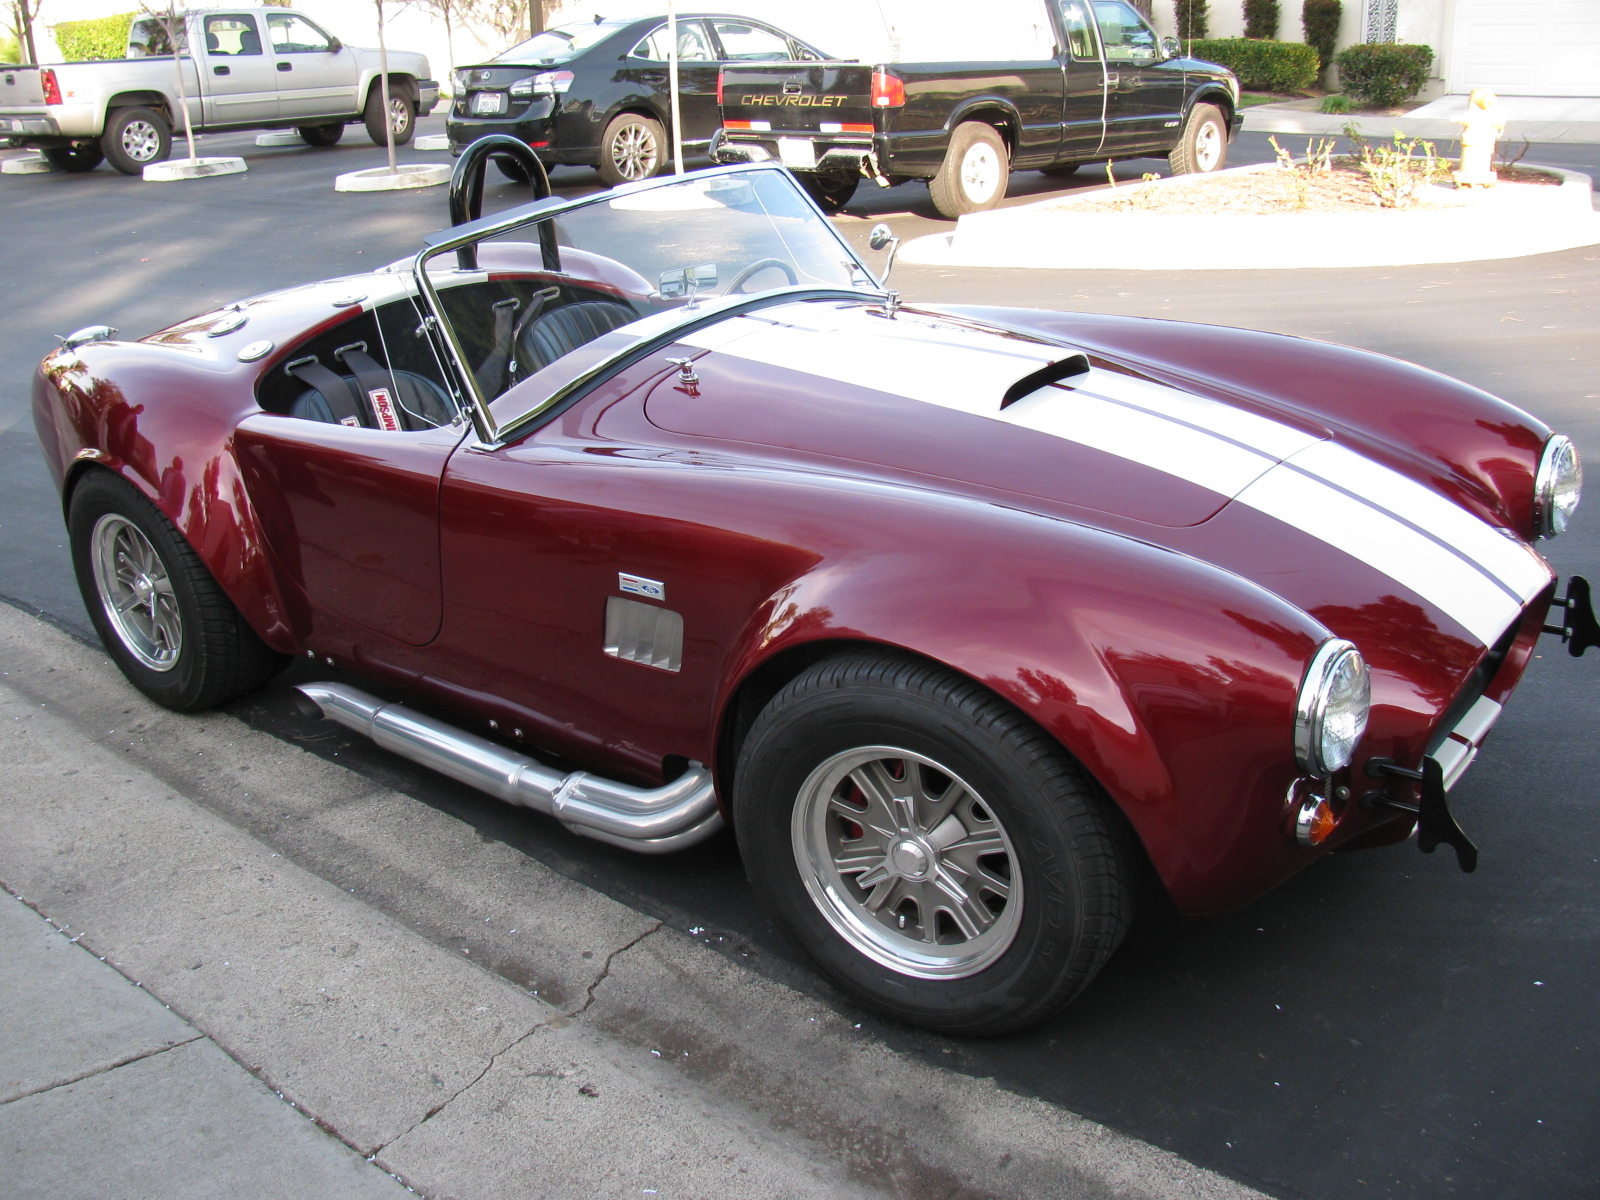
A Roadster Driver Visits
Rick, a neighbor and Roadster owner, stopped by for a visit. Here are some pictures of his very nice car. Rick did the paint job by himself in his garage – I am very impressed with the way the finish came out – take a look!