Archive for the ‘Vegetables-Fruits’ Category
I wanted to try making baked potatoes on the BGE for over a year, and I finally tried it. This is based on the directions by The Naked Whiz, a ceramic cooker expert.
You can go here to see the original recipe. http://www.nakedwhiz.com/bakedpotato.htm
I cut the salt down to one-half cup and scrubbed the potatoes to make sure all traces of dirt were removed from the skin. I used my own “universal rub” for meats instead of the Dizzy Pig rub.
And this made me think about creating a rub for baked potatoes. Something like onion and pepper and garlic – sounds almost like the rub I use for Santa Maria Style tri-tip.
I cooked an entire 5 pound sack of russet potatoes for this trial.
The original procedure said to turn the spuds half-way through the cooking time. I just let them bake on their own and did not turn them.
Naked Whiz says to bake the potatoes for one hour – My potatoes took one hour plus 10 minutes. If you try this, test for doneness using a skewer – it should easily push into the potato.
These were excellent – the texture is very good. The skin has a smoky flavor, which could be another area to play with – add hickory chips next time? More baked potato experiments are in order.
Here are some pictures. . .


. . . and a BBQ Dessert Experiment
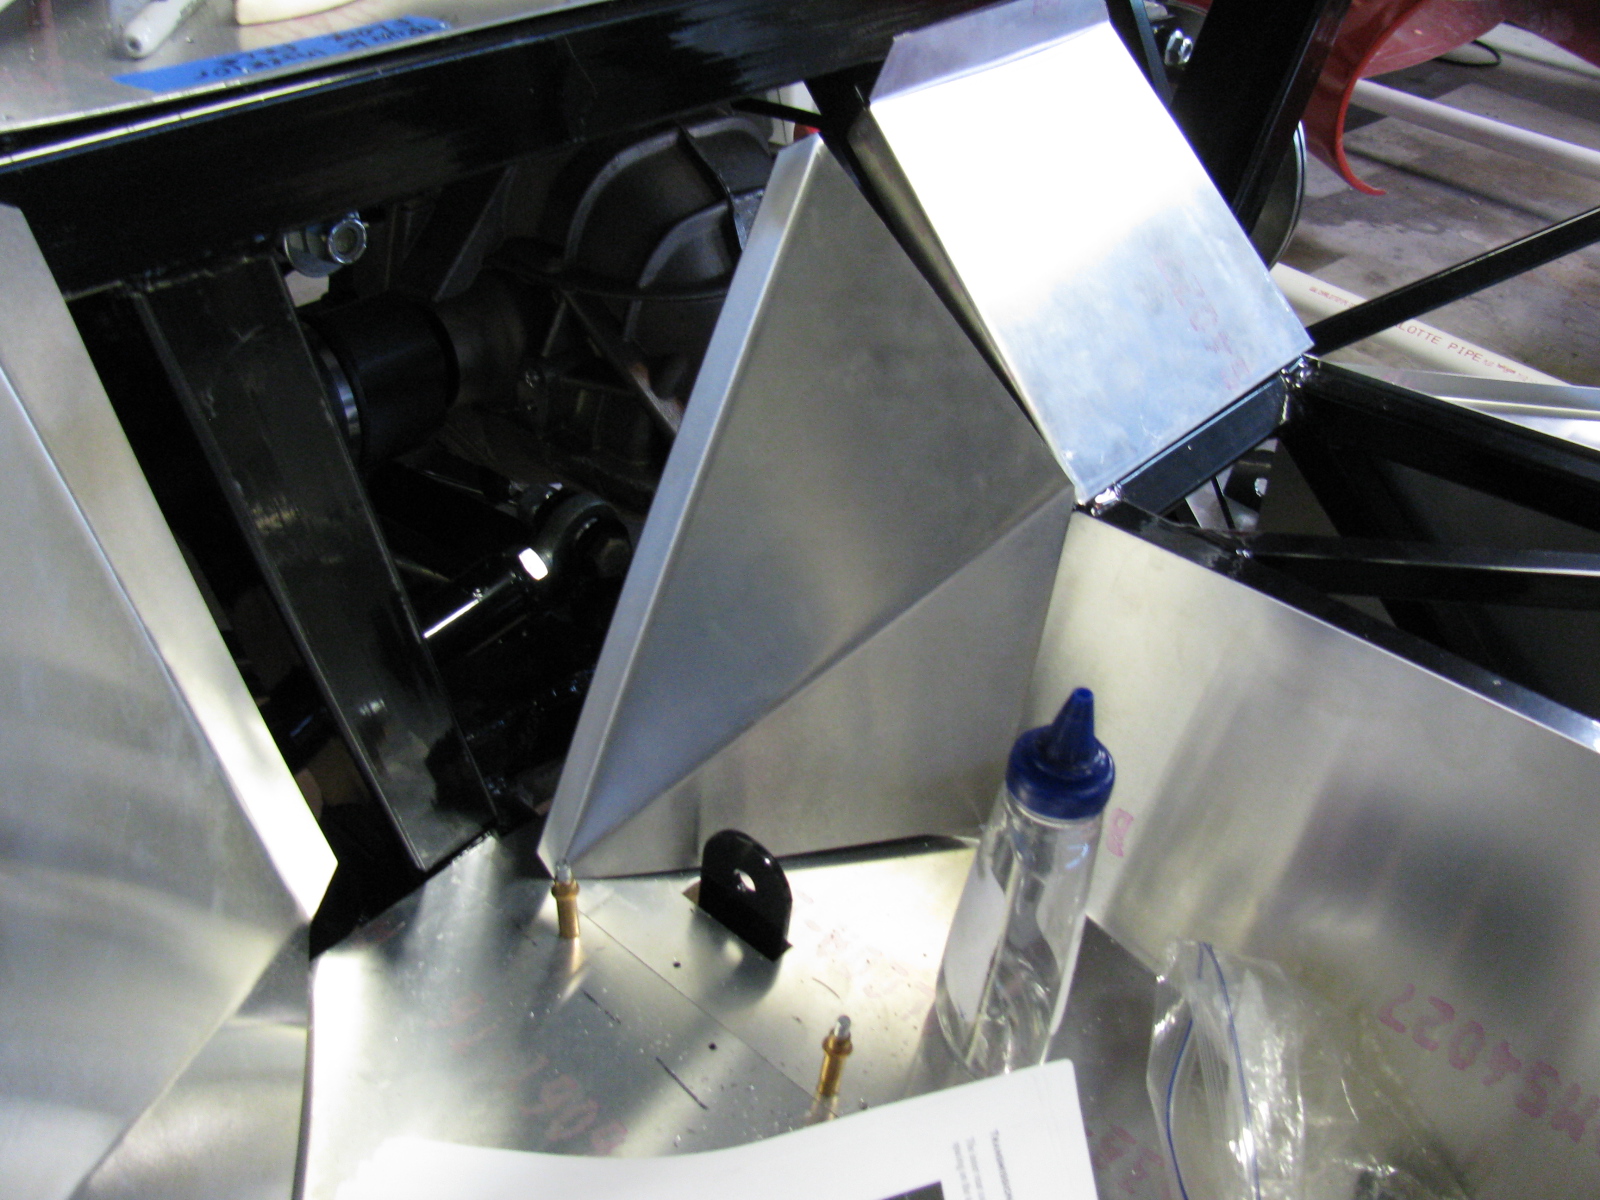
Work on the passenger and driver side foot boxes continues on the Factory Five Racing Type 65 Coupe.
I painted the engine side of the panels with silver BBQ paint, and left the interior side un-painted, since all panels will be covered with Cool-It heat and sound barrier. Panels that face the exterior of the car – like the foot box floors and the trunk area, will be painted with RustOleum truck bed liner. It is a textured black finish that will also help reduce sound and noise. Here are some images. ..


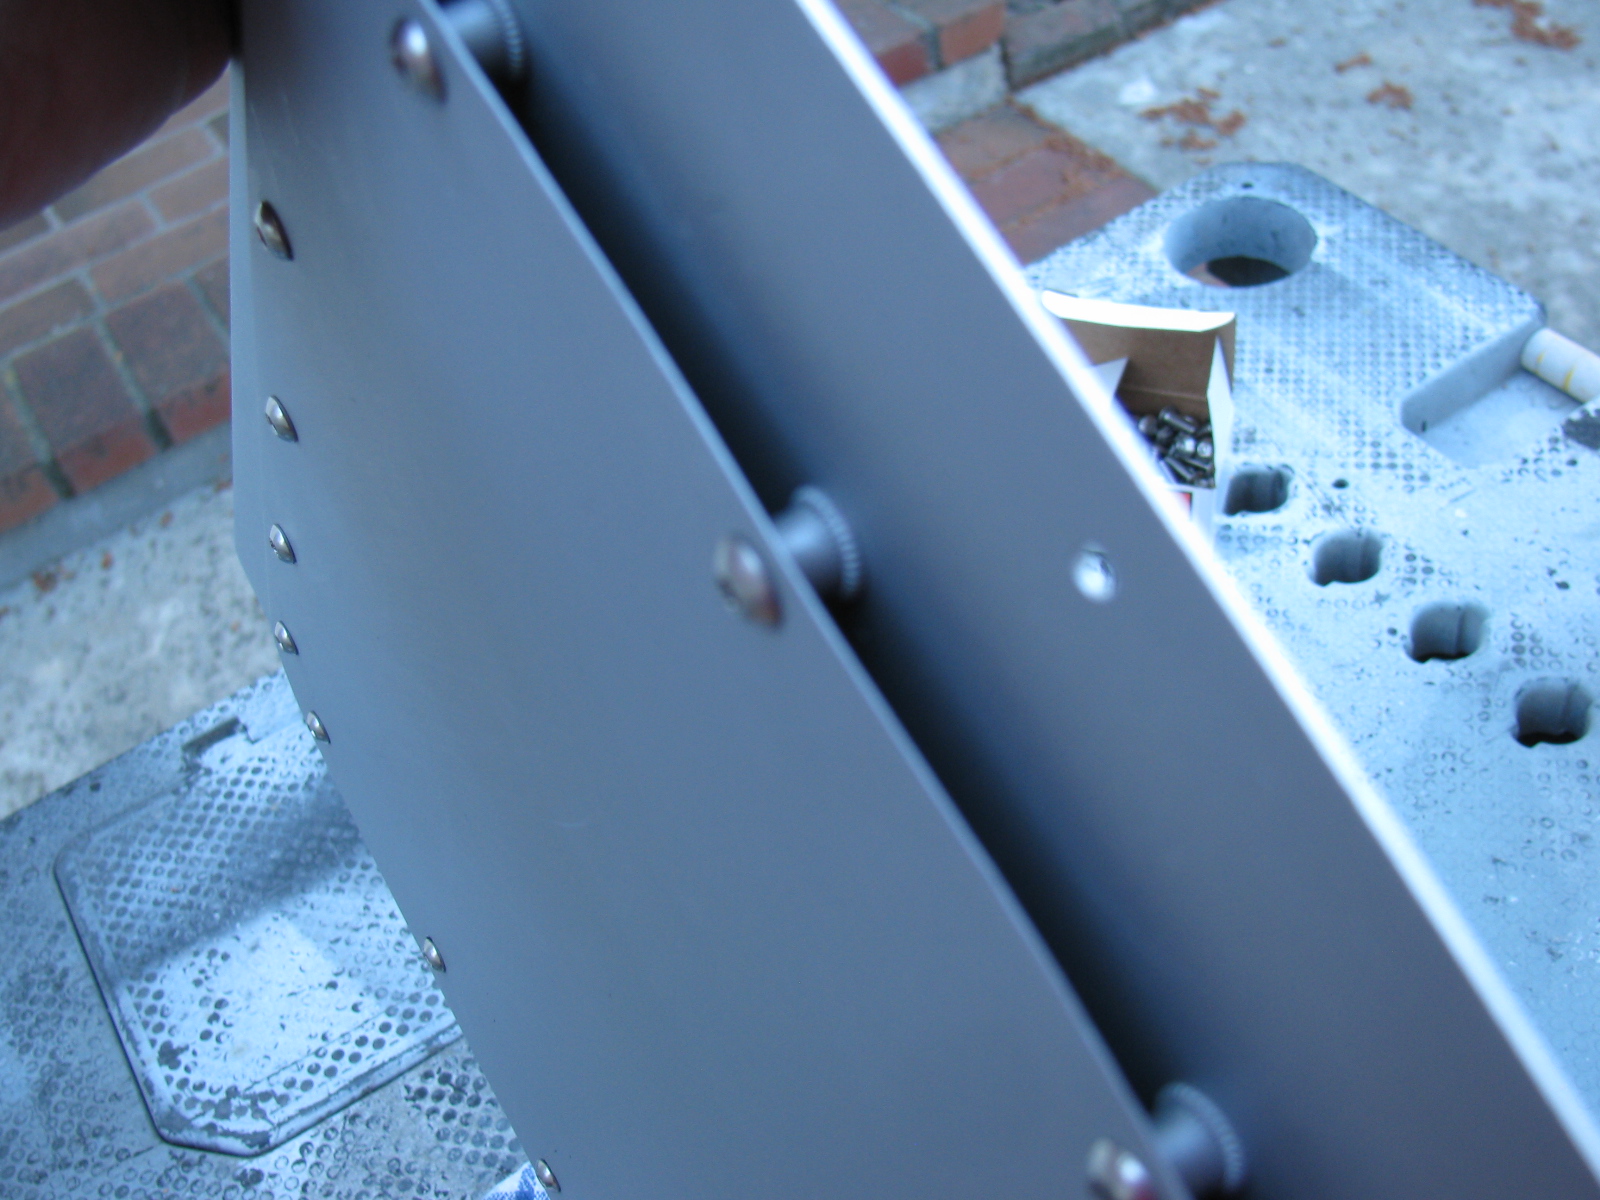
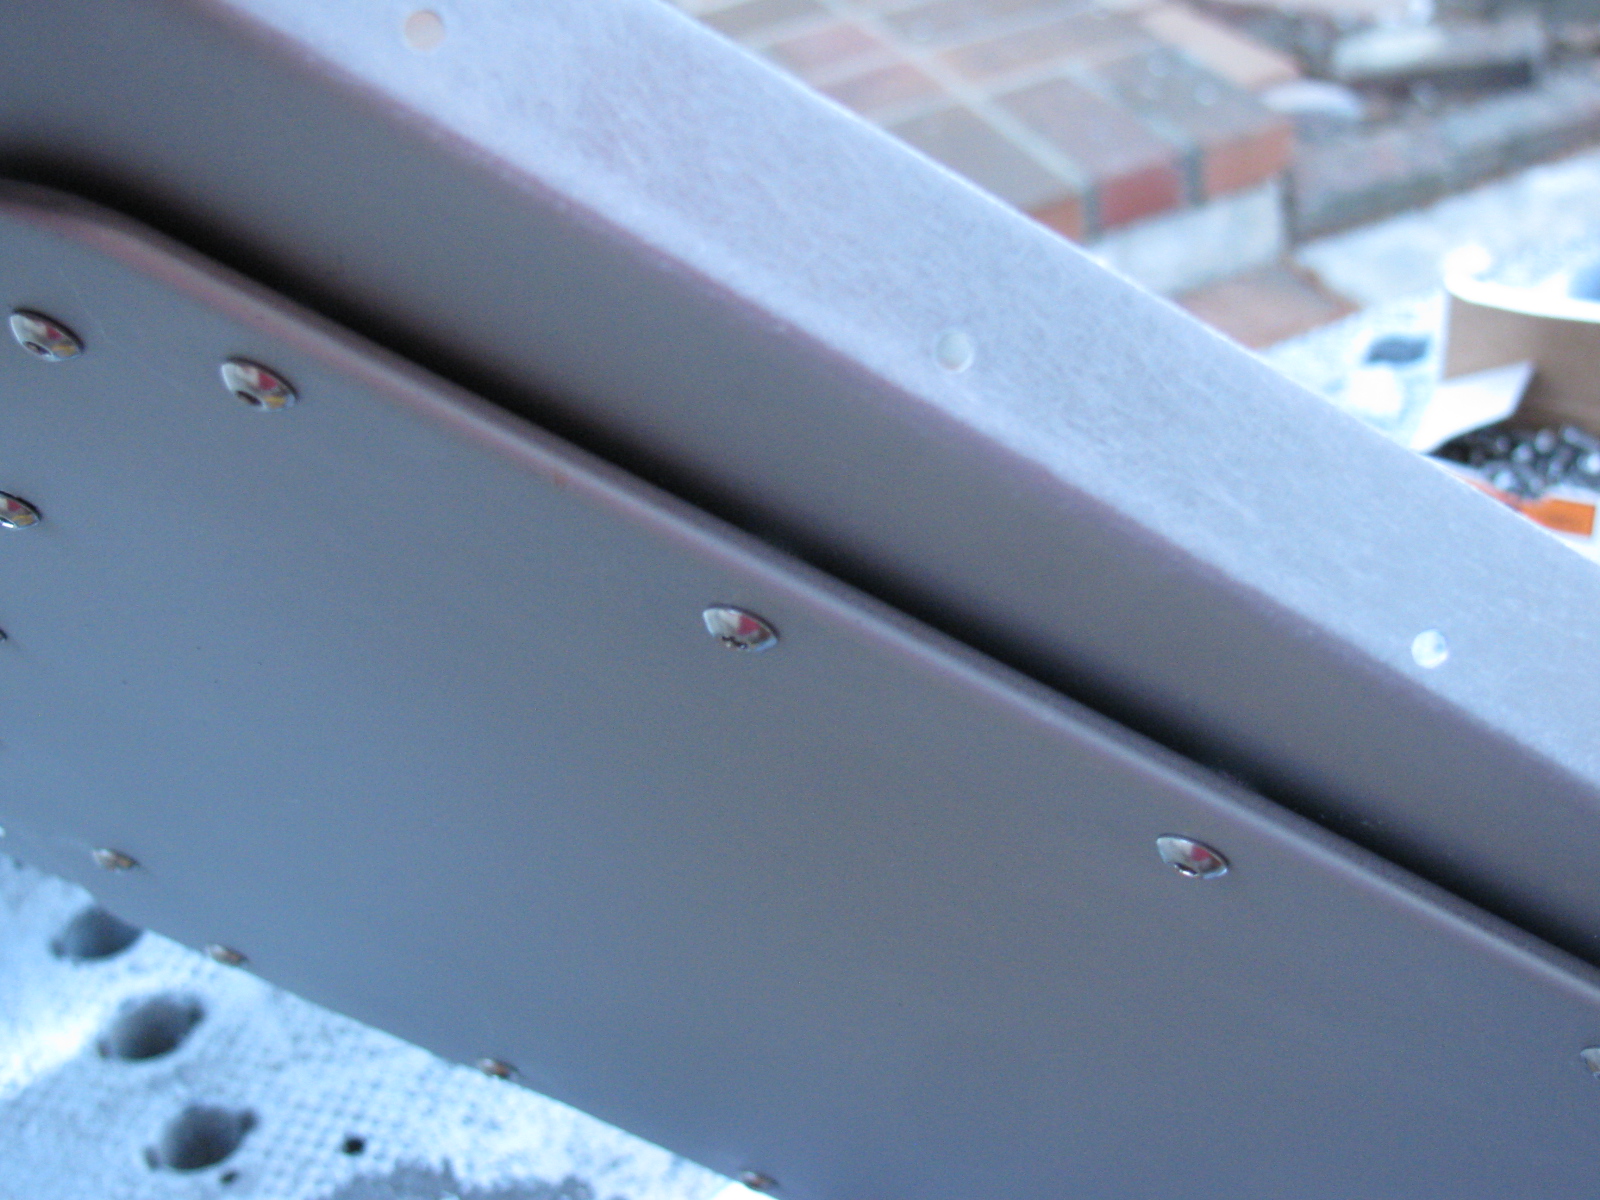
On the left is a detail of one of the cookie sheet heat shields, fastened to the firewall with 8-32 riv-nuts. The spacing is about one-quarter-inch. On the right is a view of the top of the heat shield, showing the nicely rolled edge.


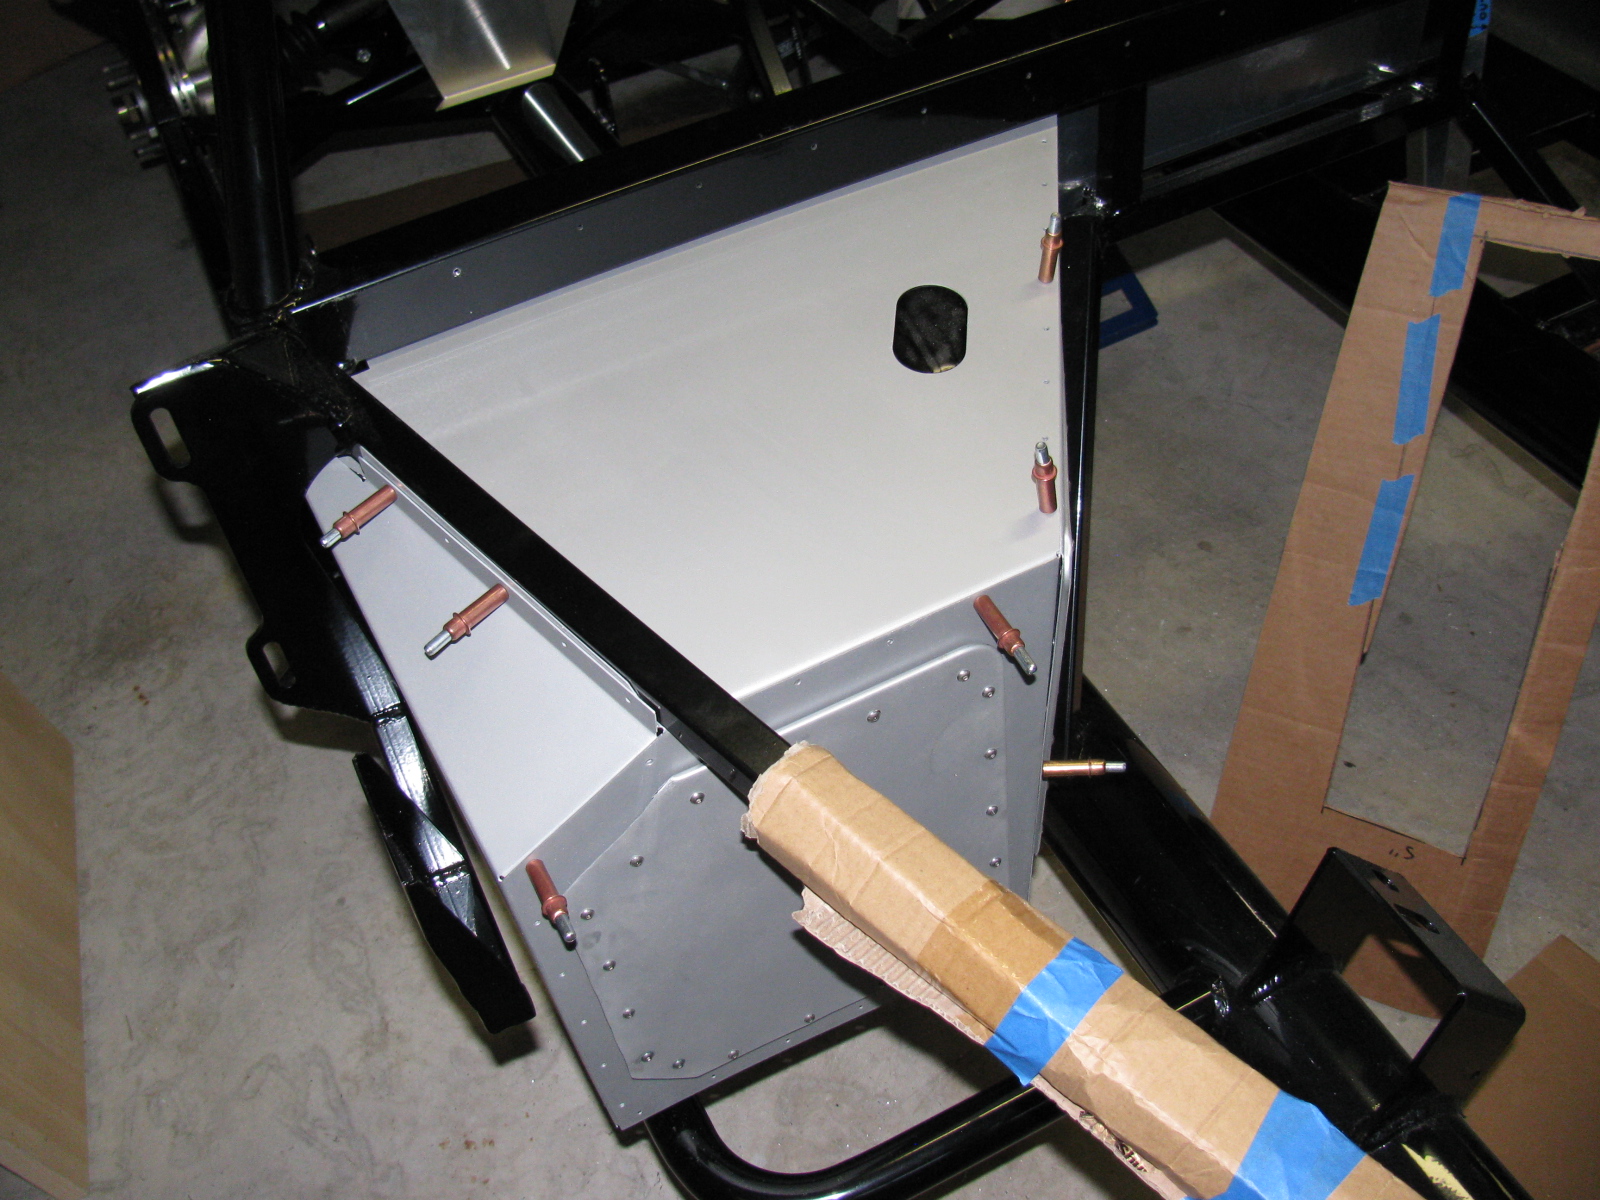
Passenger side foot box appears on the left of the photo above. The photo on the right shows a closer look at the passenger foot box.


Photos above: Passenger foot box, before and after installing the Cool-It mats.


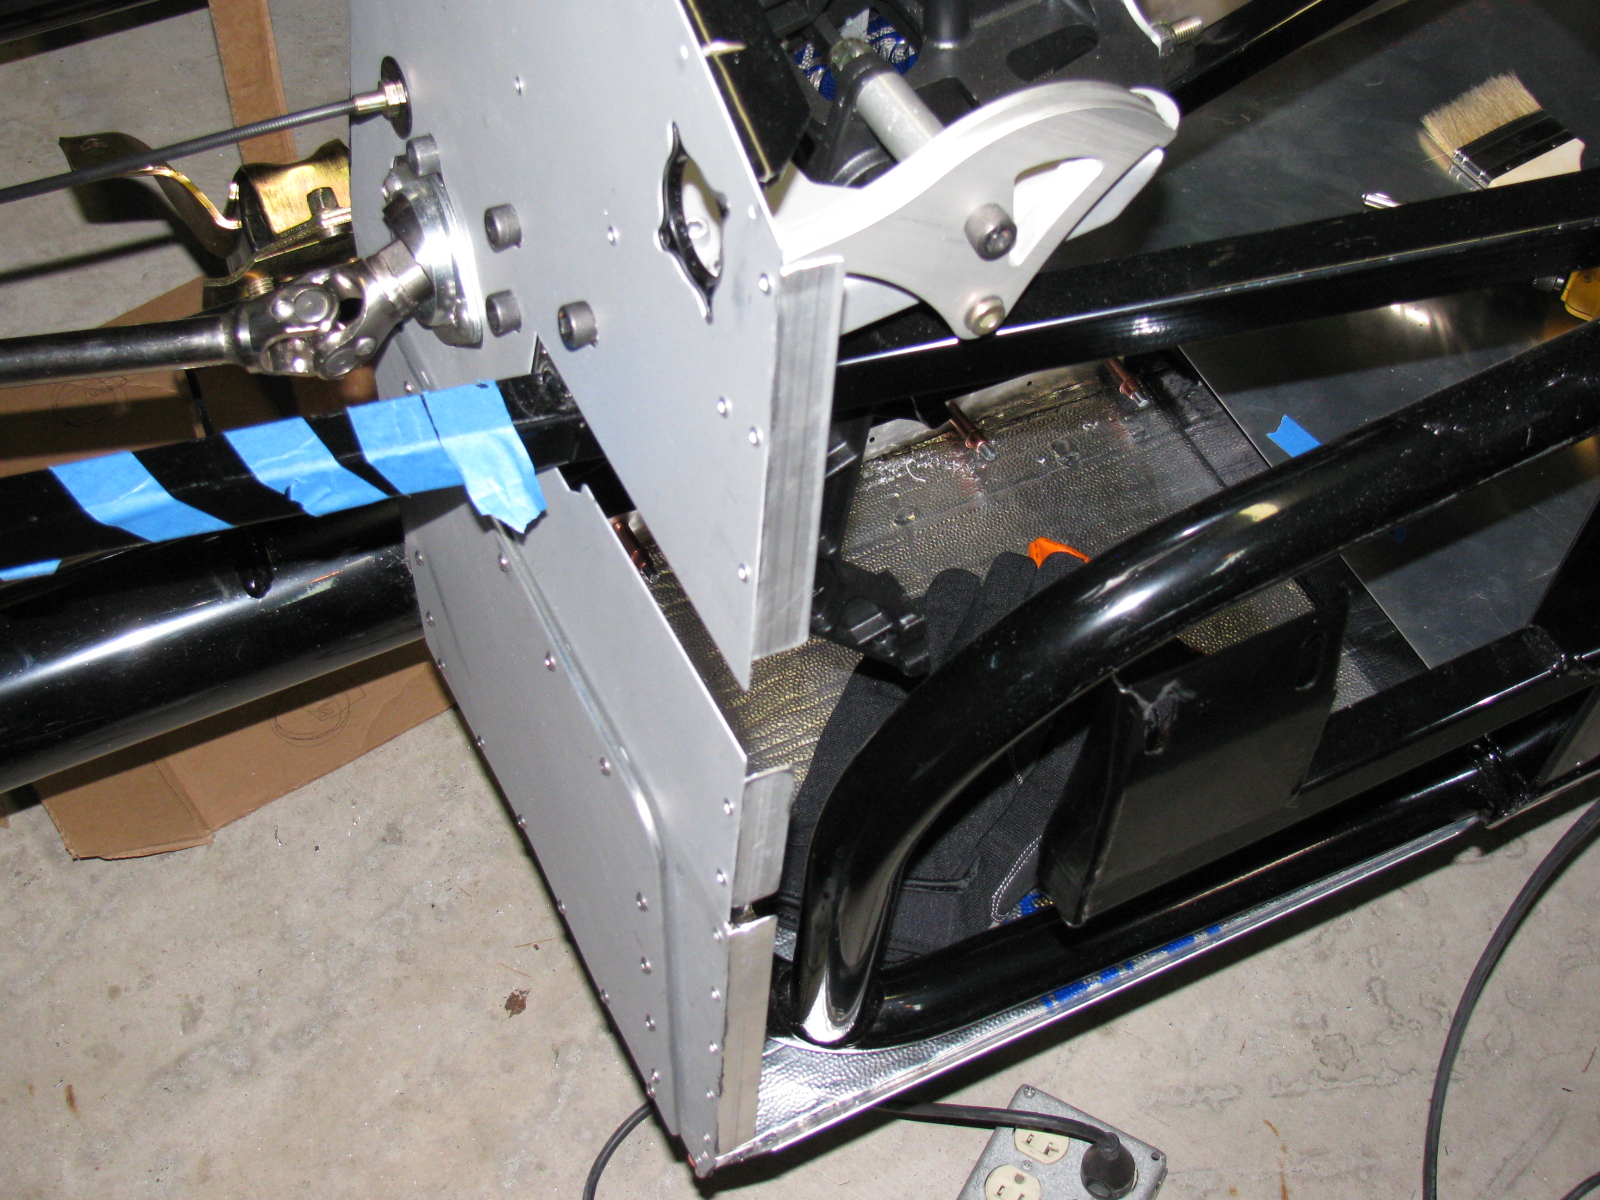
Above left: The top seam on the passenger foot box – this will be either trimmed or a strip of aluminum will be used to cover the mis-match. On the right, I added srtips of aluminum angle to the outer wall of the driver side foor box. This should make the outer wall easier to install.
The next series of photos show how the interior panels go into place. The un-finished aluminum is difficult to photograph, I wish the manual would include an exploded view of the panels and how they fit into place. This is a complex jigsaw puzzle, and many of the parts must be flexed, trimmed and pulled into place. Clecos really help. This is one area where the manual offers good advice – the sections fit best when you follow the order outlined in the manual. Although many of the panels are marked with a part number, they do not indicate the orientation of the panel.
The foot box floors were very difficult to fit into place, so I sliced them into sections. If you look carefully you can see the saw kerfs (seams) on the floor panels. I chose the cuts carefully, in order to make sure I would have something solid to rivet to. In the areas without any supporting chassis tubes, I will install strips of aluminum bar stock.
The panels will be permanently attached later with silicone adhesive and rivets – at this stage, the panels are being “dry-fitted” with clecos to make sure everything is properly in place.


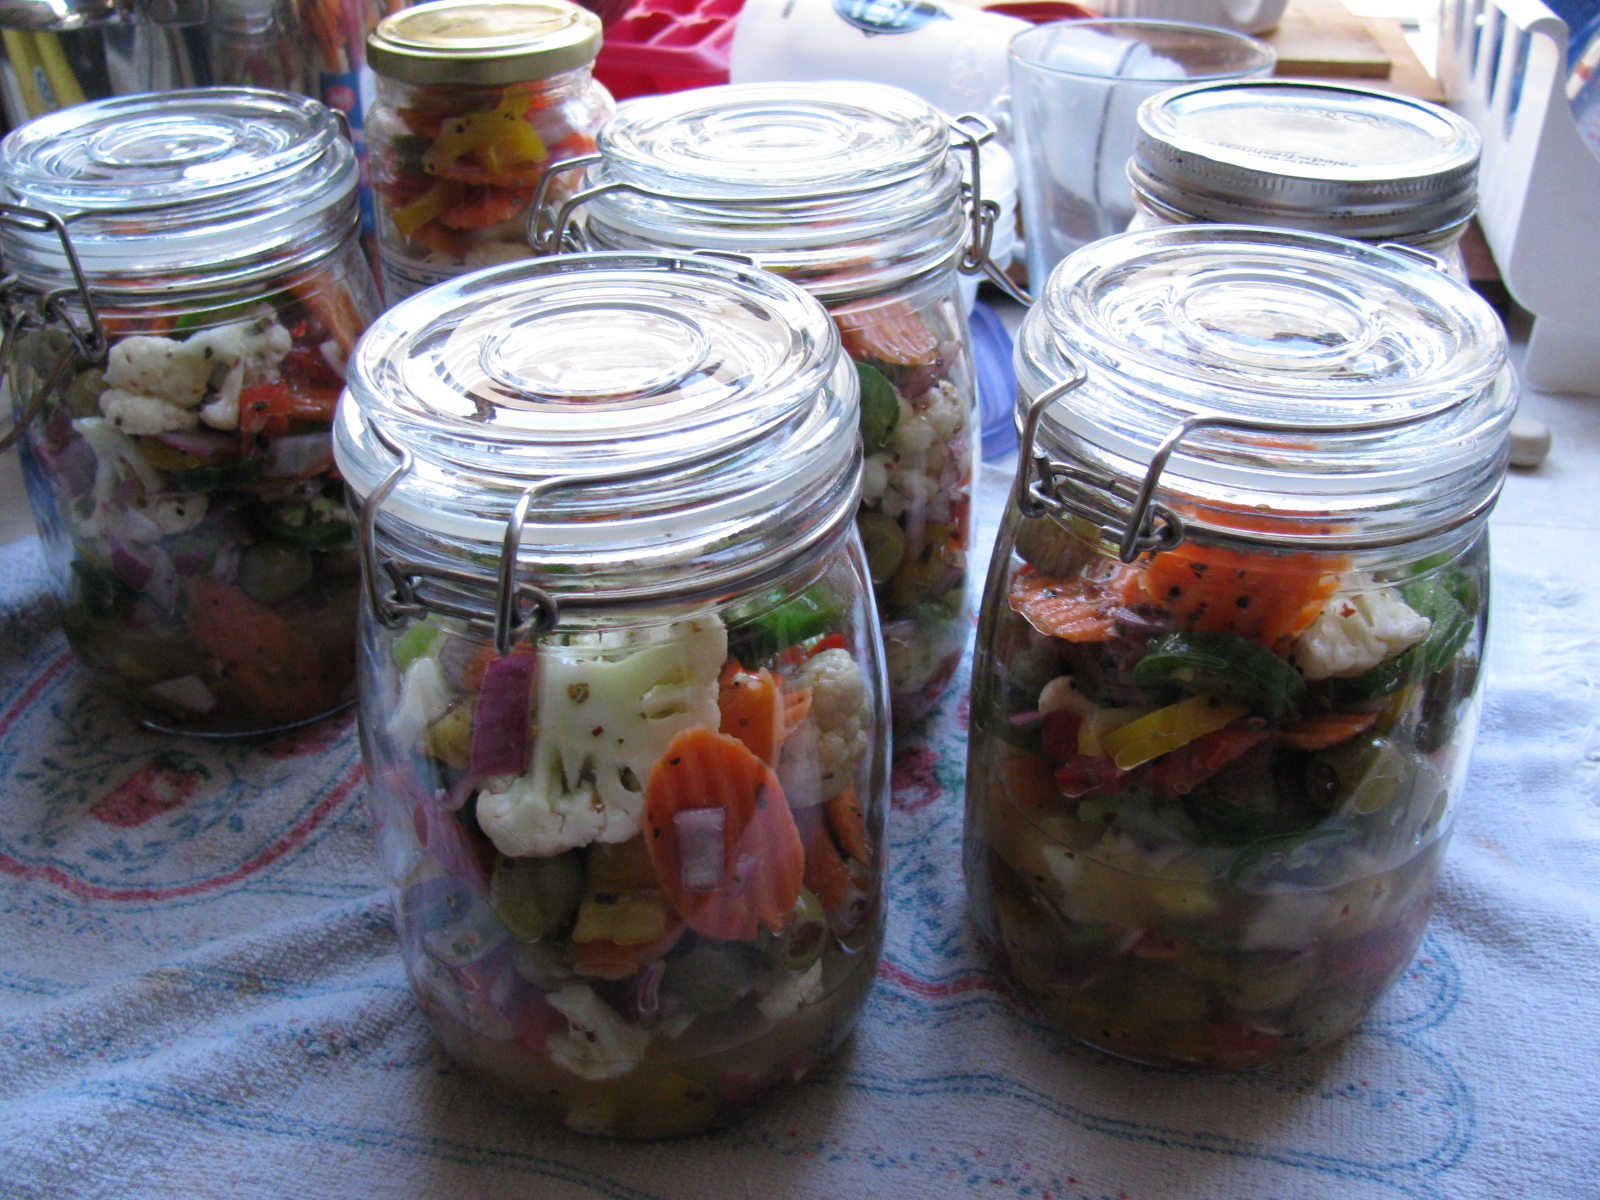
Somewhere during this building session, I made some time to pack my hot giardiniera into jars, and made a few deliveries. . .
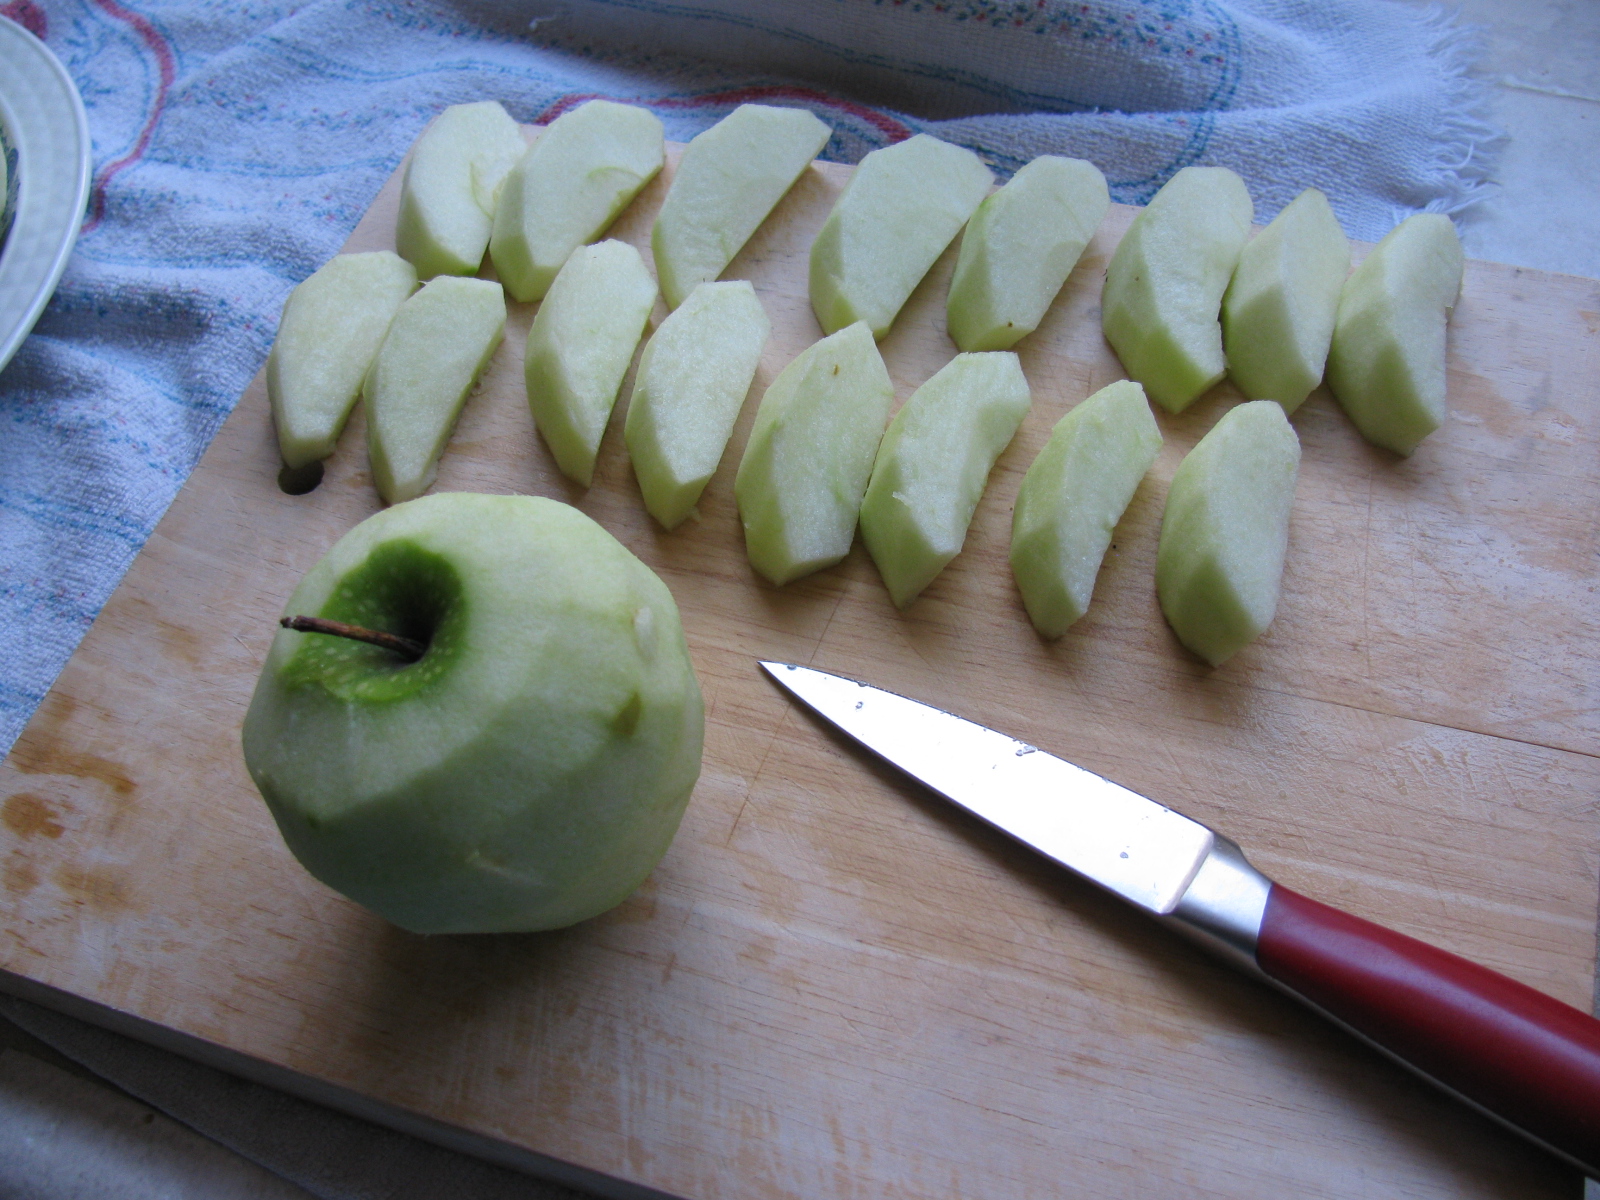
I also managed to do some BBQ experiments. This time I baked some apple turn-overs in the Big Green Egg. They turned out OK, but could be better. They are like just-right bites of apple pie. Here are some pictures. . .


Someone asked me where my BBQ information and pictures are on this site. I have not posted any of my BBQ projects lately, but here is something from the archives. This is a pair of tri-tip roasts on my Big Green Egg ceramic cooker. This was my first cook using a new Maverick wireless thermometer. It allows me to roam around the house and yard while monitoring the grate as well as the meat temperature. It includes a low- and high-temperature warning. One unit stays with the cooker, and the other unit has a wire belt clip and looks like a cell phone.
Here is a picture of the setup:

Beef tri-tip smoke-roasting on the Big Green Egg. The wires you see in the picture are for the Maverick remote thermometer. One probe goes into the item being cooked, and the other probe monitors the grill temperature. The remote unit has a digital display for timing and high- or low-temperature.
And here is one of the roasts being sliced:

Santa Maria Style Beef Tri-Tip – amazingly juicy and tender.