Archive for the ‘BBQ’ Tag

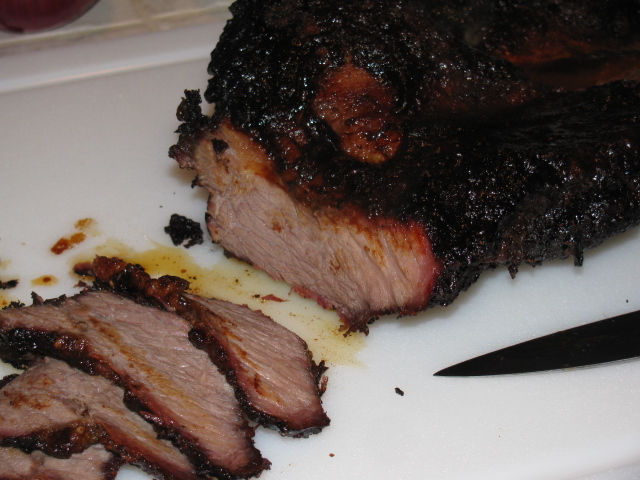
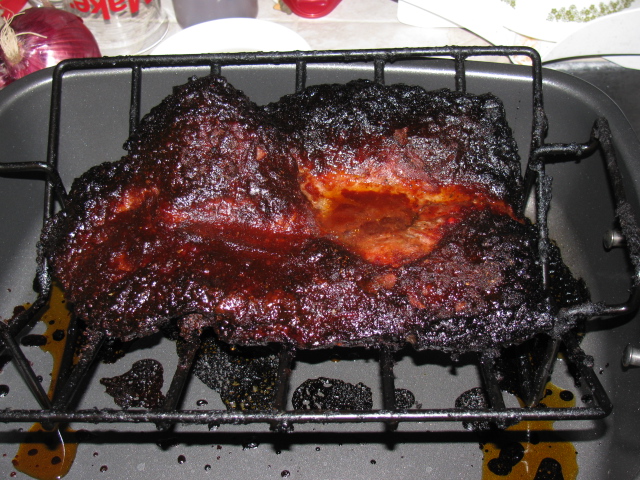
I made a brisket for the first time a few weeks ago. I followed the directions in Steve Raichlen’s BBQ University (“Smokelahoma” Brisket), and used my large Big Green Egg.
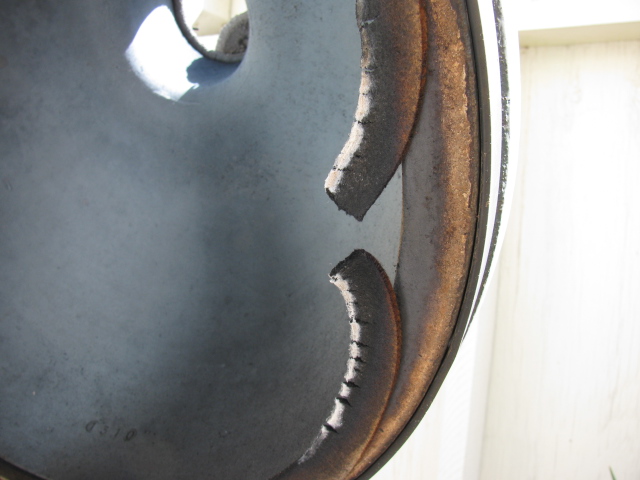
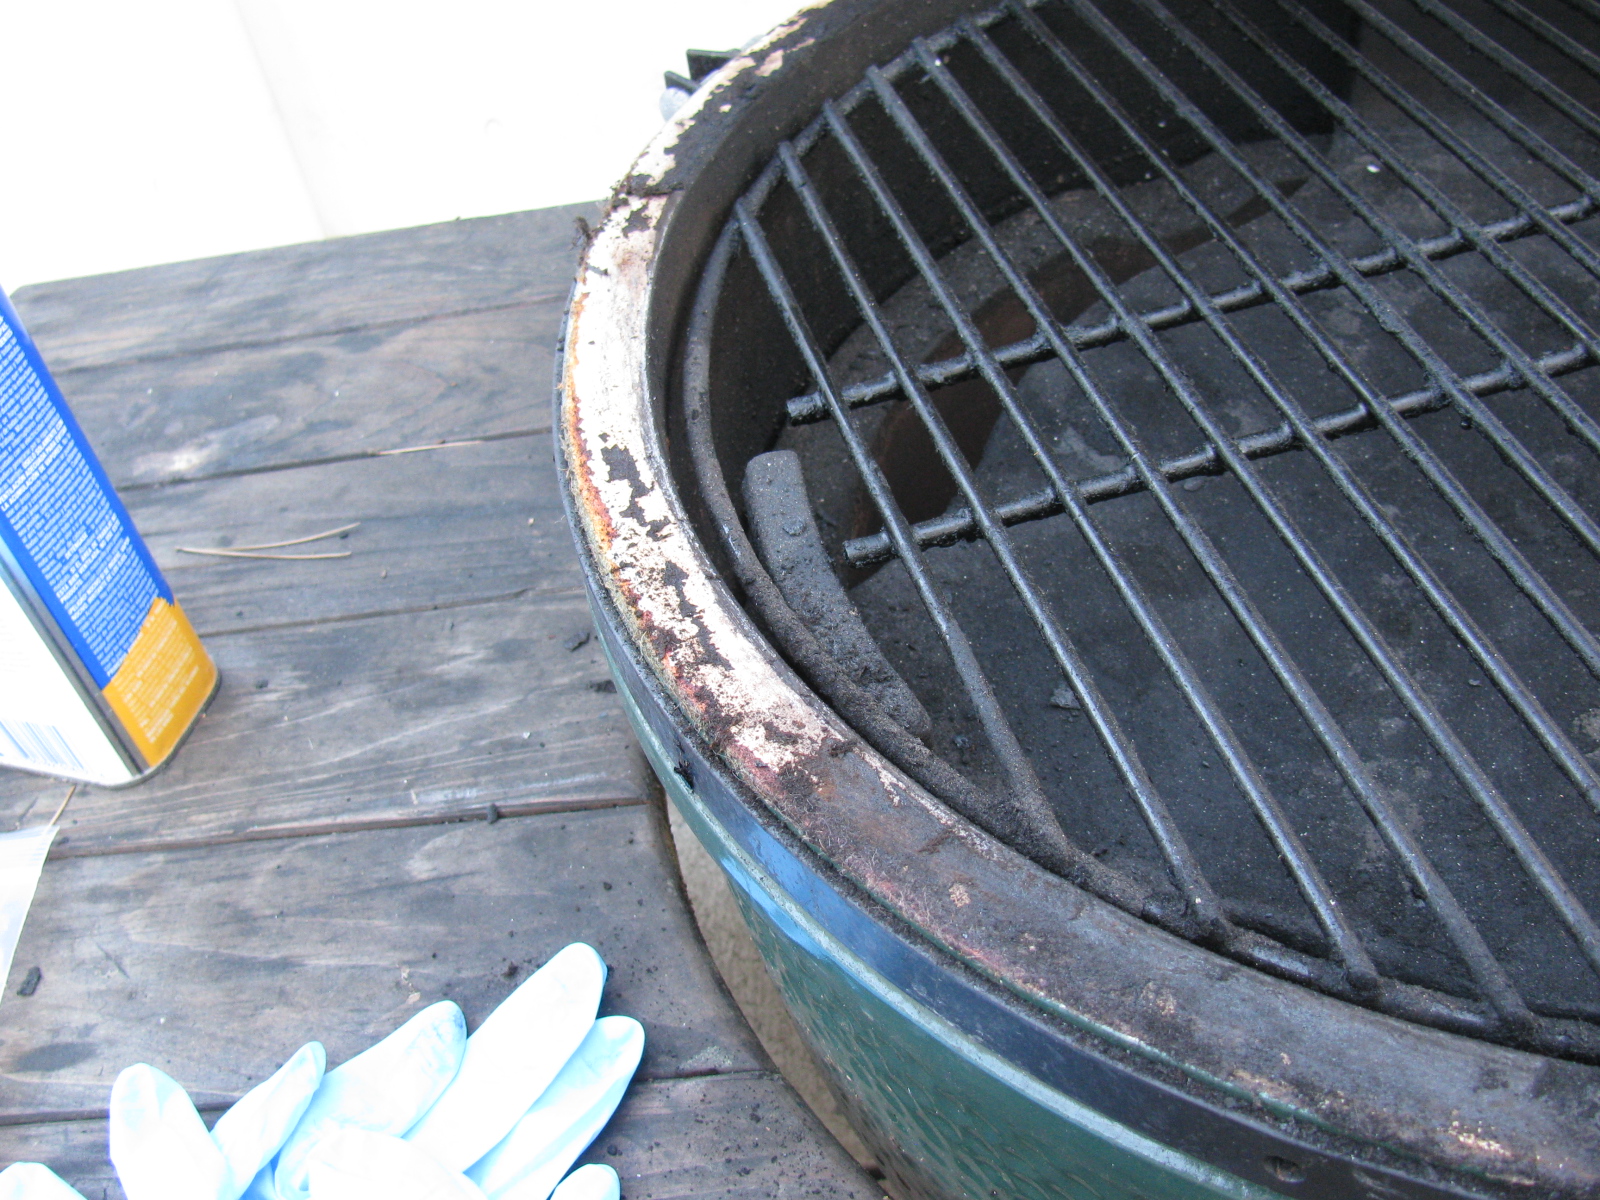
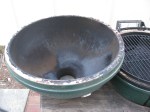
But, there was a casualty — there was a fire in my cooker and table, discovered this the morning after my cooking was done.
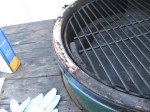
I think the gasket failed. I have a picture of what looks like a “blow-out” the gasket is actually curved / curled outwards. I believe this happened because the outer shell was cracked – remember I dropped it when it was new? It finally gave out.

It is also interesting to see how it changed when I moved it outside to store. It used to be inside the garage. I noticed the shell would sweat – water would come out of the ceramic shell when cooking with it. So there’s expansion and contraction. All contribute to the fire.
So, I think this is the scenario, CSI style:
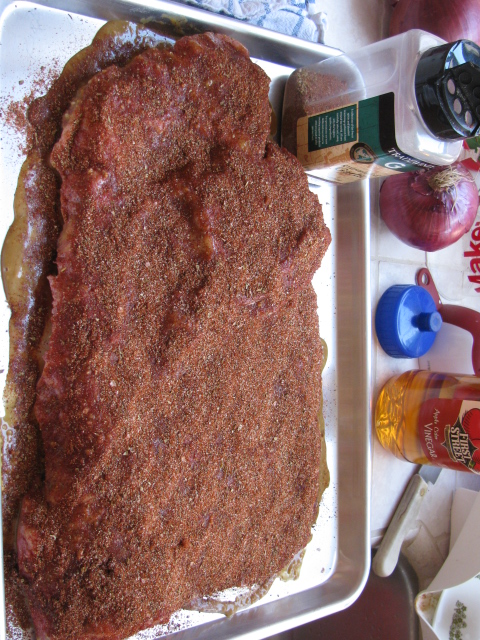
The fire box was over-loaded. I did not want to re-fuel during my cook (9 Lb brisket). Filled it too high. Lit the fire, temp was about 200 degrees to 225, low and slow. Cooked for 6 or 7 hrs.


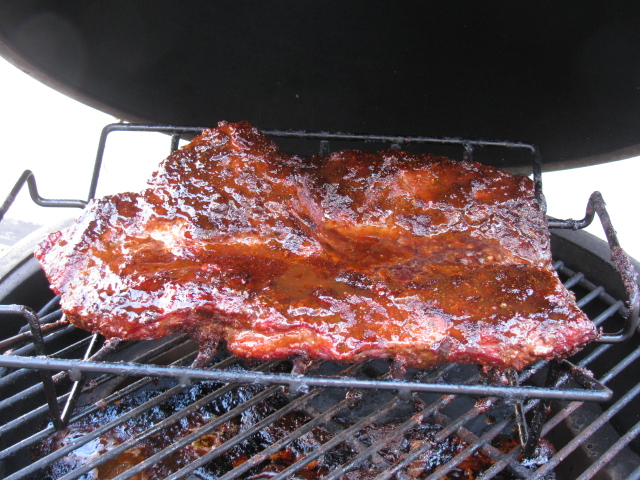
After it was done, I did my usual “sterilization burn” — open all the vents fully open and closed the lid to clean everything.
The crust was sugary and so added an element of catalyst to the fire, along with the grease.
By this time it was very dark outside, I had to use a flashlight to check the temp and the meat. I thought I saw the thermometer pegged all the way, so it was more than 700 or 800 degrees.
I didn’t think anything about that, since I always burn the crud off. Went to bed. . . Next morning, I saw this:


I wish I could have seen the fire! Easter Sunday morning, I looked outside – and saw the table. No smell, no fire, I think there was early AM dew. So the fire was out. Notice the table stopped burning by itself. Lucky.
I guess the good news is — I get to buy a new one!
The timing of the So Cal Eggfest is great, I can make it to this on on June 11 – This is a great way to see these cookers in action and meet the crazy fans of this interesting smoker – grill – oven – outdoor stove.
I made some “shoyu chicken” a while ago.
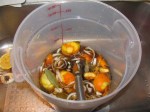
(ONO ONO means – VERY delicious.) It starts with a simple marinade, the ingredients look like this . . . .

Marinade ingredients for the Ono Ono Chicken
I decided I wanted to try trimming the thighs “competition style.” I need more practice, but this is what I did. It took a long time to do all this surgery, but it was worth it, since there is a lot of un-needed fat that you can throw away.
Thighs from the supermarket had this weird flap of extra skin. Yeah, I do love eating that stuff, but I decided to trim it off.

Chicken thigh from the local supermarket – all kinds of extra skin.
After trimming the excess, pull the skin away from the meat. If this process bothers you, you may want to think of this as a biology lab session. All this surgery is not for the faint of heart – and stomach.

Pull the skin away from the meat, and scrape the pasty fat away.
I used a spoon and a paring knife to scrape the fat from the inside surface of the skin.

Use various tools to scrape the fat away.

Keep scraping, but try to avoid damage to the skin.
Once the excess is scraped off, stretch and wrap the skin back on the thigh meat. I removed about a tablespoon or so of this excess stuff from each thigh. This is what it looked like. The guy performing the demonstration made his thighs look like little pillows, almost like a perfect, puffy rounded rectangle. Amazing.

Chicken thigh after trimming and de-fatting.
Prep Work Done – On to the Grill!
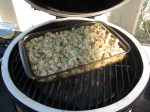
The marinade has a lot of sugar, so indirect grilling is used to prevent nasty flare-ups. (Big Green Egg Platesetter legs up, under the grill grate.)

Ono Ono Chicken on the Big Green Egg
Isn’t the color amazing? Cook until the safety zone is reached, about 160 to 170 degrees F.

Get ready to eat.
Here we go —

Ono Ono Chicken ready to eat.
I posted the recipe on the Green Egg – EGGhead Forum in 2011.

Paella is a delicious rice dish. There was a reference to paella on a Seinfeld episode. I have eaten lots of paella, but never made it. So, after several Maker Faire events in the Bay Area, I really wanted to try making my own.
Based on a recommendation from a fellow Big Green Egg fan (Thanks Dale!), I bought a paella pan made in Spain and Bomba rice from La Española Meats, Inc. in Harbor City, CA.
My 15-inch pan would be perfect for my Large Big Green Egg – except for the handles. They are too big and prevent the pan from sitting on the grill grate. I think I can bend the handles so it will fit the 19-inch grate on the BGE. I didn’t let this glitch stop me. I inverted the grill basket used for the vegetables, and put the paella pan on top. If you look closely at the pictures, you can see the basket under the paella pan. Seemed to work OK.
Of course, my paella pan is not as big as the giant ones used by Gerard’s Paella at the Maker Faire, but my pan is large enough to make 8 servings.
I used Steven Raichlen’s recipe from Primal Grill, Season One as a starter. (“Paella Primavera (with Vegetables and Beans But No Meat.”) His version is vegetarian, using all roasted veggies and vegetable broth. I had some Portuguese sausage in my freezer, and chicken stock, so I used them in my first attempt.
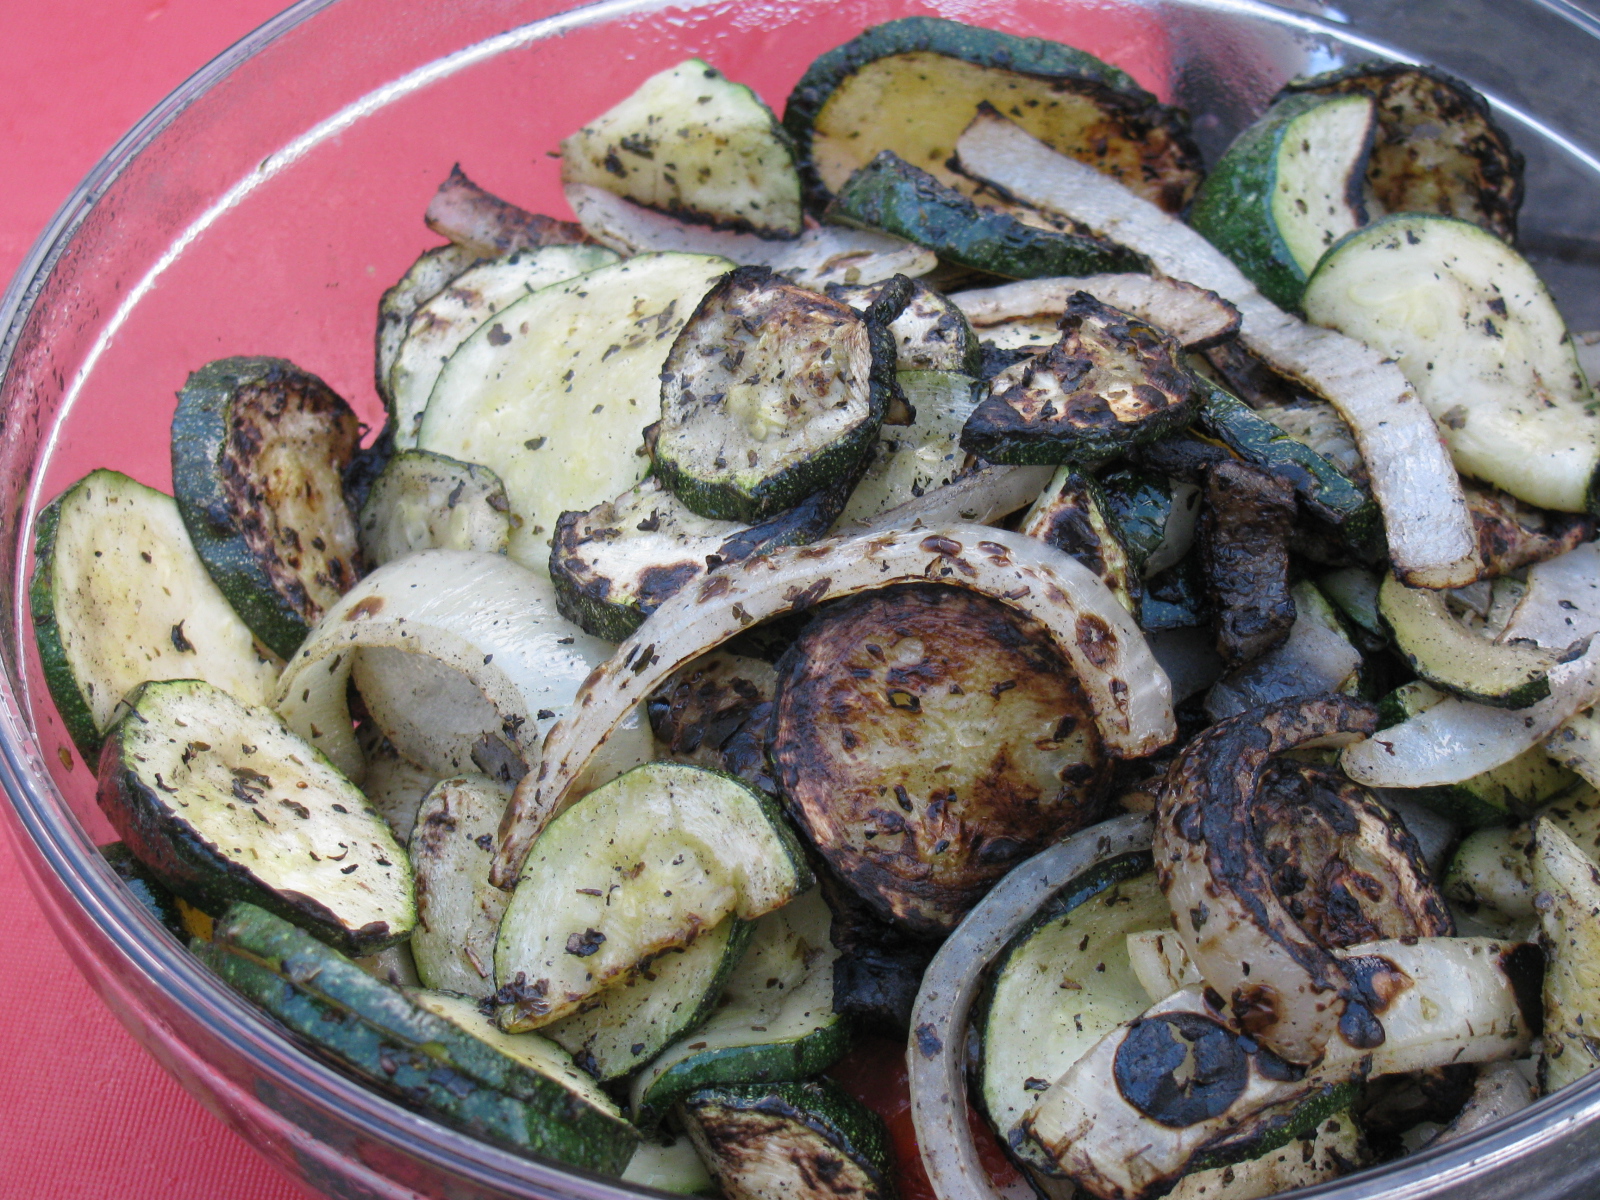
Here are the grilled veggies – Onions, garlic, red and green bell peppers, tomatoes, zucchini squash. These were direct-grilled in a basket. I used extra virgin olive oil and tossed on some sea salt, oregano, black pepper and basil.

Next, I direct-grilled the sausages in the basket. These were Hoffy brand Portuguese sausages. I wasn’t too pleased with this sausage. It was not bad, it was just a little too plain and mild for me. I still have several other brands of Portuguese sausages from Hawaii in my freezer. I need to test those soon.

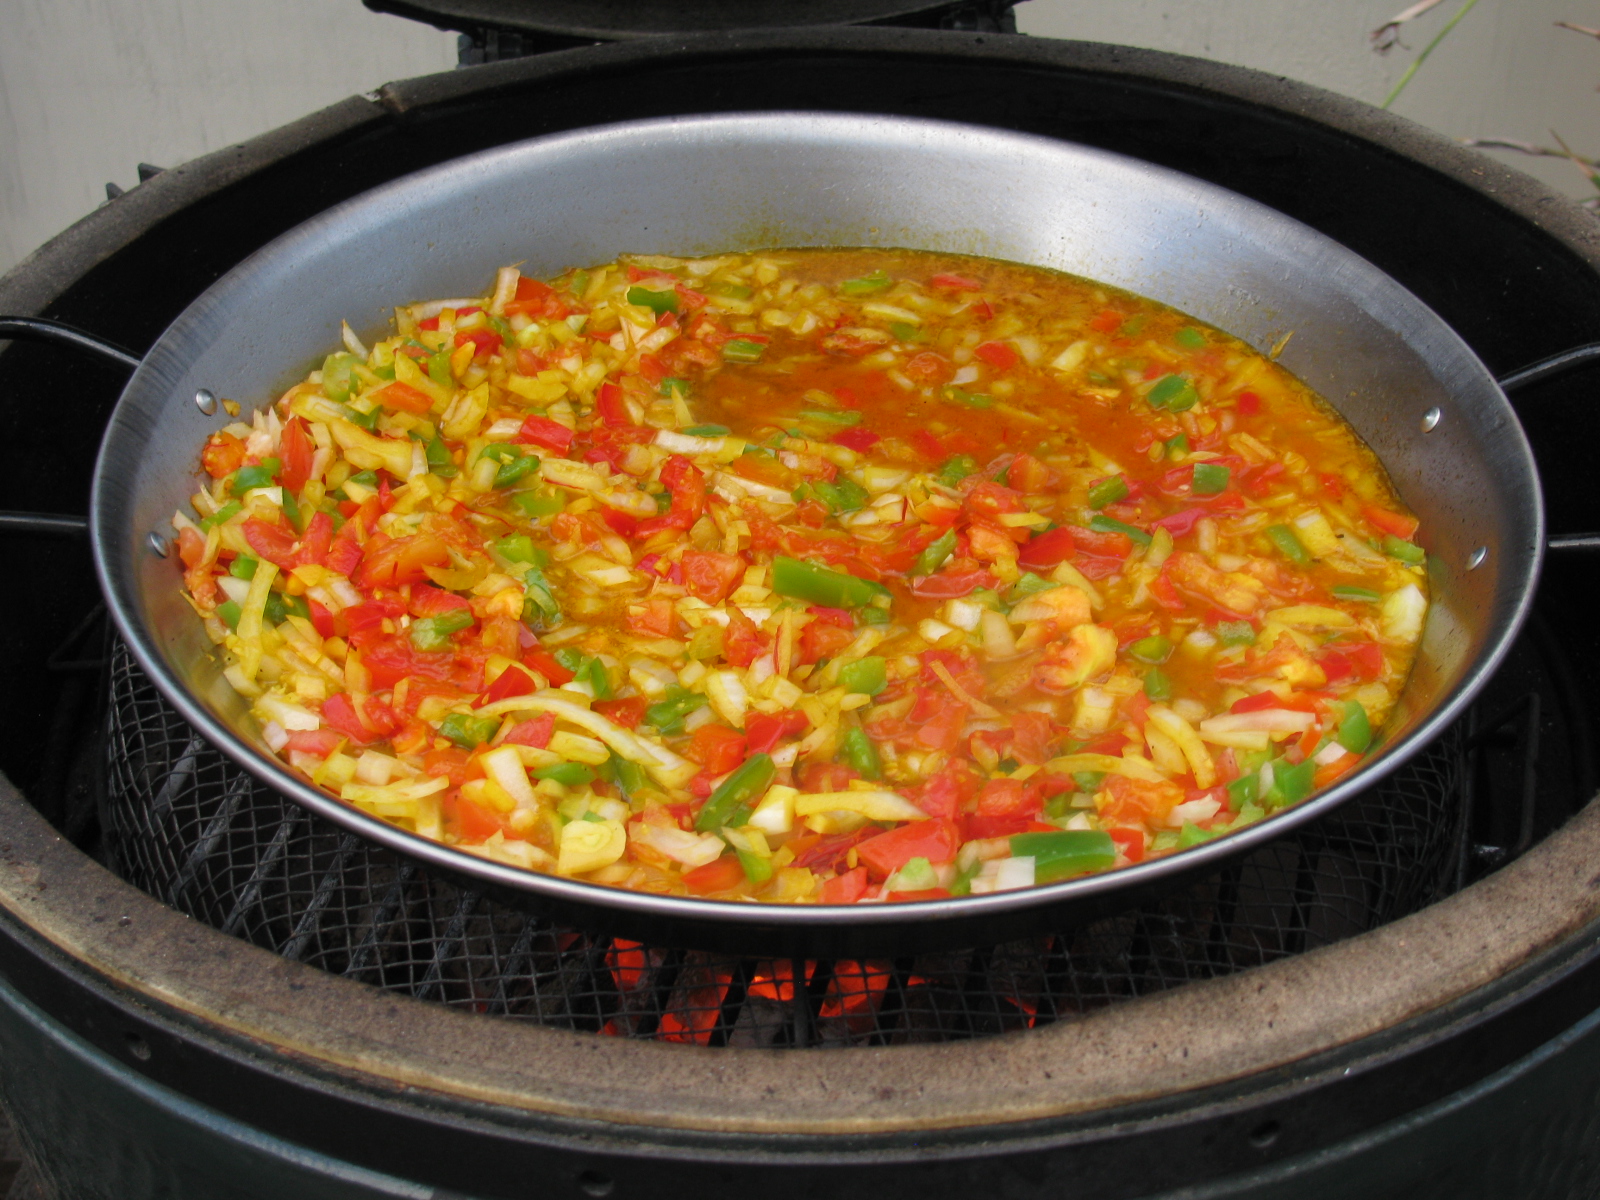
I heated up the paella pan and added some olive oil. This is the chopped onion, garlic, peppers, saffron and chicken broth. . .

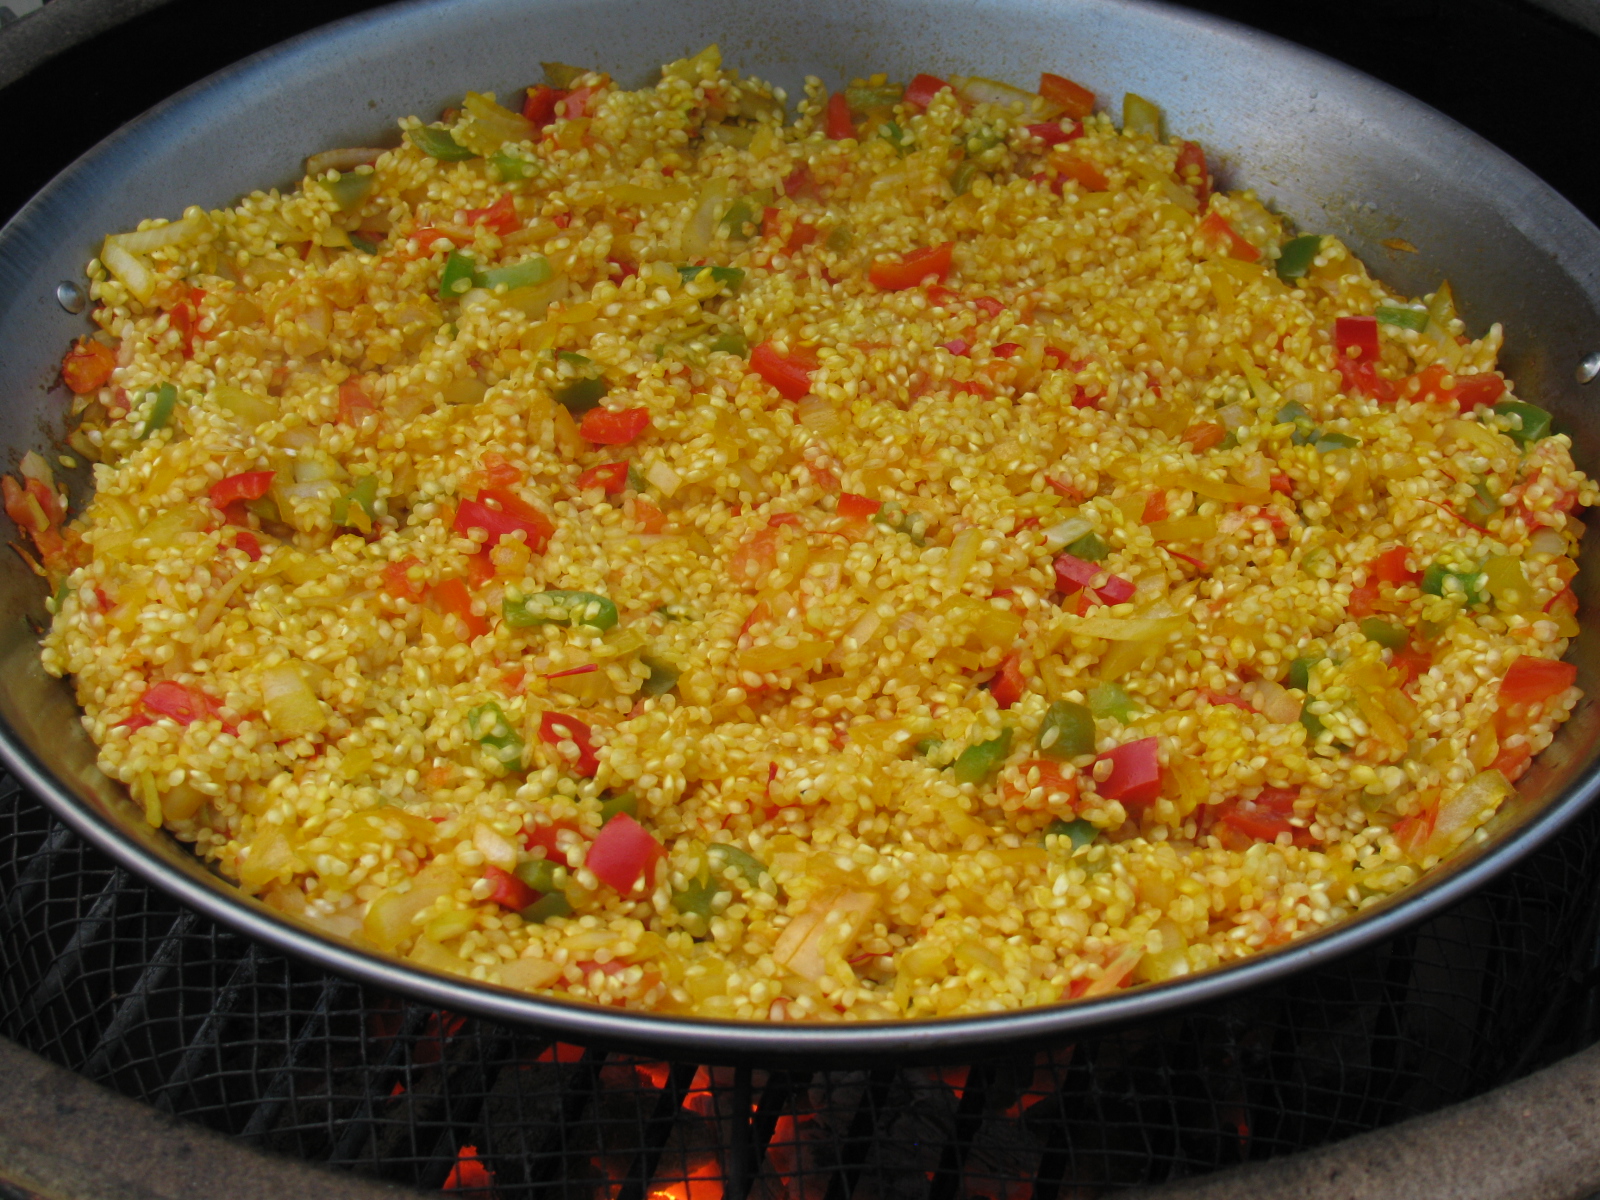
After several minutes, I added the Bomba rice. . . .

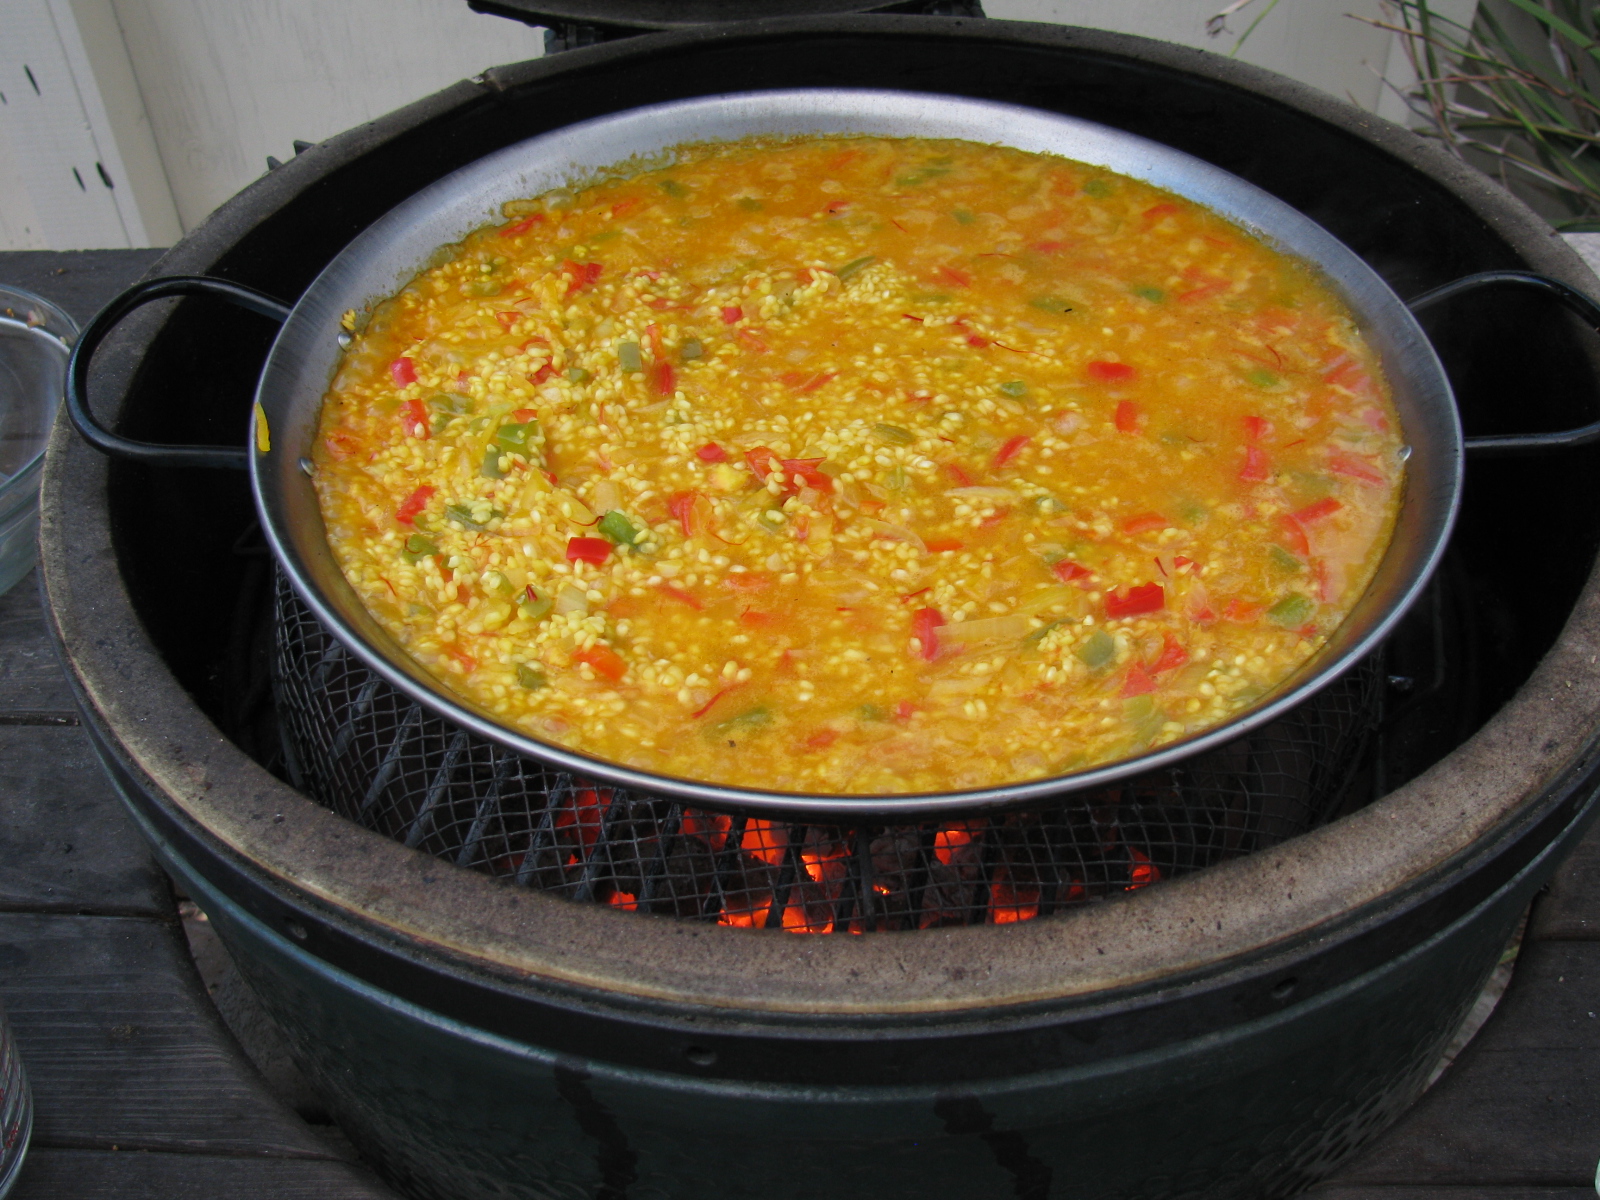
I almost panicked as the broth dried up – the rice was not fully cooked, and I was afraid of scorching the pan and ruining the dish. But, I quickly added some chicken bouillon to add more liquid. I had to add a total of four additional cups of liquid to get the rice just right. This is a total of 10 cups of broth. Not sure why this is so much more than Raichlen’s version. I do not recall how long I cooked this dish – I just cooked until the rice was tender.
Here is the dish with all the liquid absorbed. Bomba rice is nice and tender, and very tasty. Bu wait – there’s more. . .
Next, I added the grilled vegetables and the sausage. . .

This would be a great one-pan party dish for a good sized and hungry group.
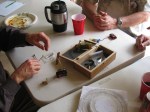
Immediately after the San Bernardino Microwave Society (SBMS) Tune-Up Party at the Fairview Park in Costa Mesa, the annual summer BBQ was held at the QTH of Dennis, W6DQ.
As usual, the food was great, and Dennis did a great job at the BBQ. It is nice to be a guest at a BBQ every now and then….
Probably the best thing I enjoy at these events is catching up with the club members and see what projects they are working on.
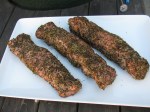
I am still cleaning out my freezer, so I decided to defrost some pork loins and cook them on the BGE. The recipe comes from Steven Raichlen’s book, How to Grill. This is a great book on barbecuing just about anything. I especially like the sections where Raichlen shows us how to butcher the meats. Excellent dish. I served it with some homemade pickled onions.
Summer is here, and this means corn on the cob. A local grocer had a great sale, 6 ears for a dollar, so I bought a dozen. Some people do a lot of prep work when they barbecue corn, I decided a long time ago to just soak ’em and grill ’em.
I trim the husks but leave the stems and soak the ears in plain water for a few minutes. No need to remove the silk inside. I do, however, check for worms and other critters inside the husks, just in case anything alive is crawling around inside. Anything inside will die, so there isn’t too much to worry about.

Soaking corn on the cob
Make the fire in the Big Green Egg. Set up for direct grilling, high heat.

Direct grilling corn on the cob
This takes a while. . .

At some point, the husks will turn brown. This is the fun part, since the husks usually catch fire and burn. If this happens, do not panic. Just grab the ear with your tongs and use the fire to burn off the silk and the husks.

When corn husks catch fire – just let it burn off the silk and the husk – saves time later!

Peel the husks down if you want, and roast the kernels directly. This will add some nice grill marks to your corn
I like to keep the husks on, this gives the eater something to hold when eating the ear. If I am serving guests, I will use butcher string and tie and lace the husks into a “handle.”
And there you have it — corn on the cob on the Big Green Egg!
Use your imagination for finishing and serving the corn. Other than some freshly ground salt and pepper, I enjoy the corn as-is.
There are some fancy corn dressings out there, here’s one from Steven Raichlen, my BBQ hero: Cambodian Corn

I had some T-bone steaks in the freezer for a while. So, I cooked all four of them a while ago. I enjoyed one with some fresh tomatoes.

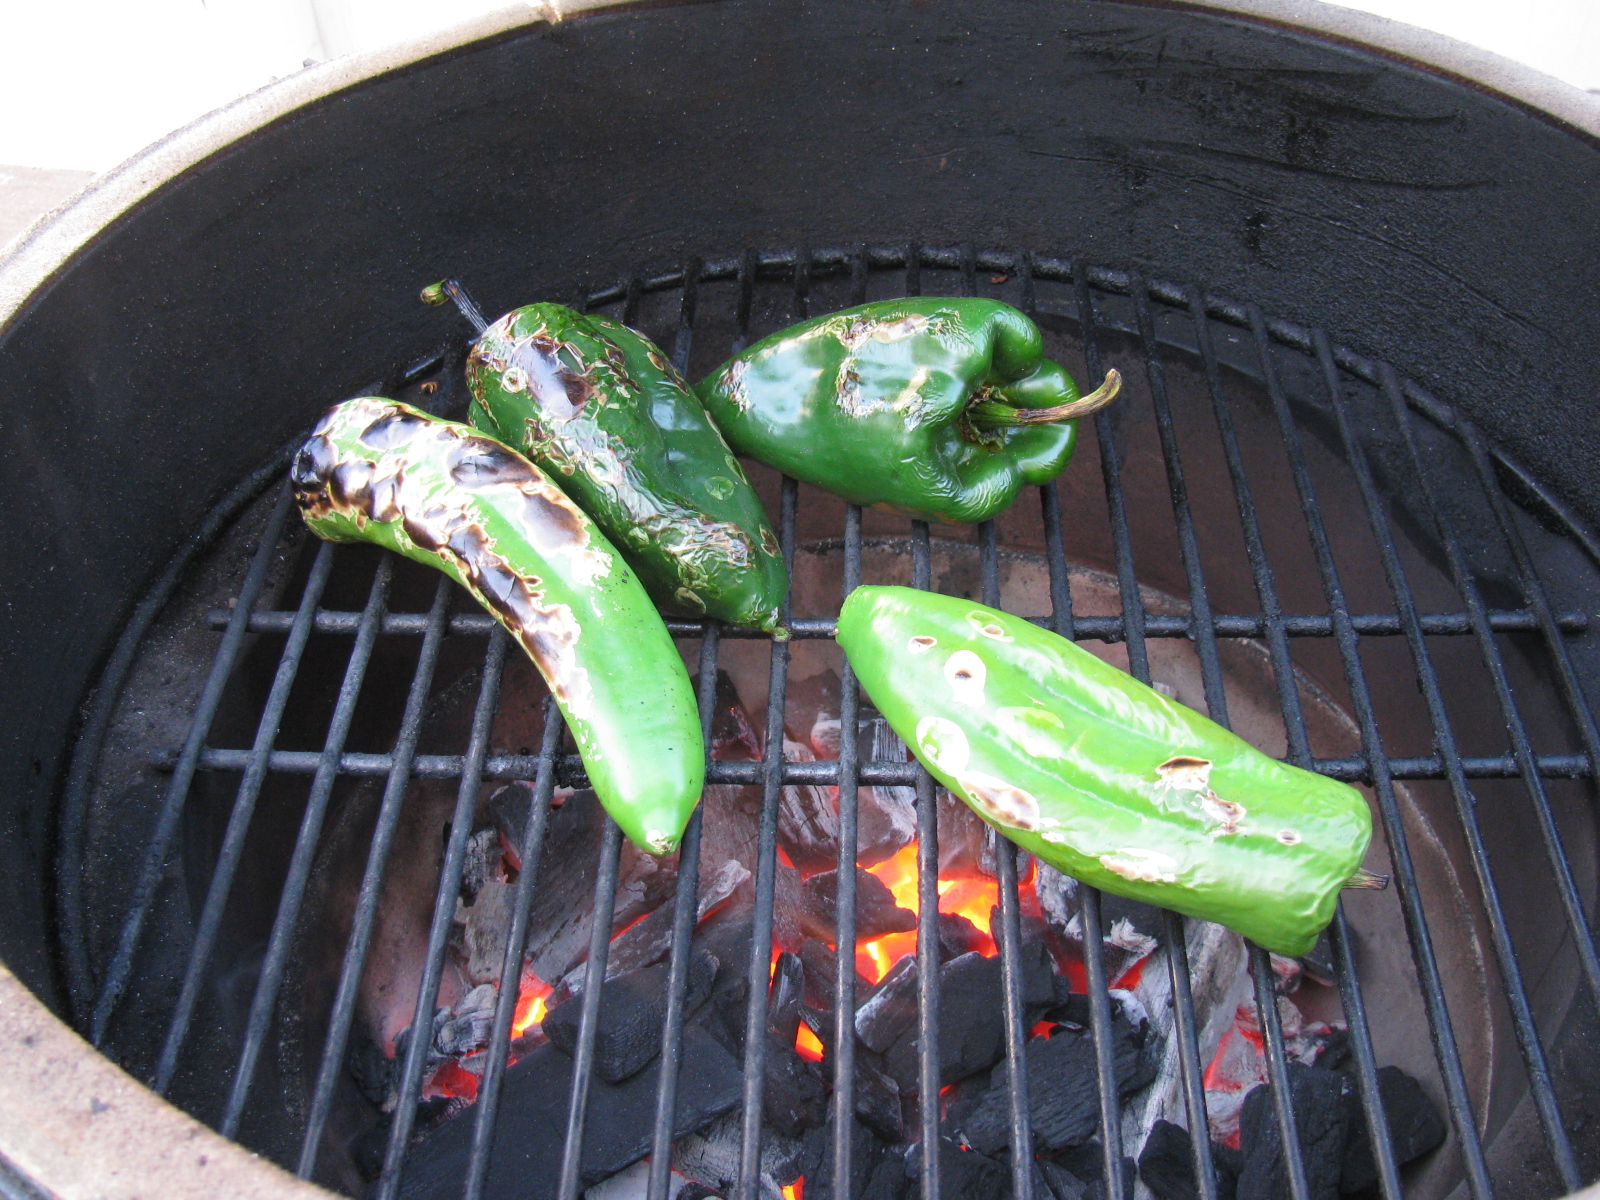
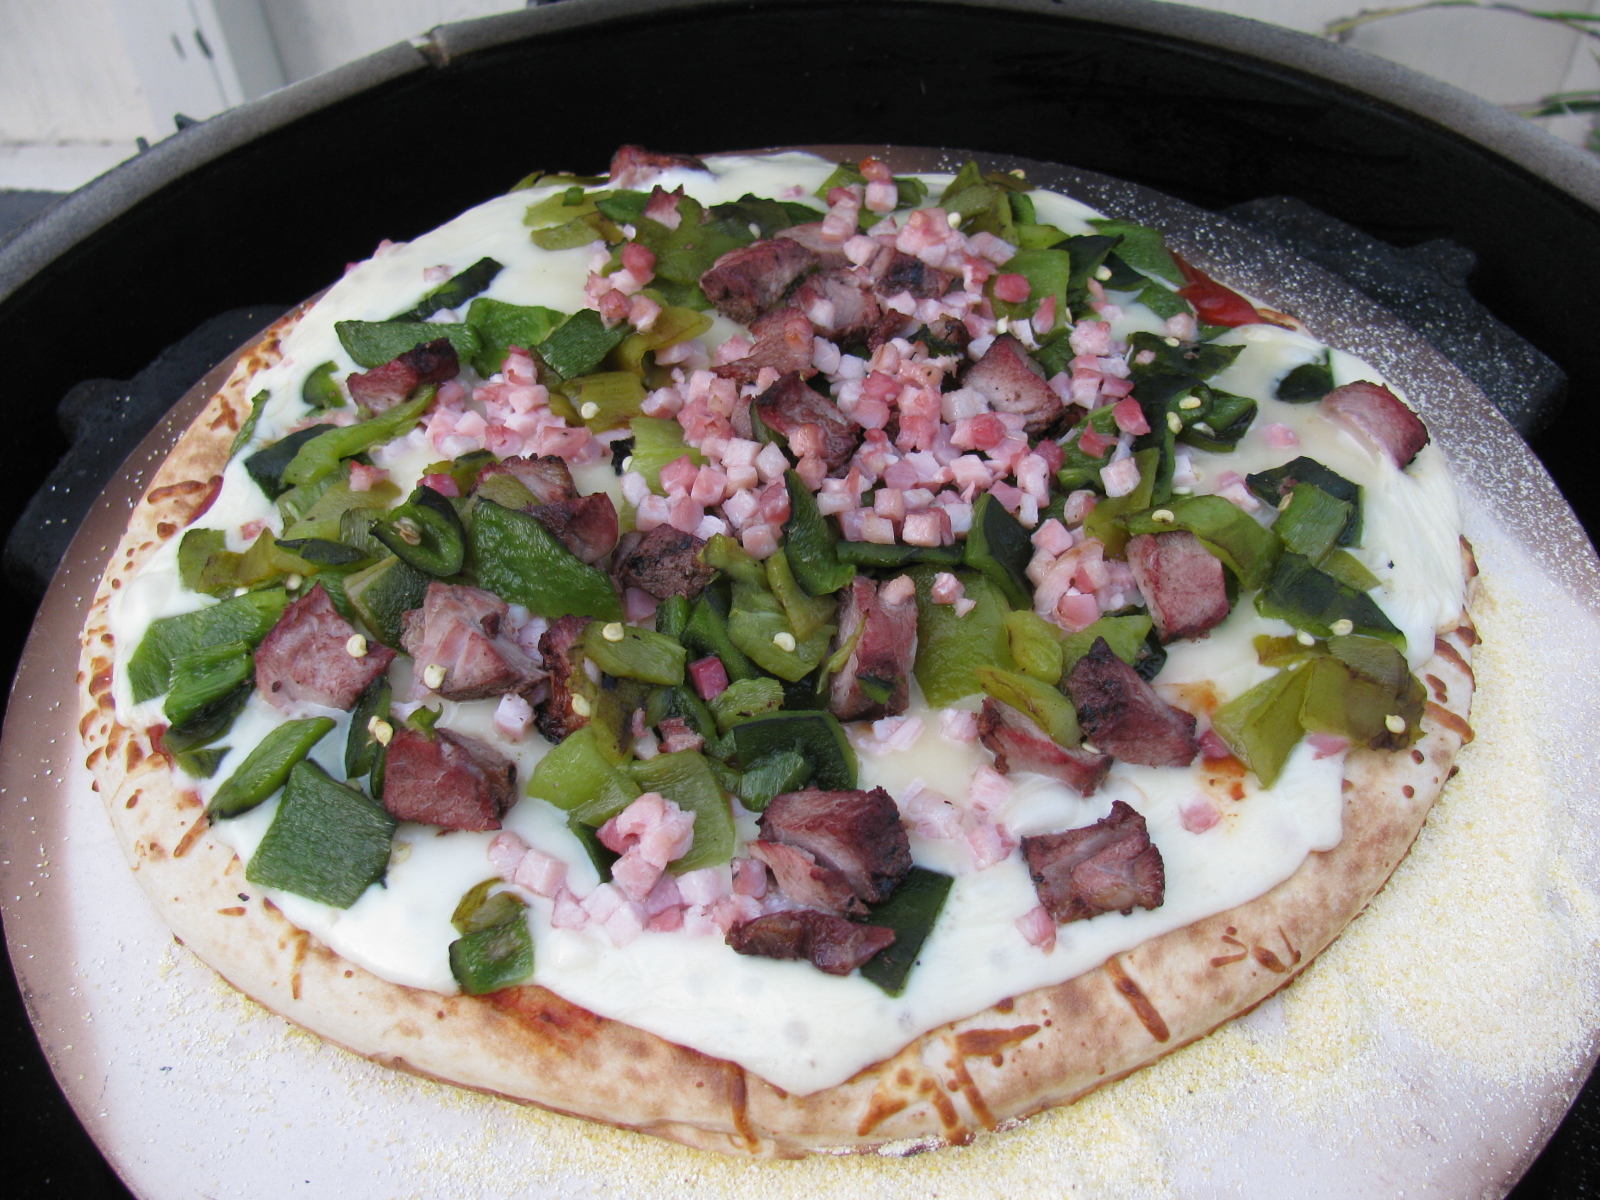
I decided to do something different with the meat. I grilled some assorted peppers – Anaheim and parsilla – and made a pizza.

Anaheim and parsilla peppers on the Big Green Egg
I cheated and used a store-bought crust. I added some diced ham. . .

Ham, steak and pepper pizza
Here we go – Steak, Ham and Pepper Pizza on the Big Green Egg.

Steak, Ham and Pepper Pizza
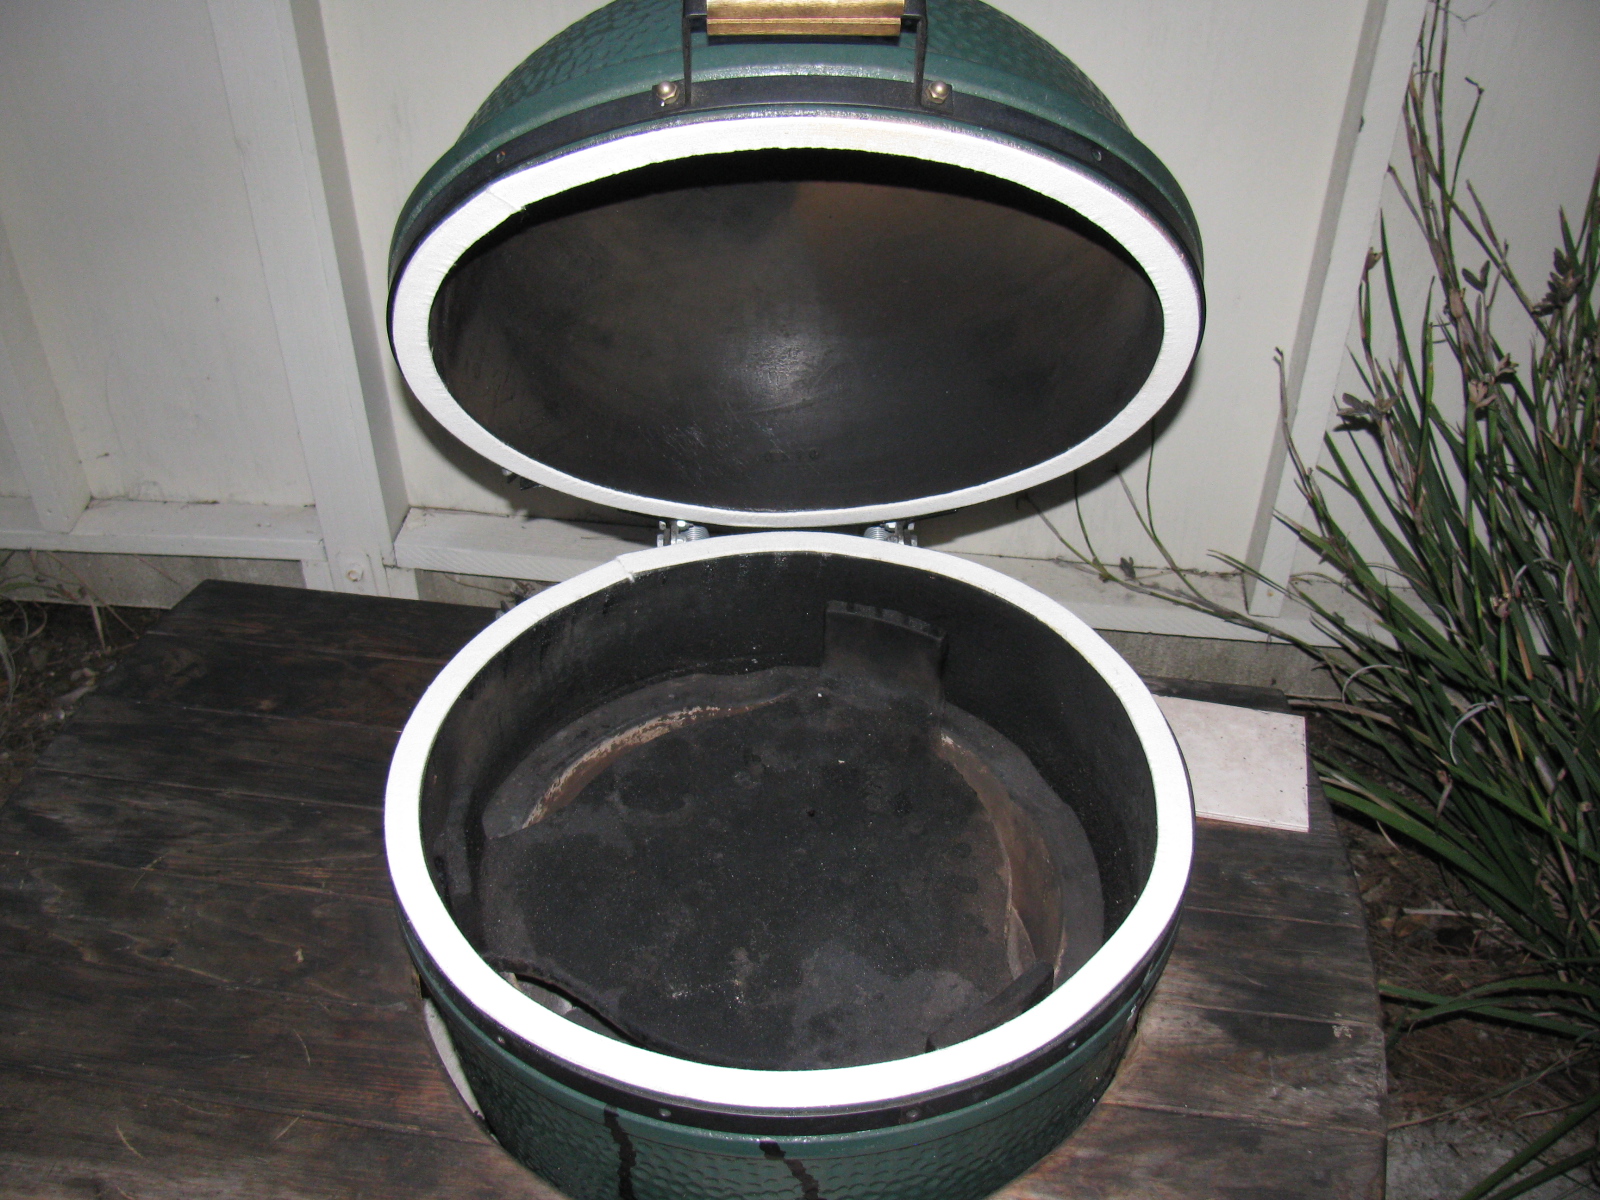
I had to perform a “sterilization” operation on my BGE this morning. Because of the recent rain and lack of use, I noticed some mold growing inside my ceramic cooker. This is not un-common, and usually happens in humid climates. The solution is to simply make a very hot fire to burn off and sterilize the cooking area.
I made a screaming hot fire, over 500 to 550 degrees F.
Since I wanted to cook a pair of tri-tip roasts later in the day, I wanted to snuff the fire and let it cool down so I could use it later. So, I closed the top and bottom vents, and let the fire starve for several minutes.
When it reached around 250 or 300 degrees (4 or 6 hours later), I “burped” the lid three times (my normal procedure to prevent flash-back), and opened the lid to see if the heat burned and killed off the inside surfaces. About two seconds after I lifted the lid, I heard that scary “whoooooosh” sound of the fire coming back to life. This was the biggest and loudest flash-back I have ever survived.
Here’s a picture of my “lifting arm” —

I was lucky – No burns to my skin, just some very singed arm-hair.
Meanwhile, the two tri-tip roasts came out perfect – Those will make great sandwiches for the next few weeks….
-
-
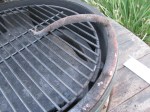
The gasket on my Big Green Egg finally wore out. After three years, the gasket hardened and had a few “bald” spots.
-
-
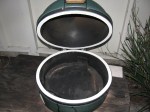
Rather than working upside down, I removed the lid portion of the BGE from the hinge assembly.
-
-
The old gasket was scraped off to bare ceramic. Acetone was used to de-grease and clean the surfaces.
-
-
New gasket in place. Easily done in a few minutes.
-
-
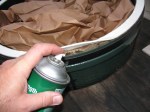
3M super strength adhesive (a spray-on contact cement) was used to fasten the gasket to the bottom and top rim. Butcher paper was used to help limit over-spray going into the interior of the BGE.
-
-
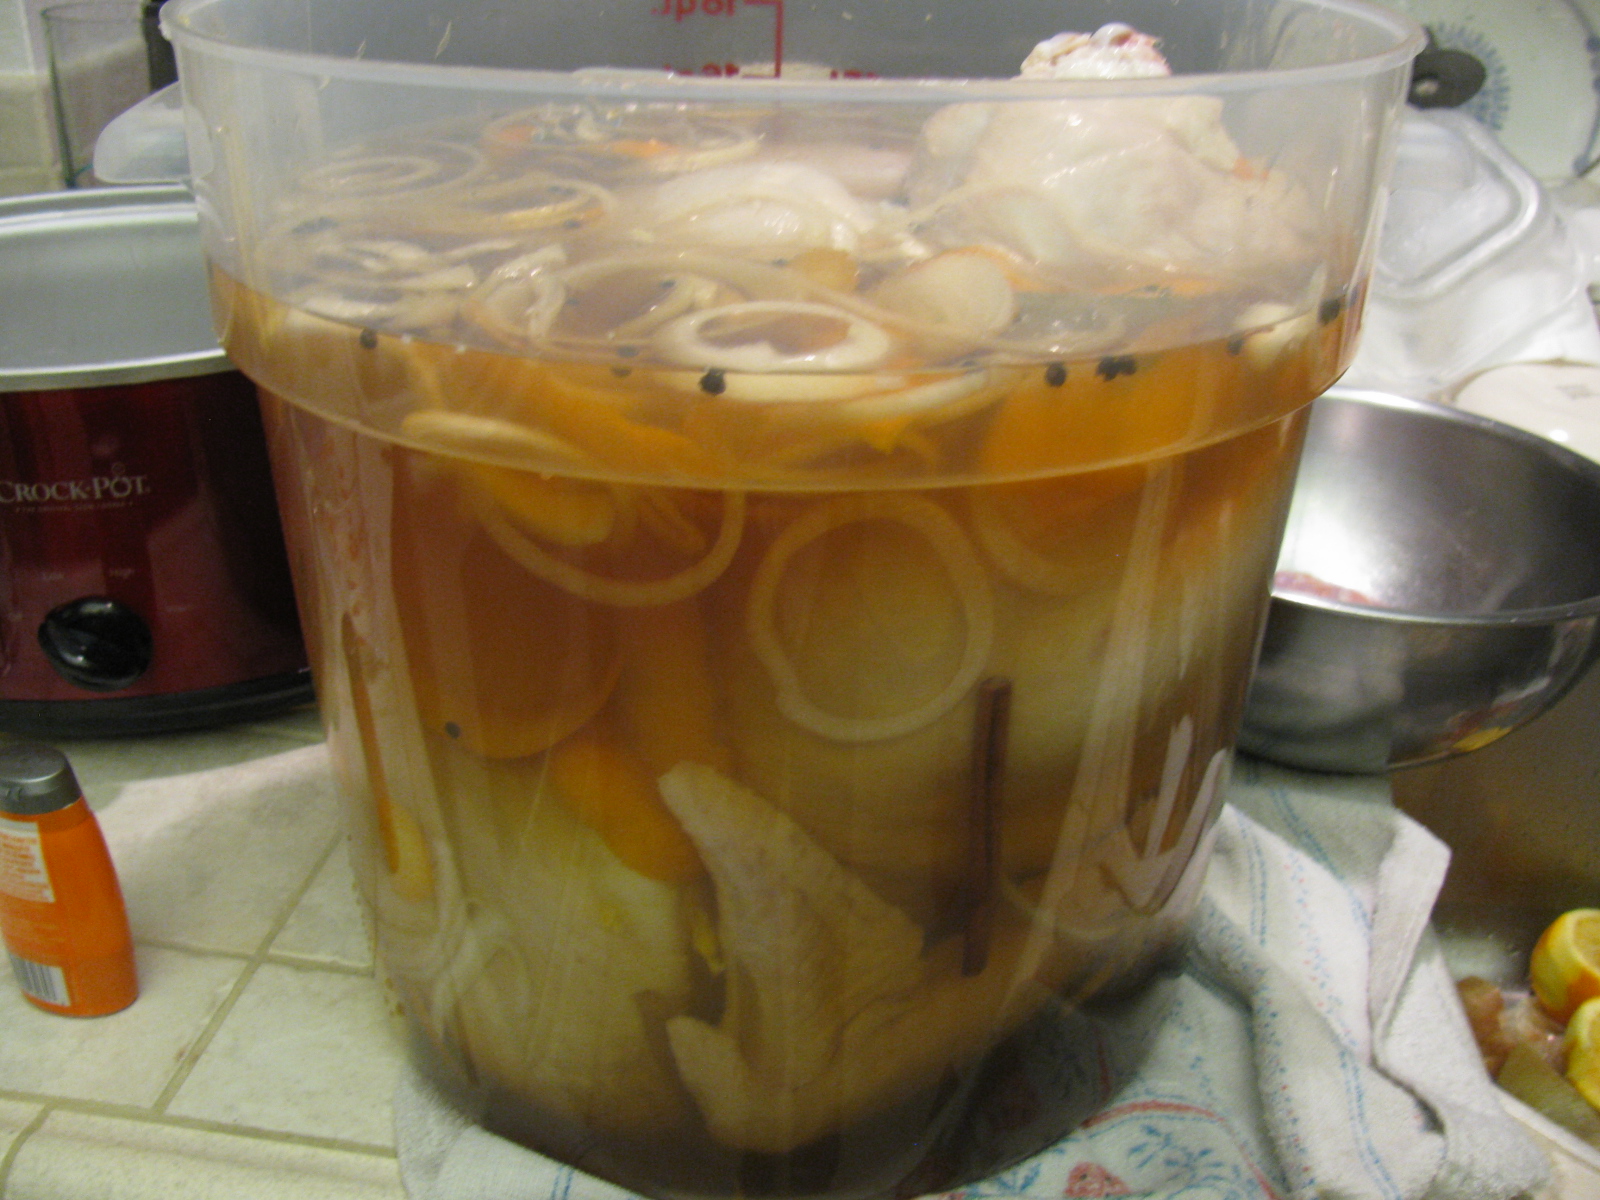
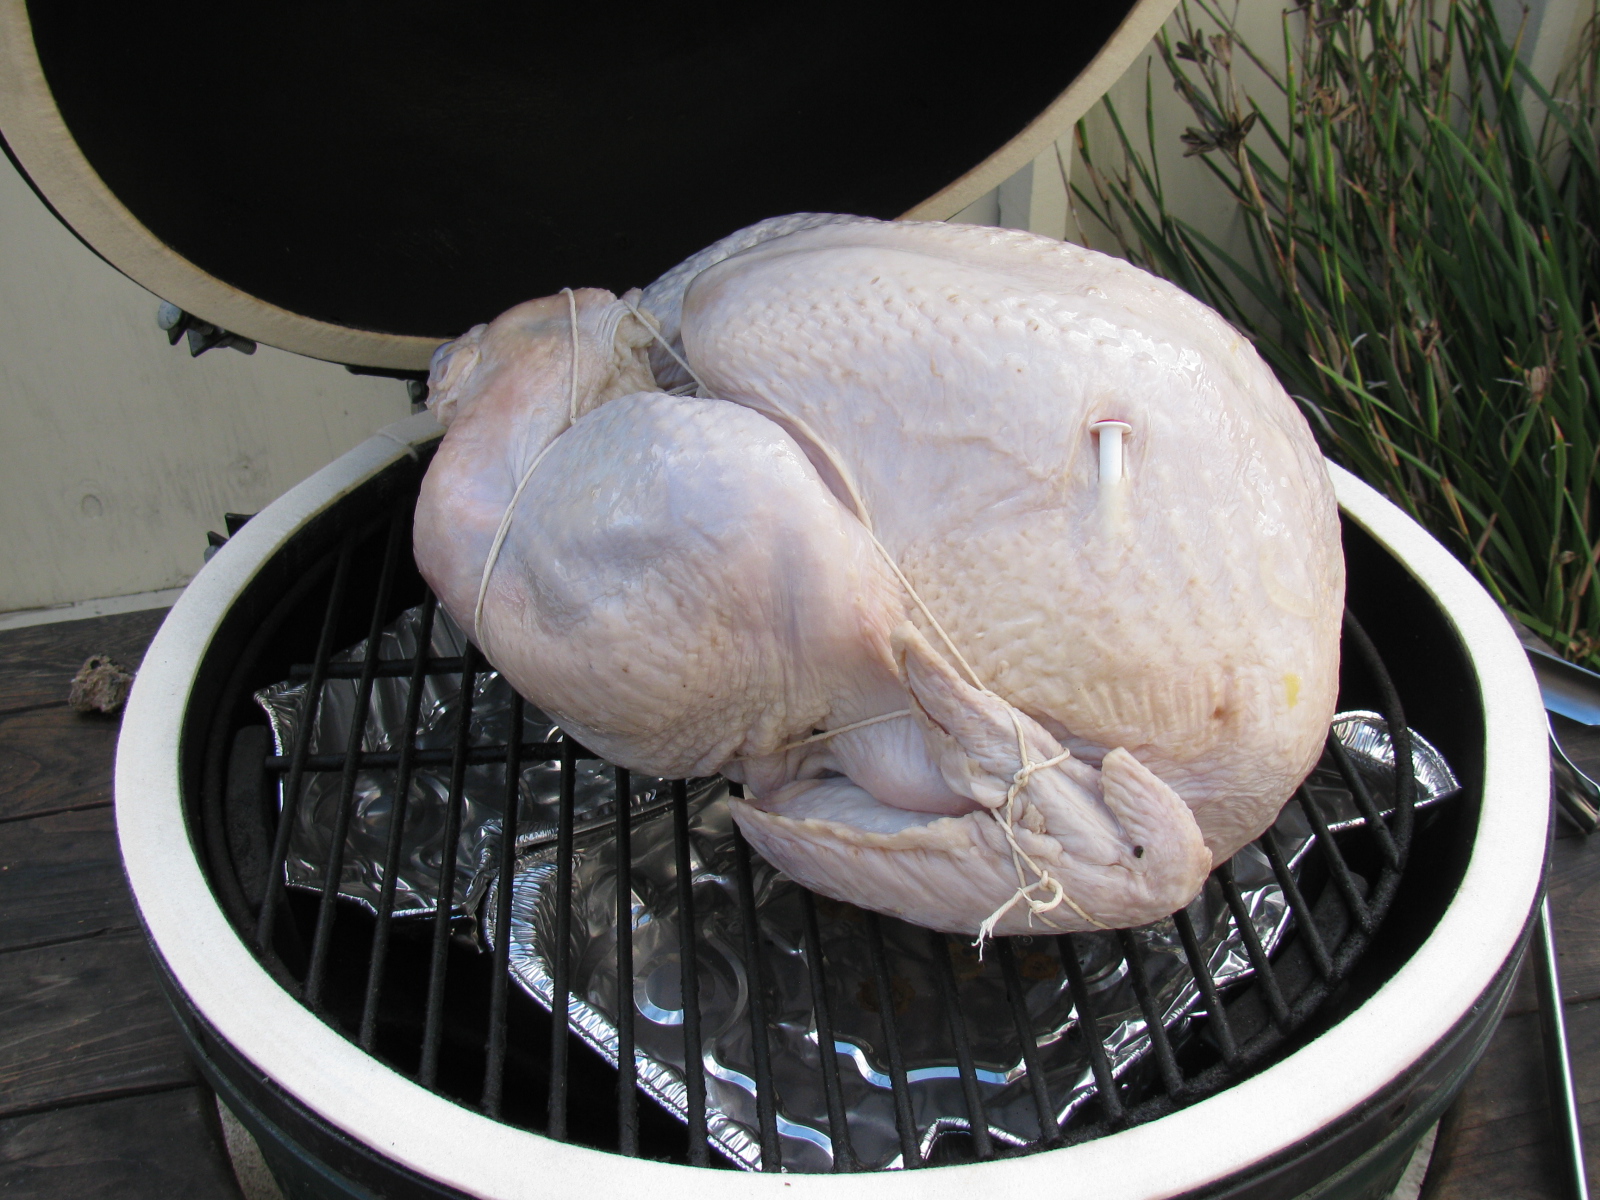
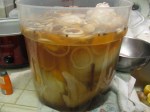
My secret for a juicy and tasty turkey: Brining. I use the Orange Brine recipe from Primal Grill, Season 3. (Orange-Brined Turkey Breast)
-
-
The 20-lb hen swimming in the orange brine. I started late, it is best to soak the turkey for at least 24 hours – I brined for only 12 hours – but it was still moist and tasty!
-

-
The BGE is set up for indirect grilling, and a drip pan is placed underneath. Unfortunately, this set up usually burns the drippings – will try using a traditional roasting pan to catch the juices next time. Not this bird has one of those pop-up doneness indicators – I usually ignore those and test for actual internal temperature.
-

-
Pop-up indicator says this is done, however, it is not. Total roasting time at 325 degrees F was 3.5 hours.
-
-
After the turkey was finished, there was plenty of heat and lump charcoal, so I decided to cook the stuffing in the BGE, too.
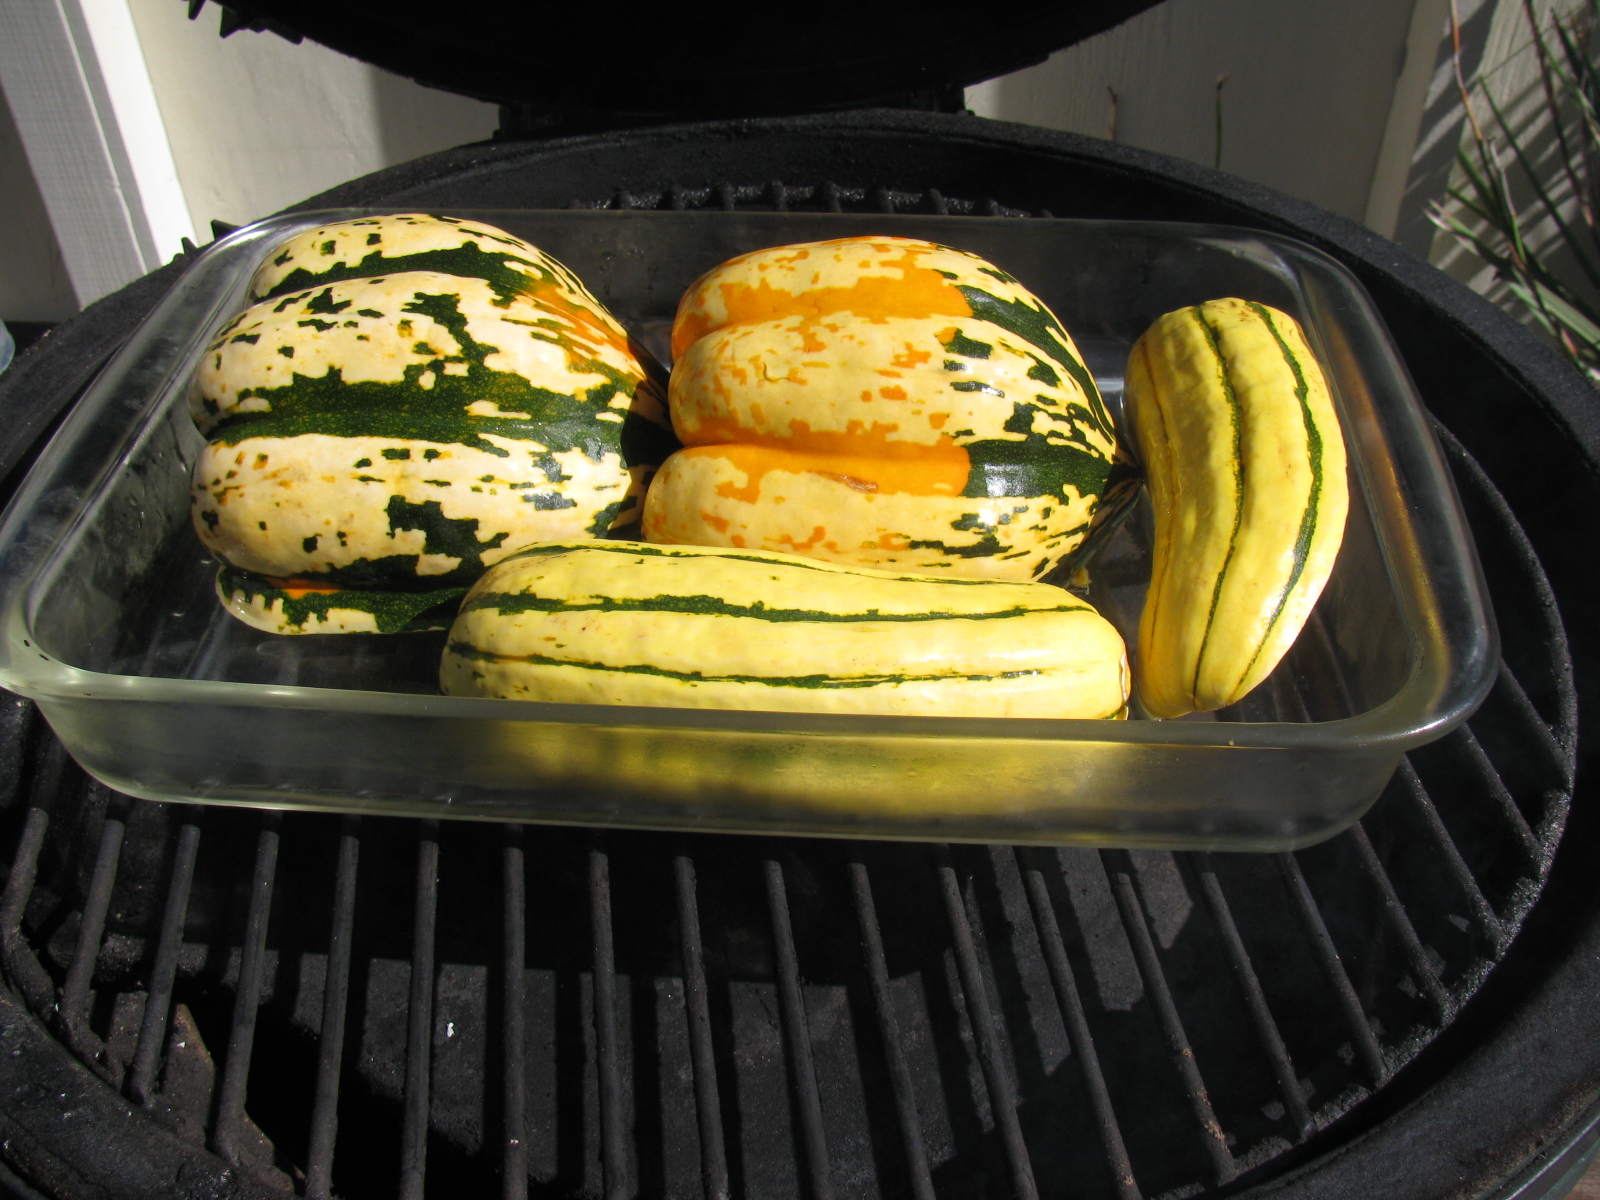
For the last several weeks I have seen a pile of colorful winter squash at the local grocery store, and wanted to roast some in my Big Green Egg. So I finally tried this, using a recipe from food.com. It is simple to make and very tasty when smoke-roasted on the BGE.
The original recipe can be found here.
Here are some pictures of how I did my Sunday dinner. . .

Two types of winter squash

Squash cut length-wise, seeds removed and placed in a Pyrex baking dish with some boiling water. Bake/roast for about 35 minutes at 350 to 375 degrees F.

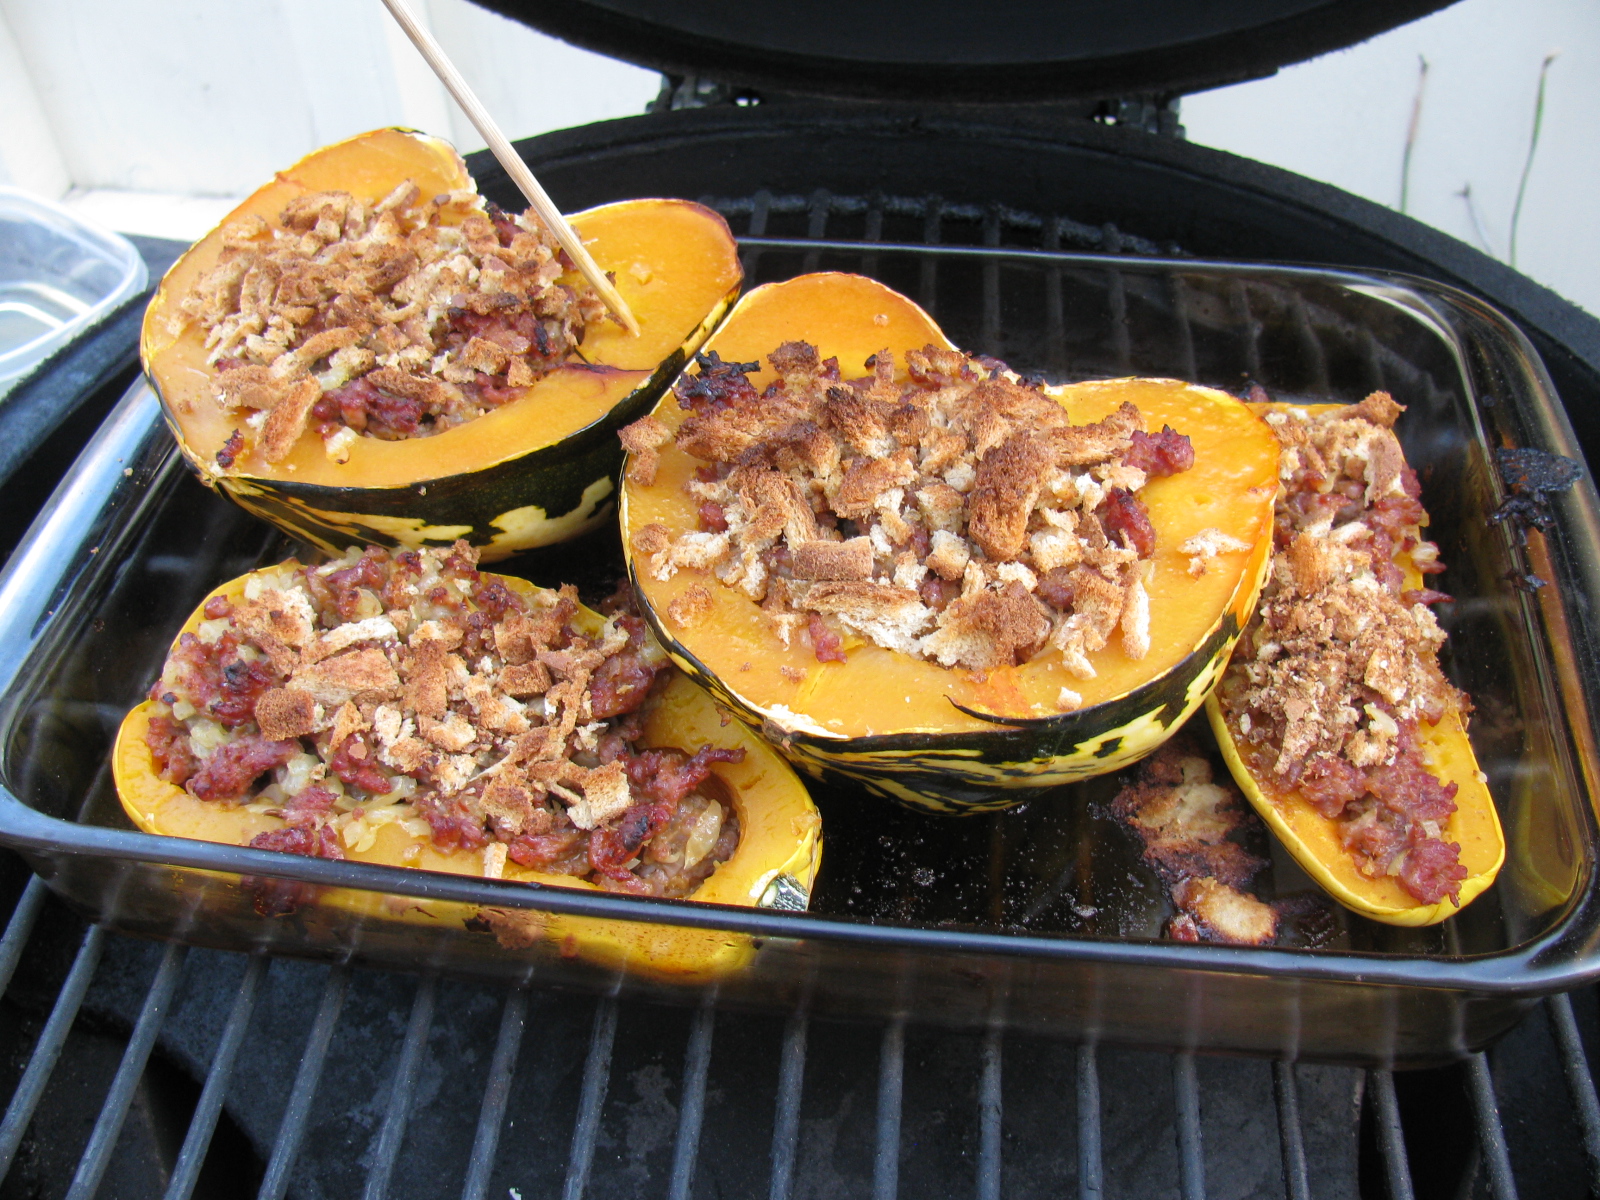
Remove the squash and stuff with (cooked) sausage, onion and bread crumb mixture. . .

Back on the grill and continue baking for another 20 minutes – or until done. Poke the squash with a skewer or fork to verify doneness.

Stuffed squash 1 – done.

Stuffed squash 2 done.
The smoke flavor, the tender squash and the pork sausage go very well together – Give this simple recipe a try, it’s mighty tasty!