I did some measuring today and discovered the adjustable seat rails raise the seat too high for mounting in the enclosed cockpit – on a Roadster, an open car – this would not be a problem, and may help shorter drivers (under 6-foot) like me.
Stay tuned for an update as I re-modify the mounts by installing the rails on the side of the seat – as mentioned in the earlier post. Scroll to the entry by ChazC5ZX.
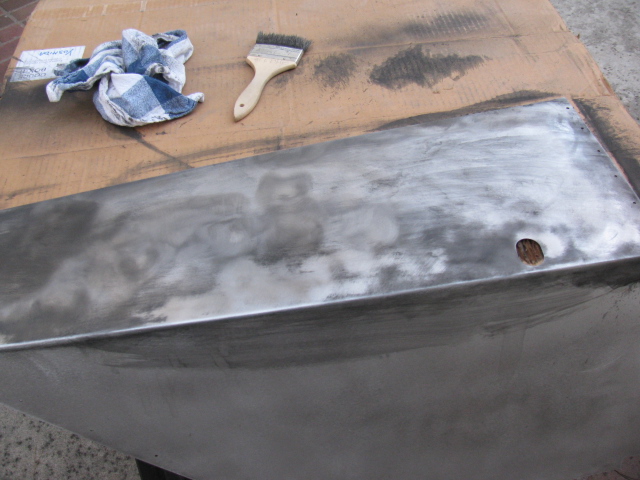
Last weekend, I decided to get back to work on the Coupe. I have to focus on getting everything ready for the engine installation. So, I started to mount the previously painted foot box aluminum.
But I ran into a problem – the oily under body paint was not adhering well in some places, and the paint surface quality varied greatly. Here is a picture of what I mean…

Rather than just leaving it alone, I decided to remove all undercoated parts and re-finish them with truck bed liner paint. The truck bed liner paint is more consistent, is very hard and seems to adhere better than the under body paint.
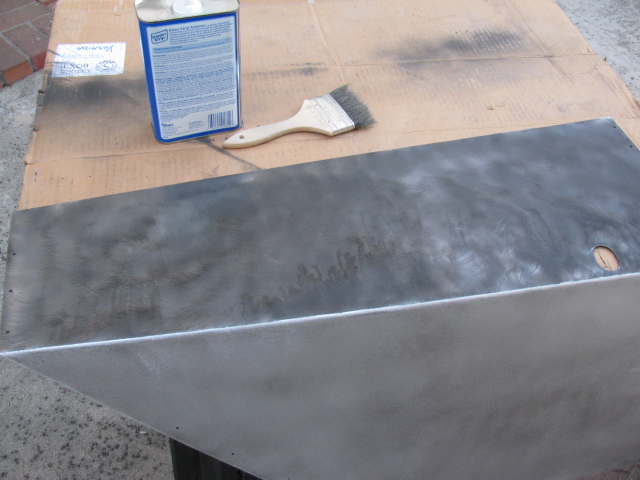
Taking off the greasy under coating was difficult, because the gooey paint clogged up the abrasive pads on my random orbit sander. So, I had to first use a wire brush on my drill to “scrape” off the greasy stuff, and then wash it down with acetone, like this:


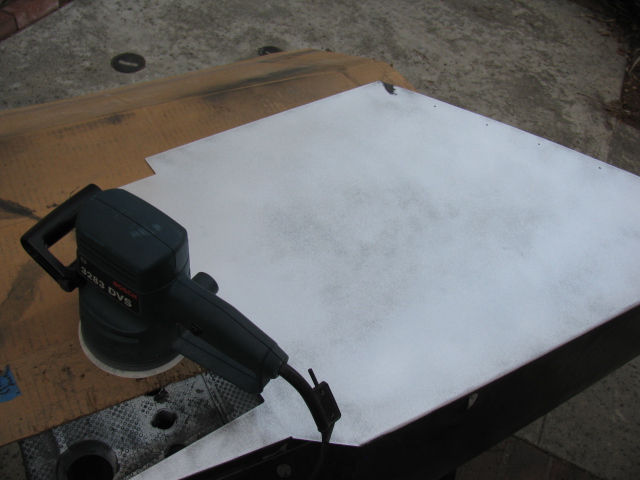
… and then sanded to bare metal with a 60 grit disc on my random orbit sander.

I washed the panels with dish washing liquid in my kitchen sink, and applied two coats of truck bed liner paint. Now the panels look much better. The truck bed paint has a slight wrinkle finish so I am not sure how hard this will be to keep clean. It is, however, better than that greasy under coating stuff. Here is a picture of the bottom surface of the transmission tunnel cover.

I will cover all interior surfaces with heat and sound barrier (Cool-It) and then put carpet over everything later.
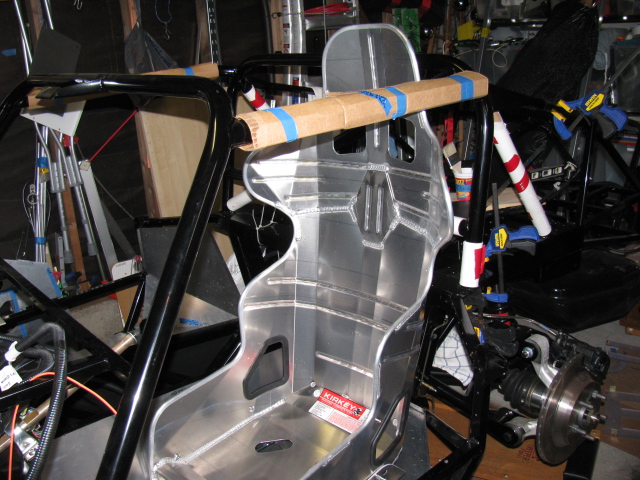
Since I am working on cockpit “fitment,” I wanted to dry-fit the Kirkey high back racing seats so I can adjust the position for pedal actuation.
The Factory Five Racing Complete Kit provides two options for seats, low-backs for the more traditional look, and a high back option that provides more back support. I went with the high backs. However, the seats come with nuts and bolts, and the instructions say to drill the seats and use the bolts to attach them to the floor.
I checked the forums and found a better solution. Thanks to posts by Rich A and rick8928, I copied what they did with their seat mounts. Their solution adds an adjustment feature to the seat mounts. The part numbers from Summit are still valid, although the prices have gone up a little. I bought two sets so the passenger seat will be adjustable, too. Thanks guys for helping me to not re-invent the wheel on this one!
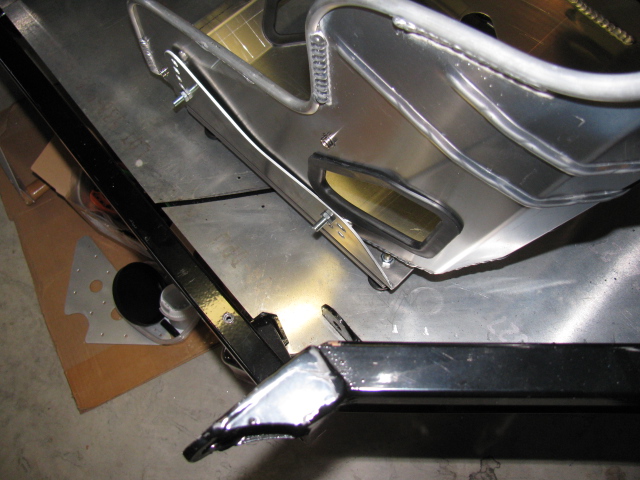
Here are some pictures of my version…


The last two images above show the seat belt mounting points.
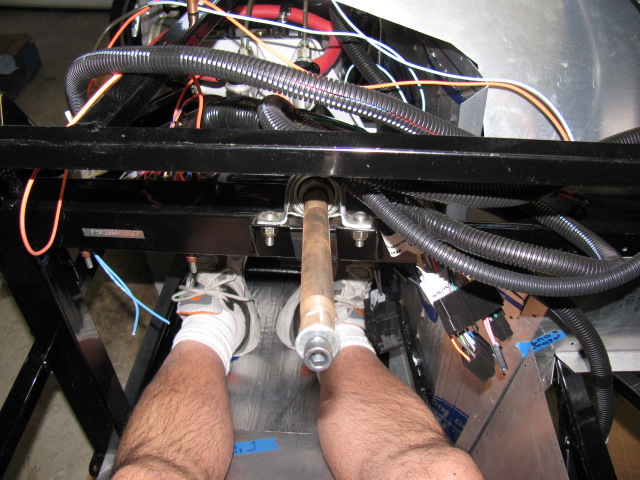
Here is a cockpit view of the pedal box.

I am glad I have the seat adjusters, it should make getting in and out of the car easier. It looks like I will have to adjust the seat forward in order to reach the pedals comfortably, and then I can push the seat back to get out (and in) the car.
Heel-toe should be okay, I will have to bolt the seats into the car and move the seat forward to make sure.

Sharp-eyed viewers noticed the left side of the driver foot box is missing. Indeed it is. I made a small modification to this part – I cut the tabs off of the mating panel, and added small angle aluminum to the front piece, so I can rivet (maybe screw in) this panel later.

I should probably do the same thing to the right side of the pedal box, so I can access the gas pedal mounts for adjustment, although the engine might be in the way.
Stay tuned, more to come on the Factory Five Racing Type 65 Coupe Project.