Archive for the ‘microwave radio’ Tag

Announcing San Diego Mini Maker Faire 2013 – Visit the Maker Booth called “Not Your Grandpa’s Ham Radio”
Here’s a quick overview of Maker Faire projects from past “Not Your Grandpa’s Ham Radio” exhibits. . .

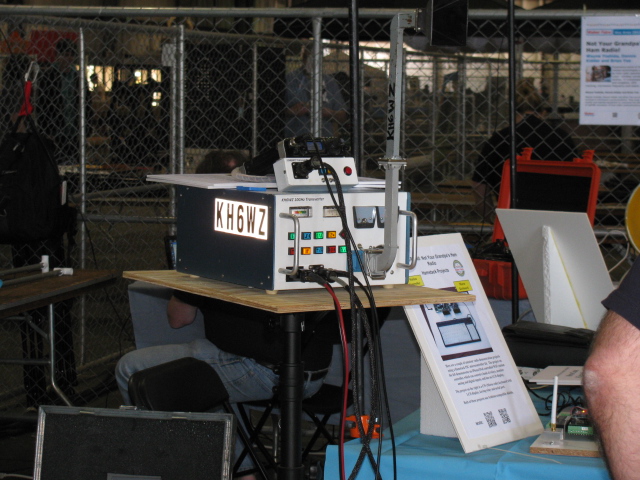
The KH6WZ 10 GHz (X-band) transmitter-receiver unit on display at the Orange County Mini Maker Faire on the UCI campus

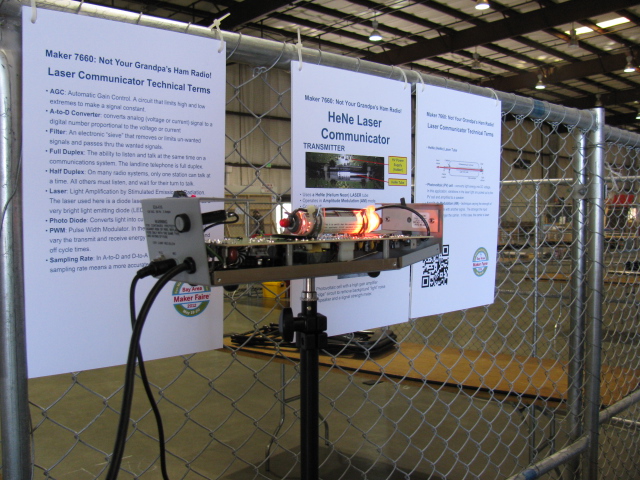
A vintage Helium-Neon (HeNe) laser communicator by Dennis W6DQ – from the 2012 Bay Area Maker Faire

An audio frequency test station with an oscilloscope, signal generator and audio amplifier. A microphone inserted into the amplifier input became a popular function for kids and adults – Speak into the microphone and see what you sound like!

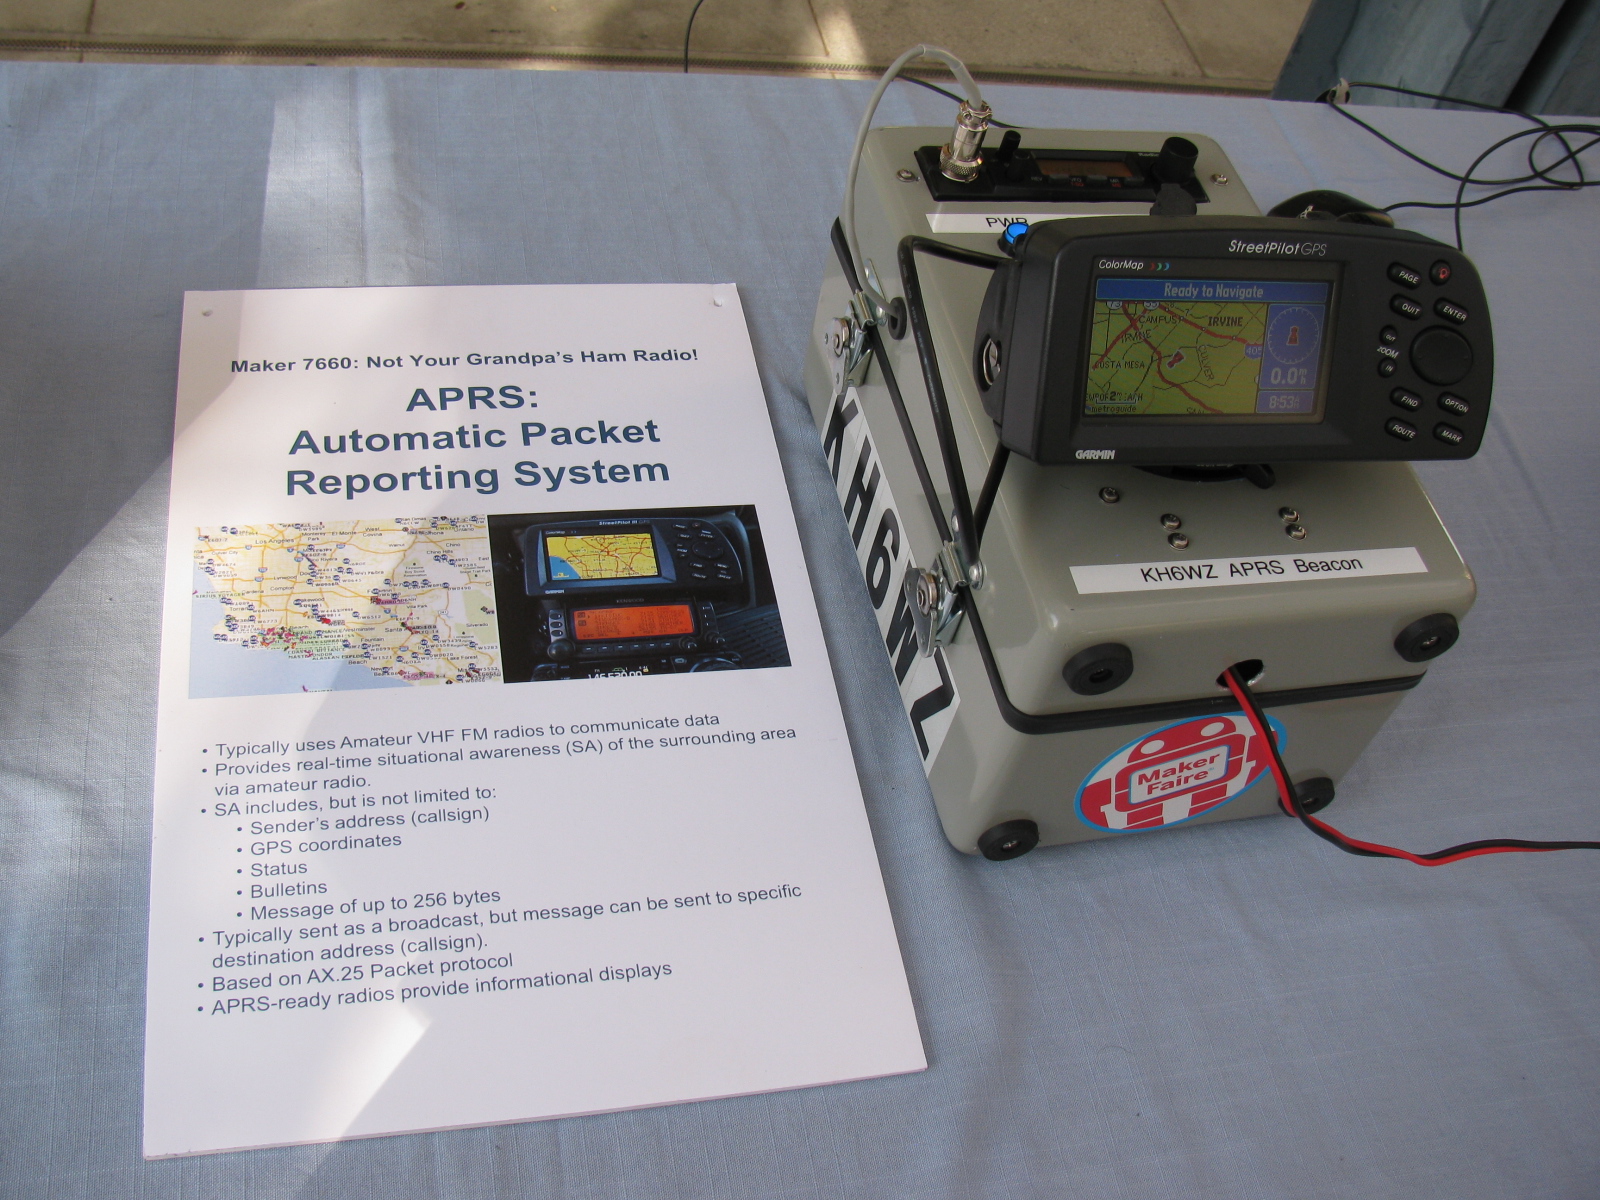
KH6WZ-5 APRS beacon – active and sending position data at the 2013 OC Mini Maker Faire at UCI. The beacon message included the Faire’s URL.

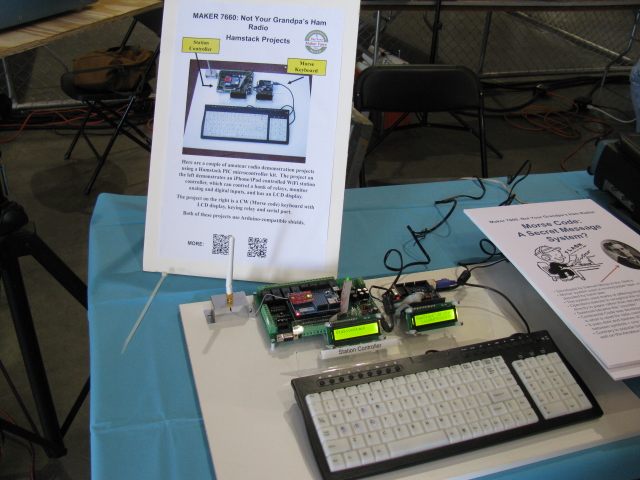
Morse Code reader/sender with wireless keyboard and radio interface by Brian W6BY. This setup uses Ham Stack modules available from Sierra Radio

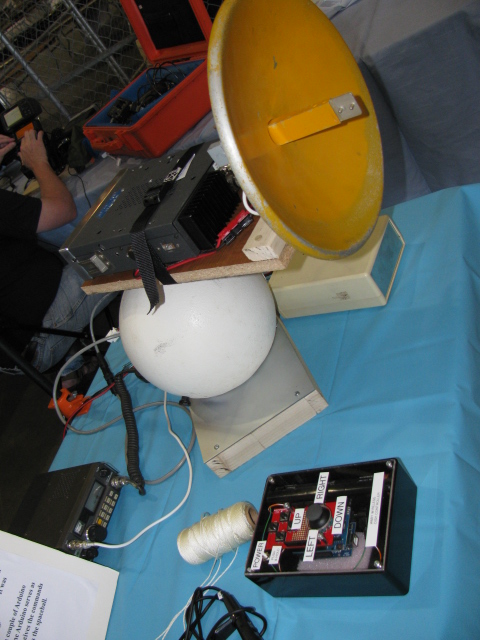
“Space Ball” azimuth-elevation antenna positioner, with wireless remote control and iPhone interface, by Brian W6BY

KH6WZ APRS beacon sending out the Discovery Science Center location

Not Your Grandpa’s Ham Radio 2012 Bay Area Maker Faire team – Left to Right: Brian W6BY, Dennis W6DQ, Wayne KH6WZ, Tony KC6QHP, and Mike Lavelle K6ML

Jeri Ellsworth – aka Circuit Girl – at the 2012 Bay Area Maker Faire. She’s playing her 8-bit bass key-tar.
More projects coming soon, so stay tuned!
Announcing San Diego Mini Maker Faire 2013 – Visit the Maker Booth called “Not Your Grandpa’s Ham Radio”
Maker Faire – where art, science and technology crash together!
>> Click here for more info! <<
The past weekend was a busy one indeed. I made some time to participate in the microwave contest, dragging my rig out to the bluff overlooking the Bolsa Chica Wetlands and then to El Segundo. The 10 GHz and Up Contest is unique, since it spans over two weekends, the first part is in mid-August and the second part near the end of September. This gives participants a chance to fix broken rigs and continue to add points to their scores.
To be honest, I was not prepared for this contest. I did not have any roving plans, my Prius was not modified to supply my 7 watt 10 GHz rig with power and my mobile radio was not programmed with any of the liaison / coordination frequencies. However, I managed to have some fun testing out my homemade 10 GHz (X-band) rig.
I noticed something during the contest: I was afraid of killing the 12V battery on the Prius, so I left the car on and “ready” during the entire contest. I turned off the air conditioner and the courtesy light. As with normal operation, the gasoline engine will only run when it is needed to charge the system, including the 300V (or whatever voltage it is) traction battery.
Since the rig draws 10 amps in transmit, and transmitting a continuous signal for “beaconing” so that other stations can find me is a routine practice in microwave contesting, I was worried that something might happen to the Prius power system.
However, the car seemed to be fine, and the rig was happy to run under full DC power, producing a clean signal and no “unlock” condition. The engine did start up and ran for less than one or two minutes at a time, and the engine is so quiet, sometimes I did not notice it was on.
Using the Prius as a power system worked out so well that I will eliminate my spare battery idea and mount a power connector on the battery box lid so I can use the DC to power station equipment for the next contest. I have a 100 Ah gel cell battery in a big plastic box that I usually use for radio contesting, so it is independent from the car power system – but I discovered the battery was dead and was not holding a charge when preparing for the Disaster Expo – that is another story. . .
Since I operated from these two locations before, I don’t have too many pictures of these places, but these will give you some idea of what operating a rover station in the 10 GHz contest is like. Well, not really.
My un-official score for about 5 hours of operating time is:
1900 QSO Points + 3341 Distance Points = 5241 Final Score
Best DX is 217 km, when I worked K6NKC and KC6UQH in DM12rr (East San Diego County) from El Segundo, DM03tw
The most fun and challenging contact happened to be my last contact. It was a two-way CW contact with WA6JBD in DM14go (not sure where), from the El Segundo water tower location.
Of the 29 total contacts made, 19 were unique callsigns
Here are some pictures . . .
-

-
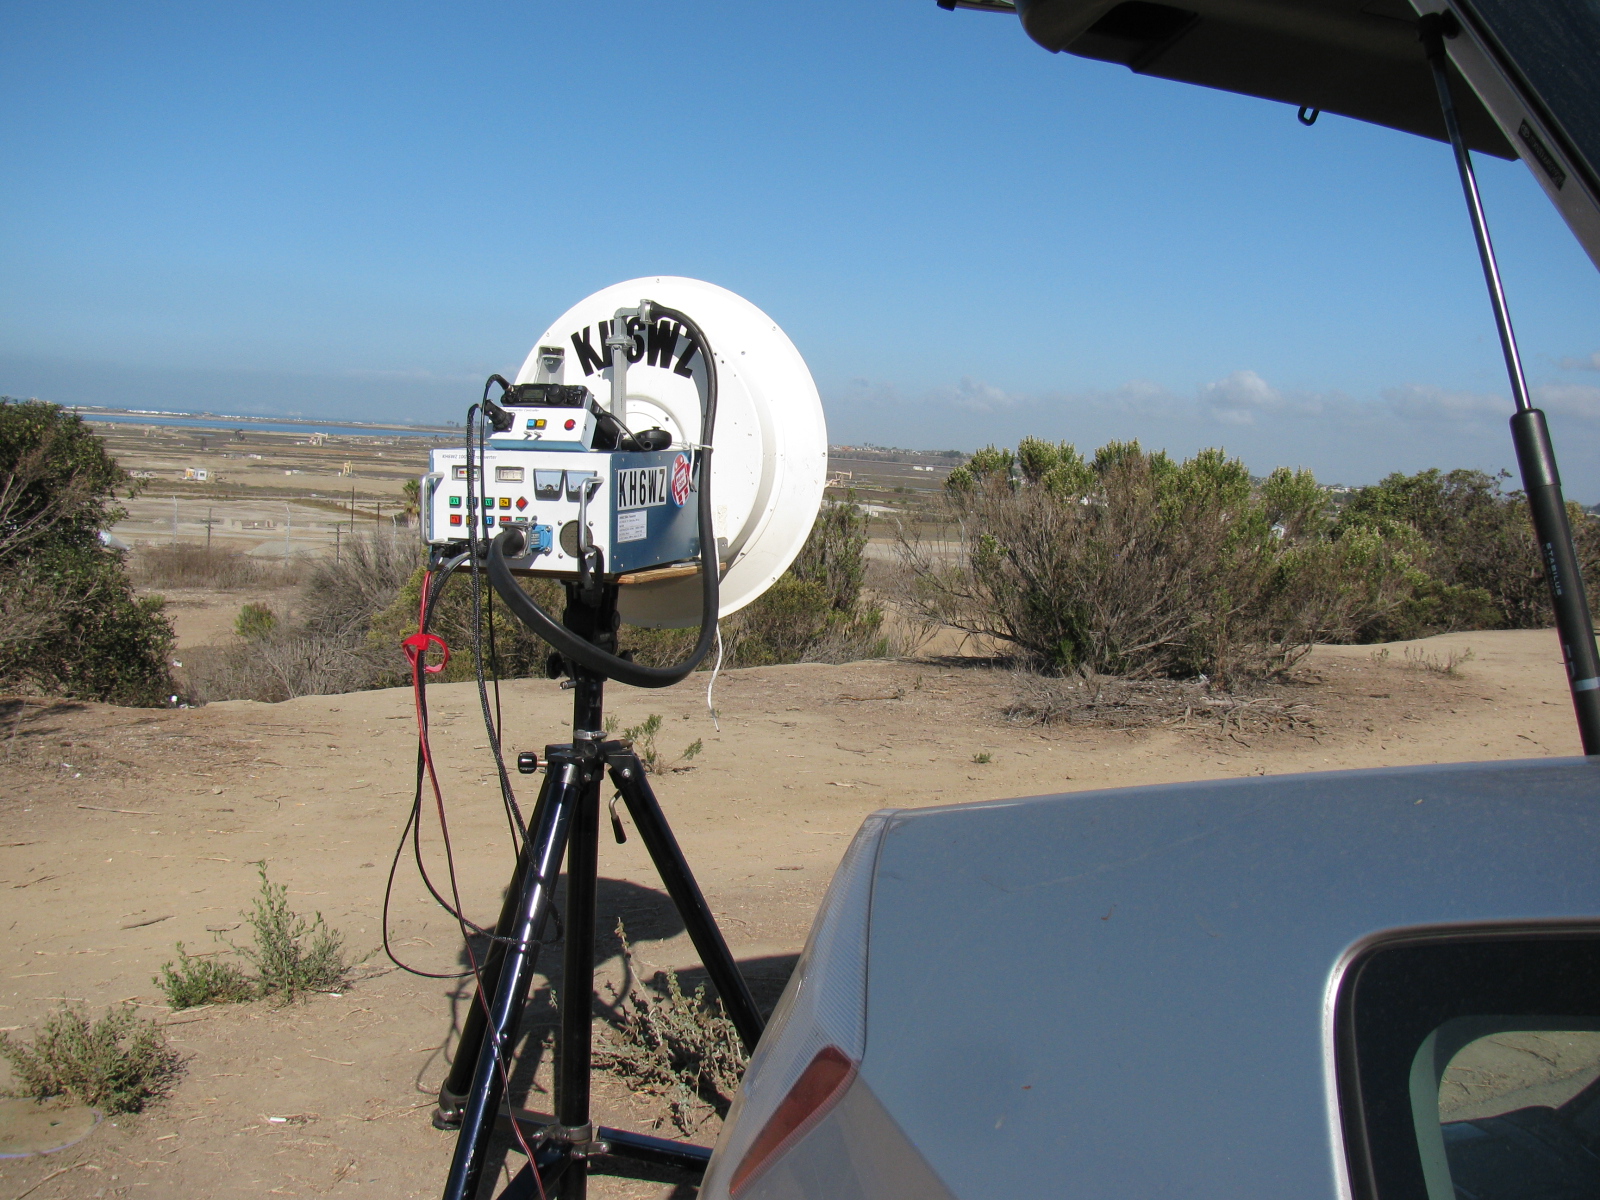
The first stop – KH6WZ in DM03xq – Huntington Beach, CA
-

-
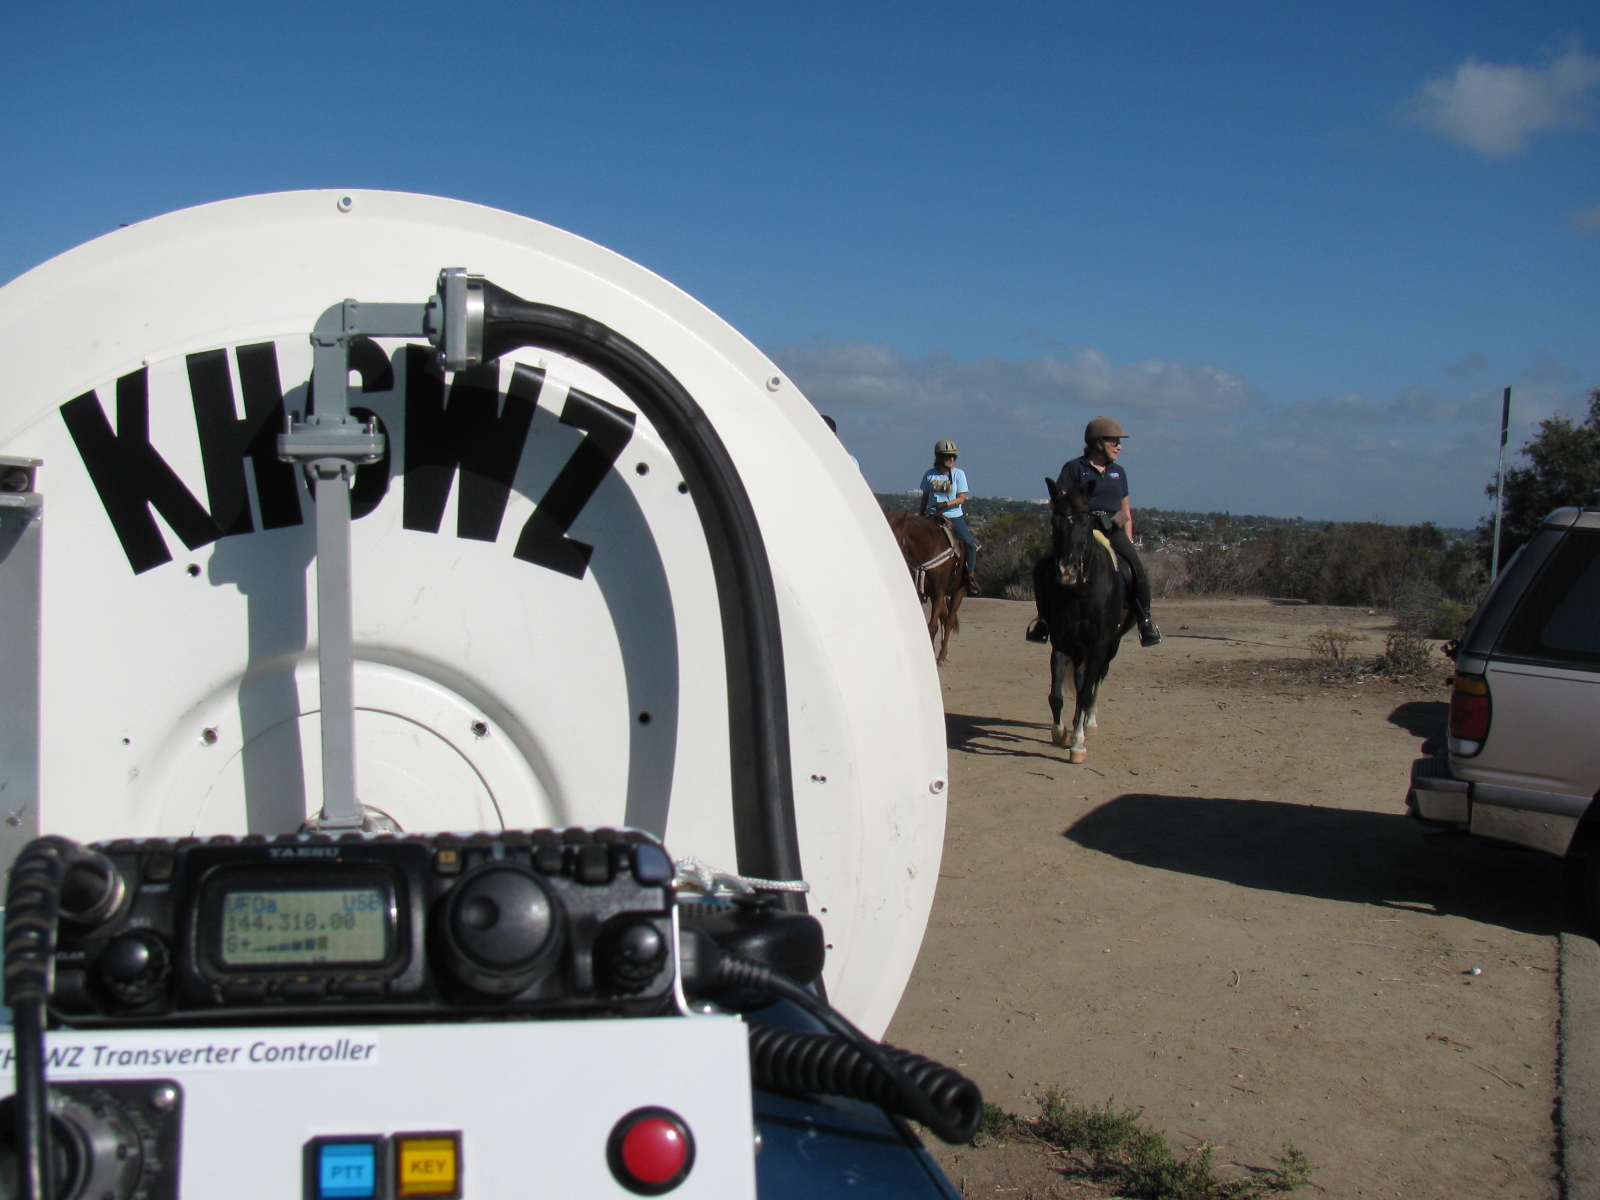
Some human as well as four-legged visitors to the Huntington Beach location. Take a look at the FT-817 S-meter and notice how the N6CA beacon (Frazier Mt., DM04ms) is booming in.
-

-
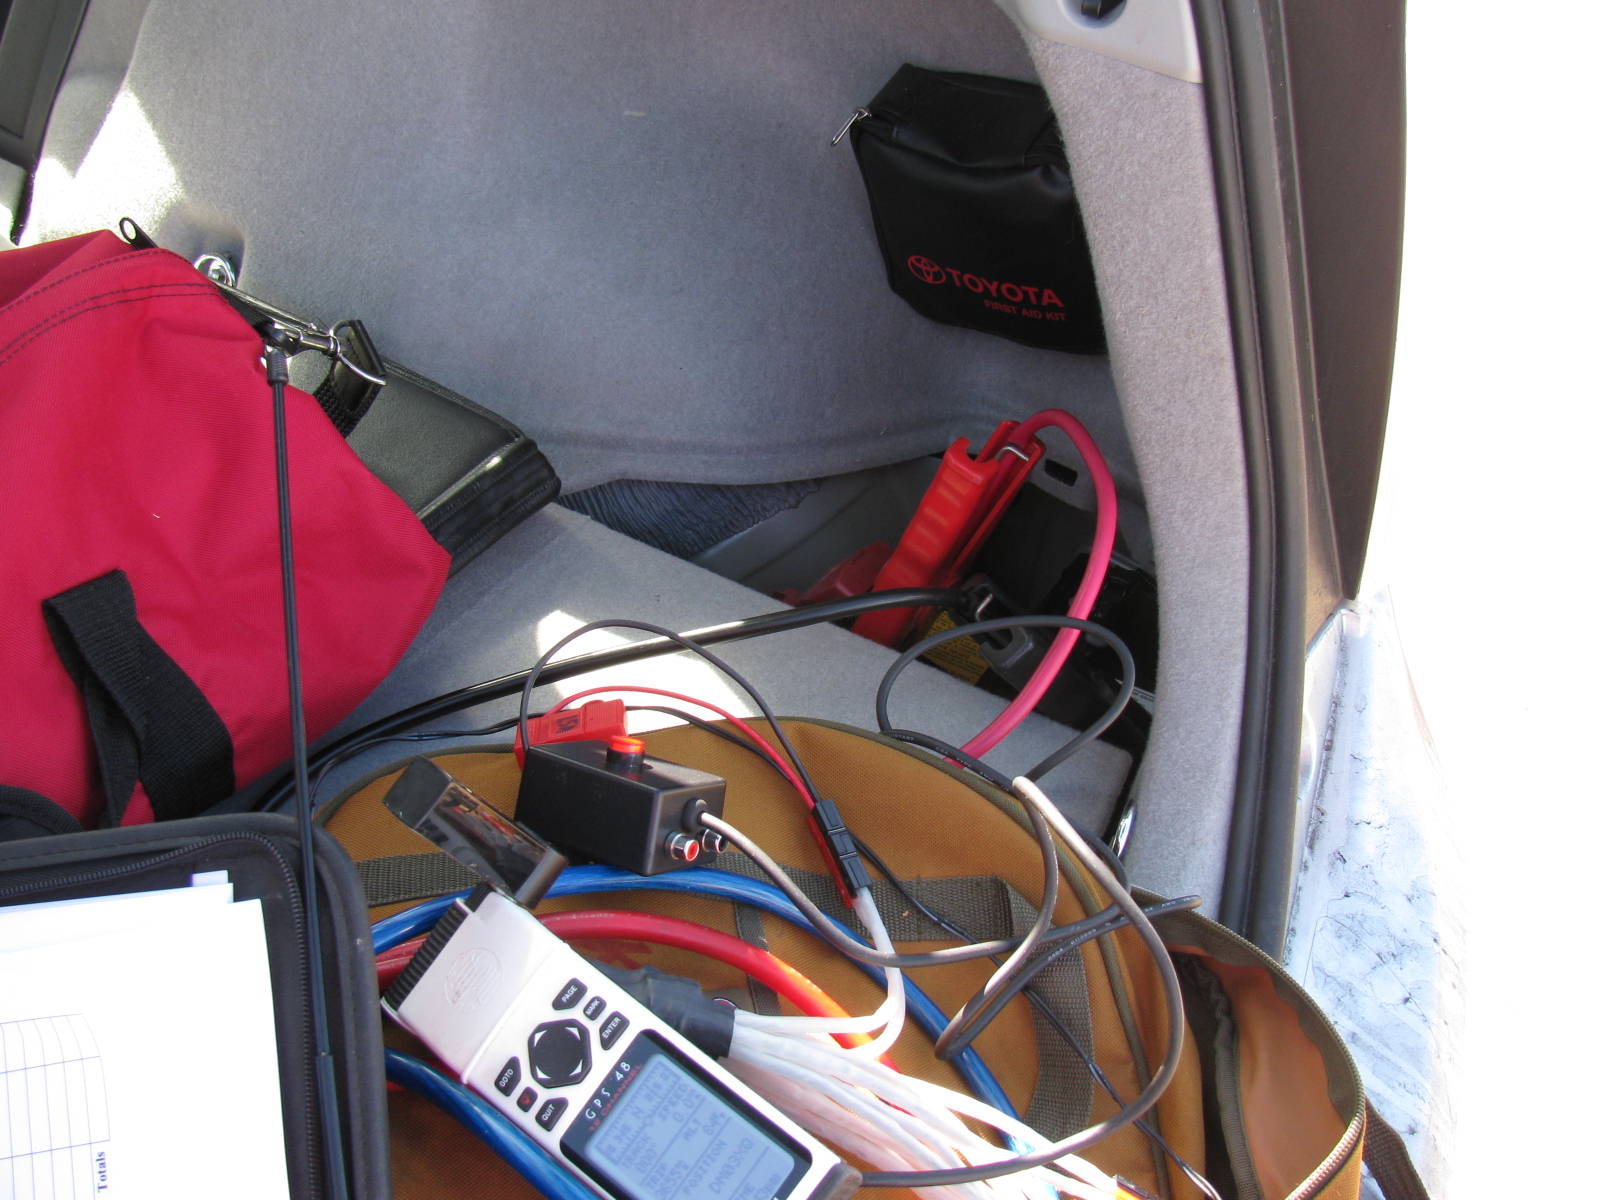
Battery jumper cables clipped onto the little 12V gel-cell in the back of the Prius supplied power to the station, which draws about 10 amps on transmit.
-
-
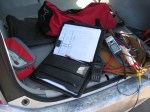
I really need to do something about the operating position inside the Prius. Yaesu FT-60, old Garmin GPS and the log sheets thrown in the back of the car.
-

-
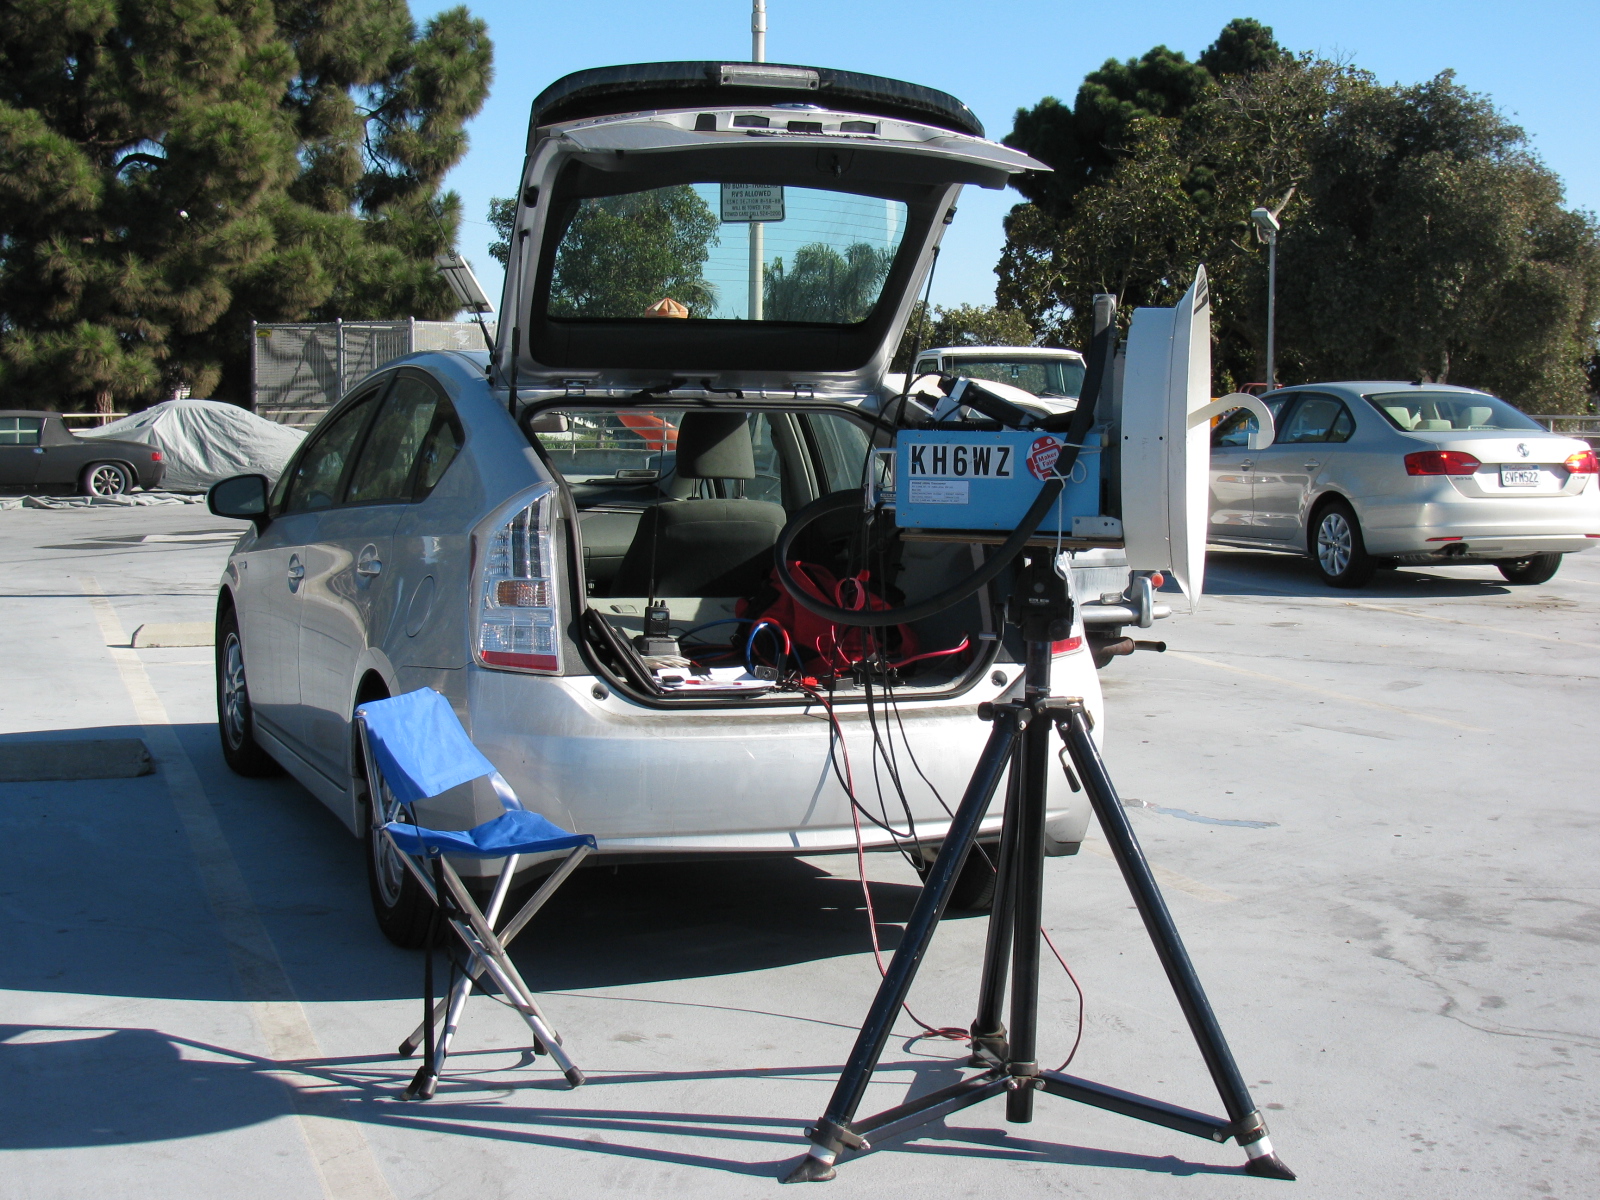
This is the second of two stops on contest Sunday. El Segundo, DM03tw. This is the top of a parking structure for a park, for some reason I never took note of the name. It is easy to find, just look for the water tower.
-

-
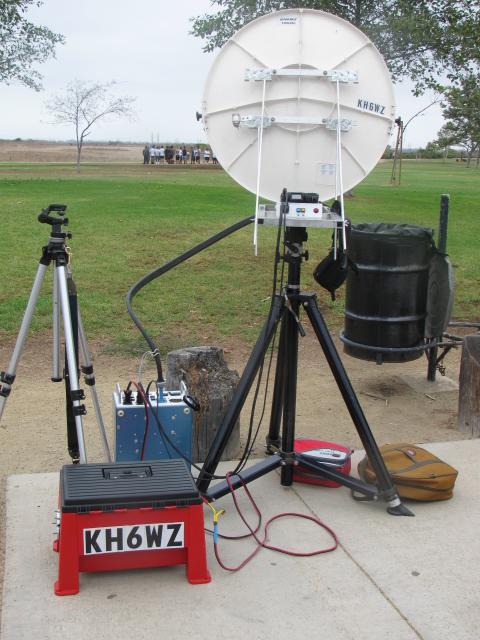
The KH6WZ station at DM03tw. The camping chair is more comfortable than it looks.

Microwave radio dishes used for ham (Amateur) radio communication.
The Orange County Mini Maker Faire is coming up (August 17 at UCI), so I added this intro to ham radio on the microwave bands. The Maker Fair coincides with the ARRL 10 GHz and Up Contest, and so, rather than missing the contest, I thought it would be fun to try working the contest from the Maker Faire. . . . .
Click here to view the presentation>>>> Microwaves: Not Just for Leftovers

KH6WZ 10 GHz rig at a tune-up party
A presentation about record-breaking two-way ham radio contacts during the 2007 10 GHz and Up Contest
View the slide show in PDF >>>> XE2 to W6 in the 2007 10GHz and Up

Maker Walt discussing something fascinating with Jeri Ellsworth, aka “Circuit Girl.” Photo by Tony KC6QHP
Here is a report on the 2013 Maker Faire by Tony Long (KC6QHP):
Another great Maker Faire is in the books, amateur microwave radio was well represented!
Thanks to the coordination efforts of Wayne KH6WZ, Brian W6BY, the 50 MHz and Up Group, the SBMS, and UC Davis, the “Not Your Grandpa’s Ham Radio 2” booth at the Maker Faire was a great success.
This year we shared a booth with UC Davis whose impressive student projects ranged from a radar demonstration, to video processing, audio sequencing, and mechatronics. Along with that, we had a 10/24 GHz SDR setup courtesy of Dennis W6DQ (on a big screen courtesy of Brian), some of Brian’s homebrew gear, Walt’s EM field demos and transceivers, and some of my stuff including a 10 GHz radio and beacon.
LA Times says that about 165,000 people were expected to attend this year, so at a minimum 10,000 people passed by our booth. Our raspy voices are an indicator that a great deal of talking was done! I personally interacted with a number of people who are really interested in amateur microwave radio and if even a fraction of them get involved or raise general awareness, I think it is a success.
Walt’s demos, owing in part to their elegant simplicity and visual nature attracted a lot of attention and interest. On Sunday night he took them to a post-fair get-together with the who’s who of the hardware hacking scene (Jeri Ellsworth, Ben Heckendorn, Diana Eng, Alan Yates and many many others). All were impressed!
Something I see very encouraging in the “maker” scene is a real interest in RF. This crowd includes a good deal of embedded systems engineers, talented software people, etc. There’s a real opportunity to make connections with this crowd and get more activity on the microwave bands.
As Software Defined Radios decrease in cost and become more open source, I predict massive interest in RF and likely in the microwave bands because of their large bandwidths. While they may not be interested in SSB mountaintop to mountaintop contesting (there will be those who are certainly), an increase in use of our bands will only help to further the cause of maintaining our spectrum to help further the state of the art.
I posted a gallery of pictures on Flickr: http://goo.gl/cAy3p
Tony KC6QHP”
Thanks for the report, Tony!
Make: Magazine reports there are over 900 displays this year. My team is setting up for the big event. I will post images and reports as soon as I receive them from my crew. I am not going this year. . . .
Here are some previews and some of the things I want to see. . .

Read more at: Belt-Driven, Hubless Rear Wheel Bicycle

Read more at: The Viper 2.0

And of course, my entry, Not Your Grandpa’s Ham Radio 2
I got tired of fiddling with the IRS so I did something different this weekend. Here is a picture of the E-brake ratchet handle that comes with the Complete Kit. Since the parts are plain, un-finished steel, I decided to paint it to prevent rust. The exploded view in the instructions make assembly very easy. I wish The Factory would include an exploded view for the IFS as well as the IRS – makes things go so much better. The finish is white and black appliance epoxy from Rustoleum.
Here are some pictures. . .


I am not sure if I like the location of the E-brake handle, it is on the passenger side of the transmission hump. A popular modification is to use a Pontiac Fiero unit and re-locate it closer to the driver. We’ll see if I want to change this setup. (The sharp-eyed people will notice the e-brake handle is backwards. . . . . . )
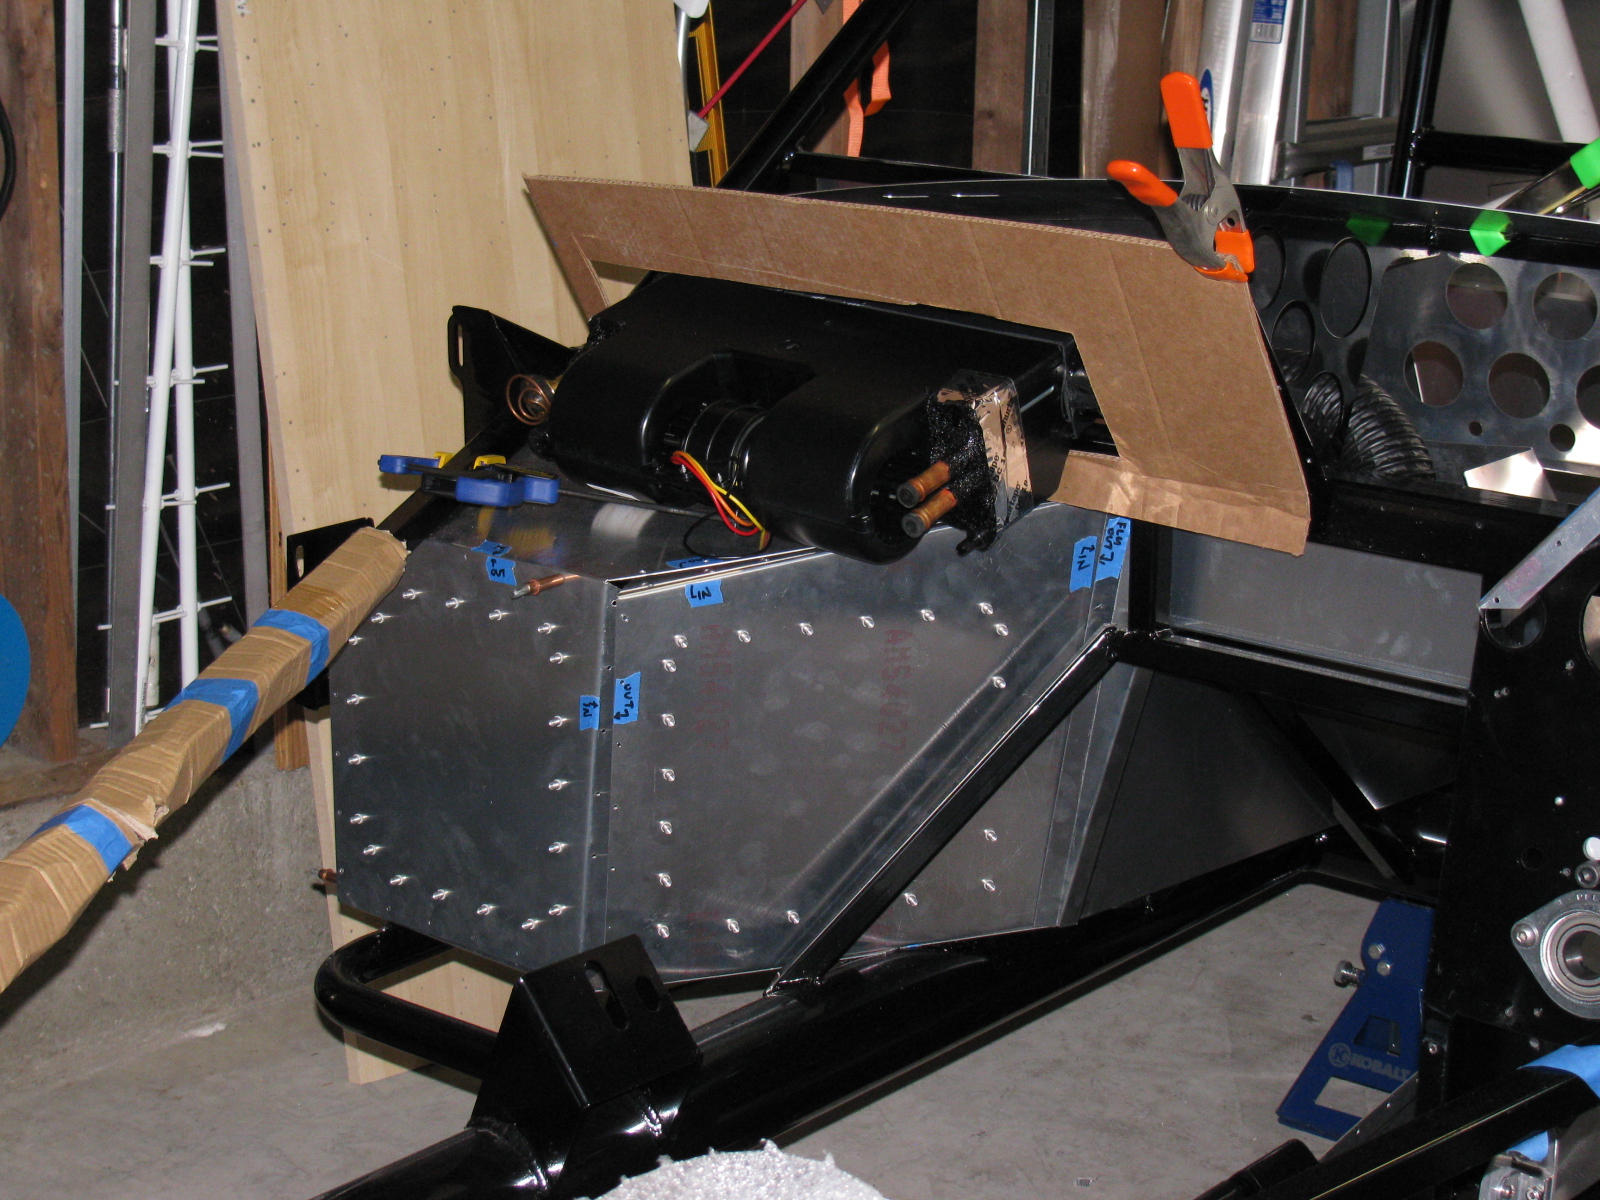
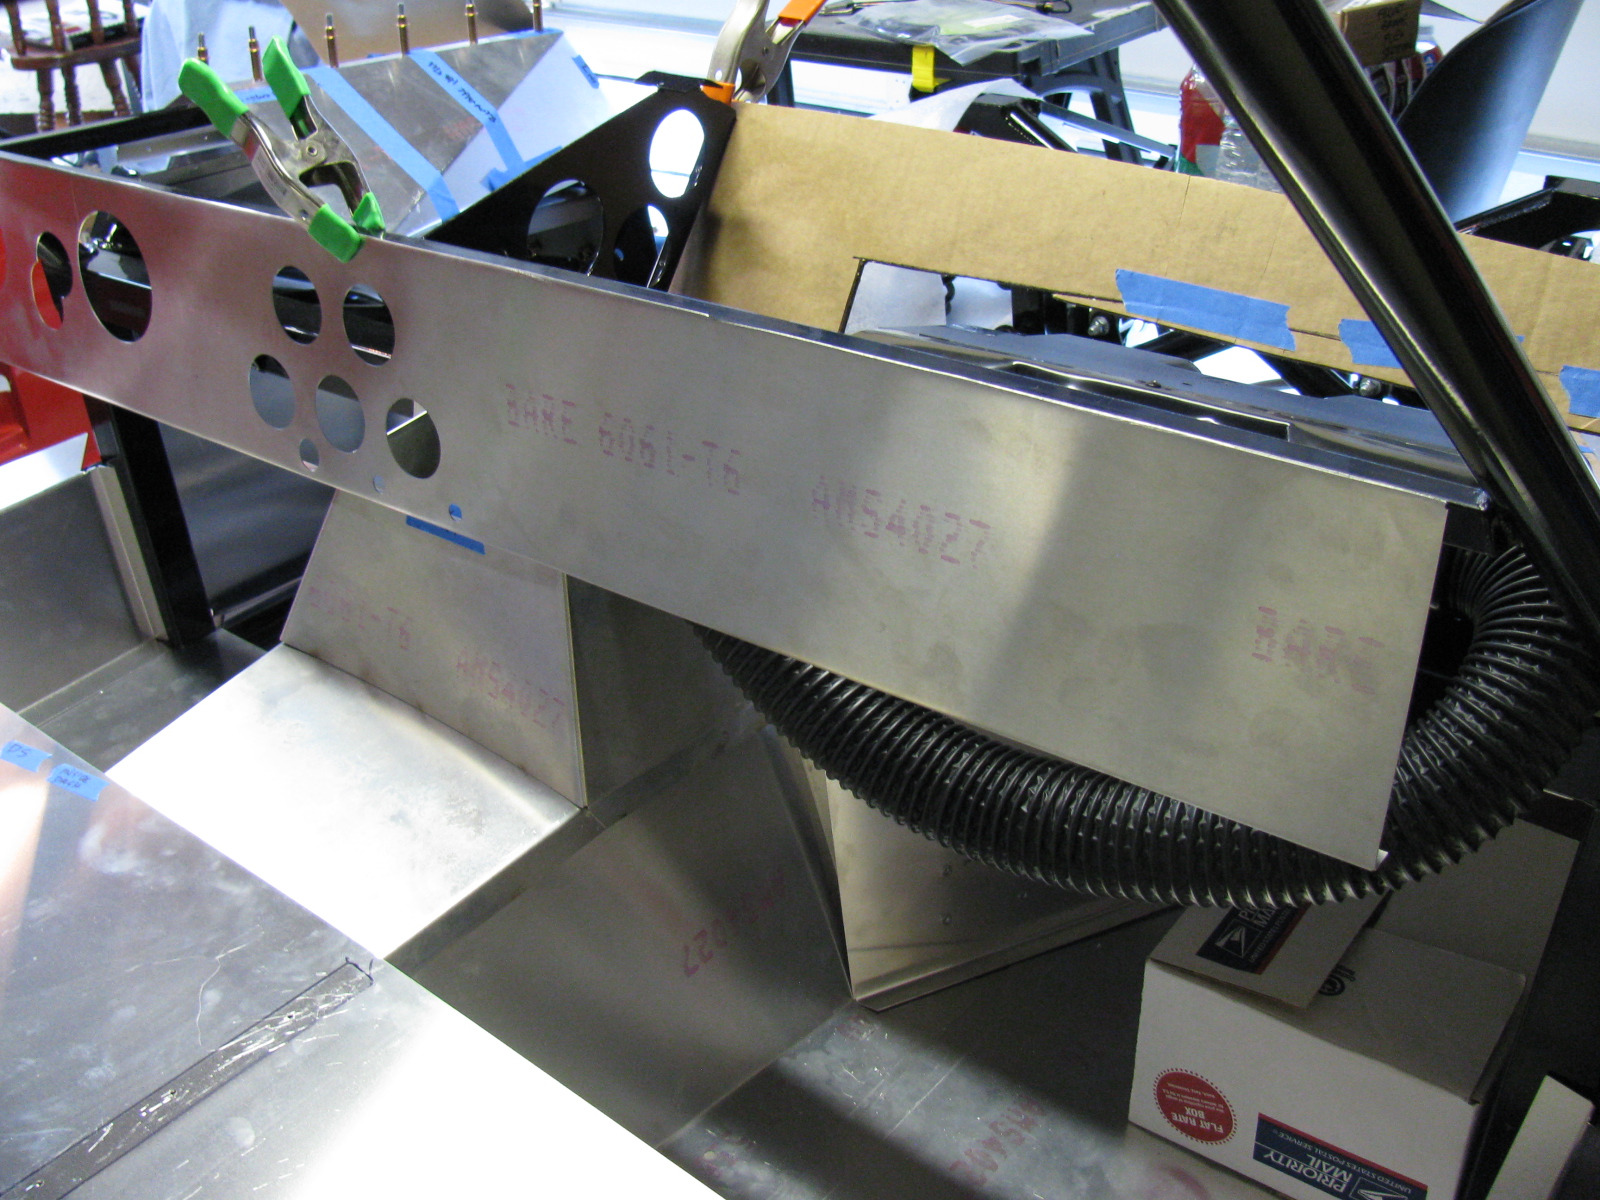
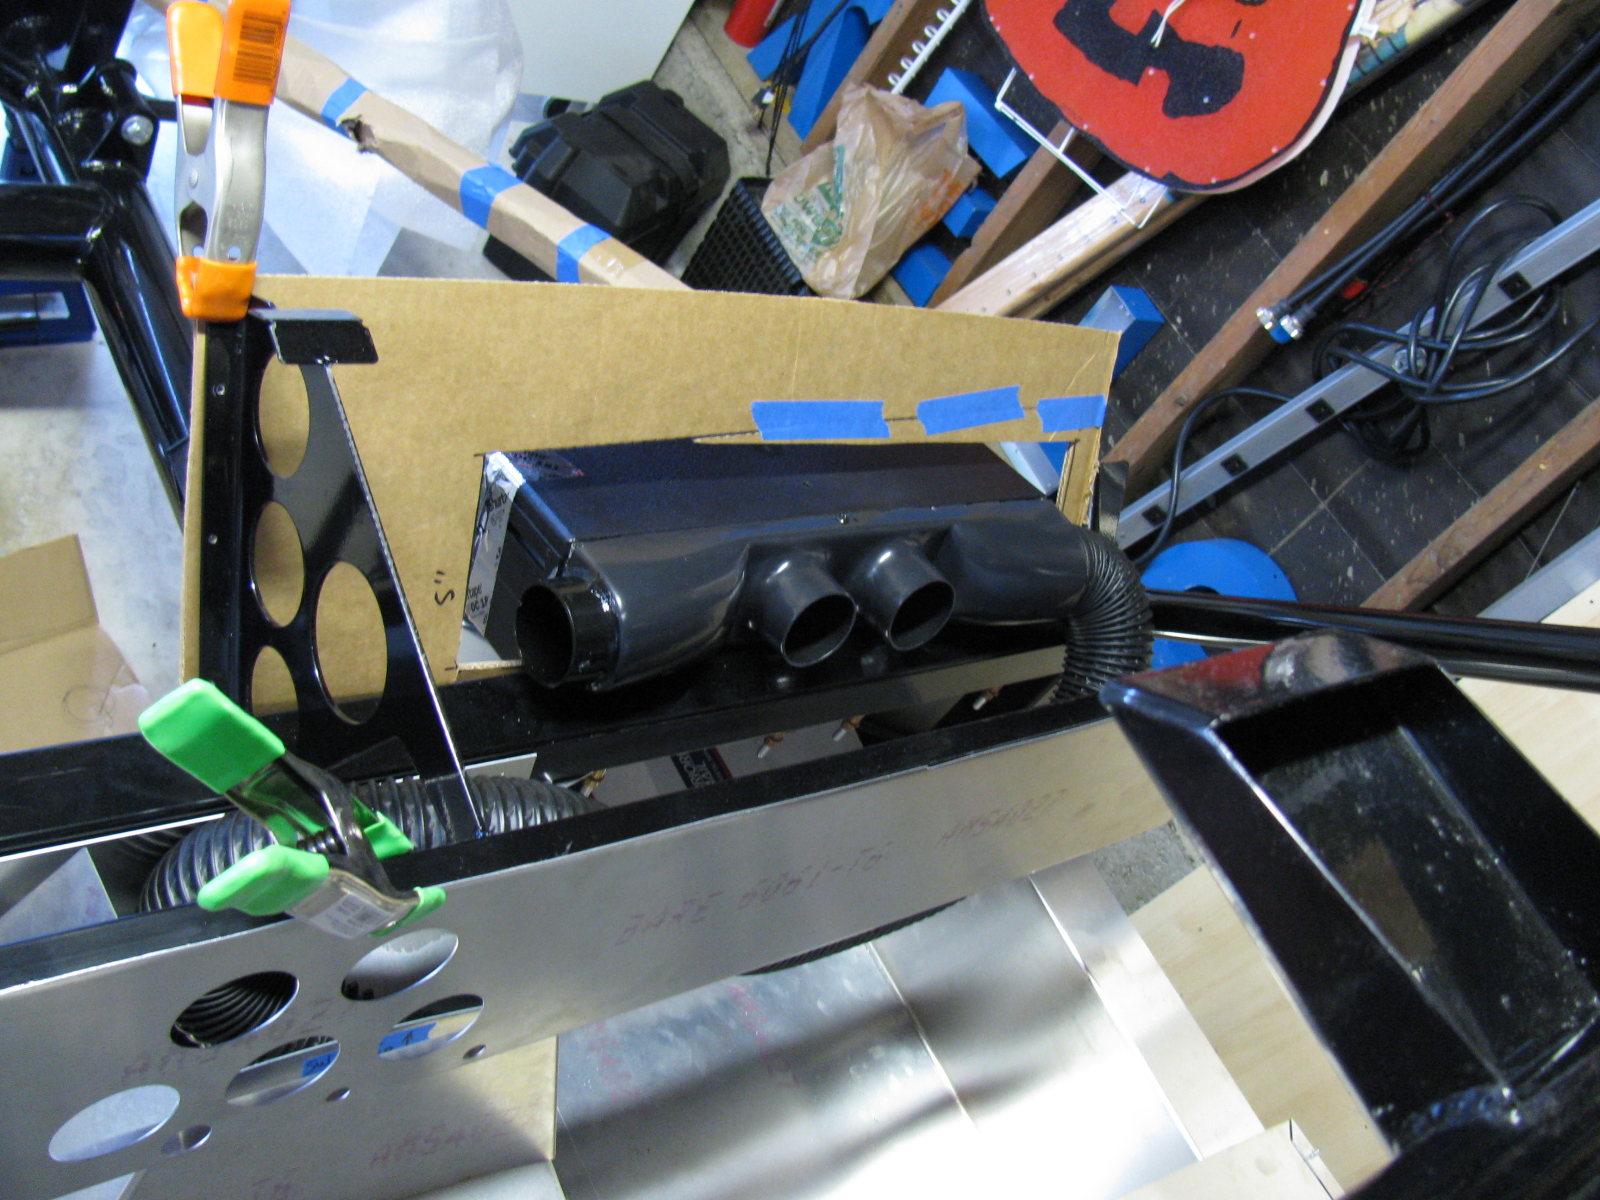
Here are some images of the air conditioner and a cardboard aided design (CAD) templates I am making. This requires some cutting of the dashboard and firewall, so I want to mock everything up before I start cutting. I have some very sturdy aluminium plates for the A/C baseplate, and some sheet aluminum for the enclosure. A CAD version will be made first, then transferred to aluminum.


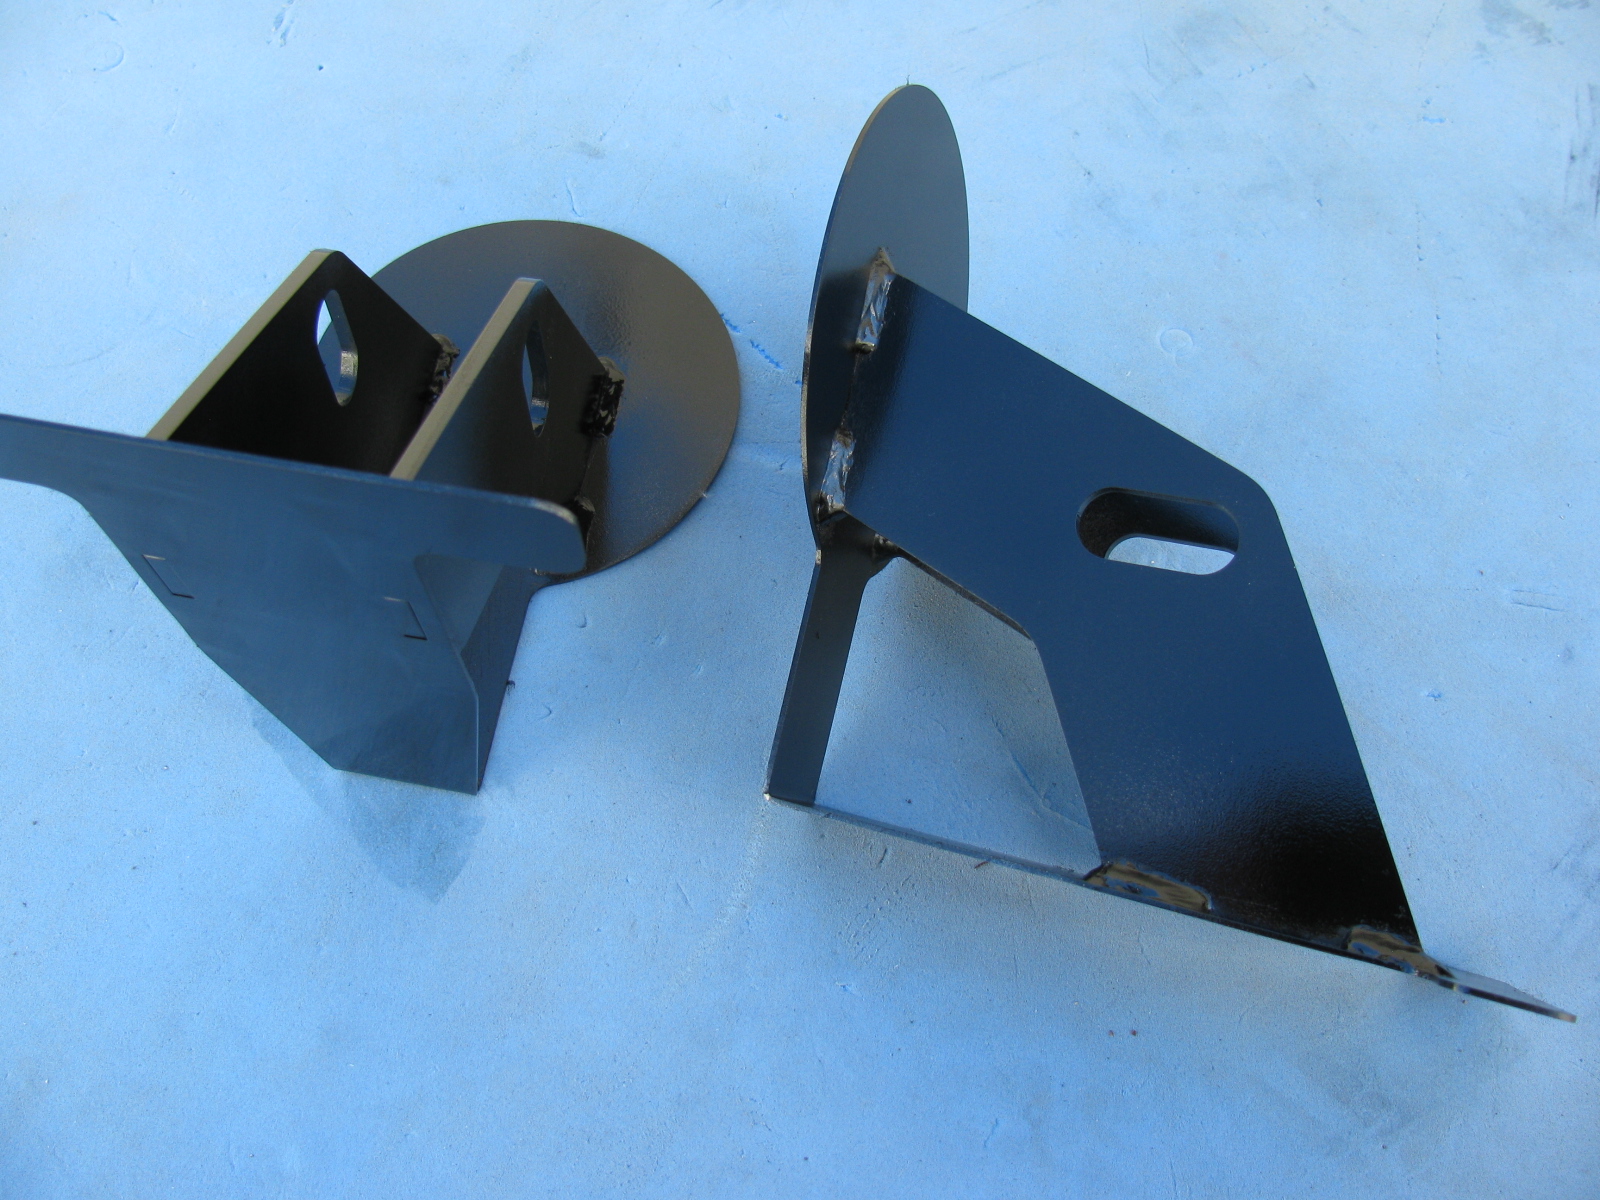
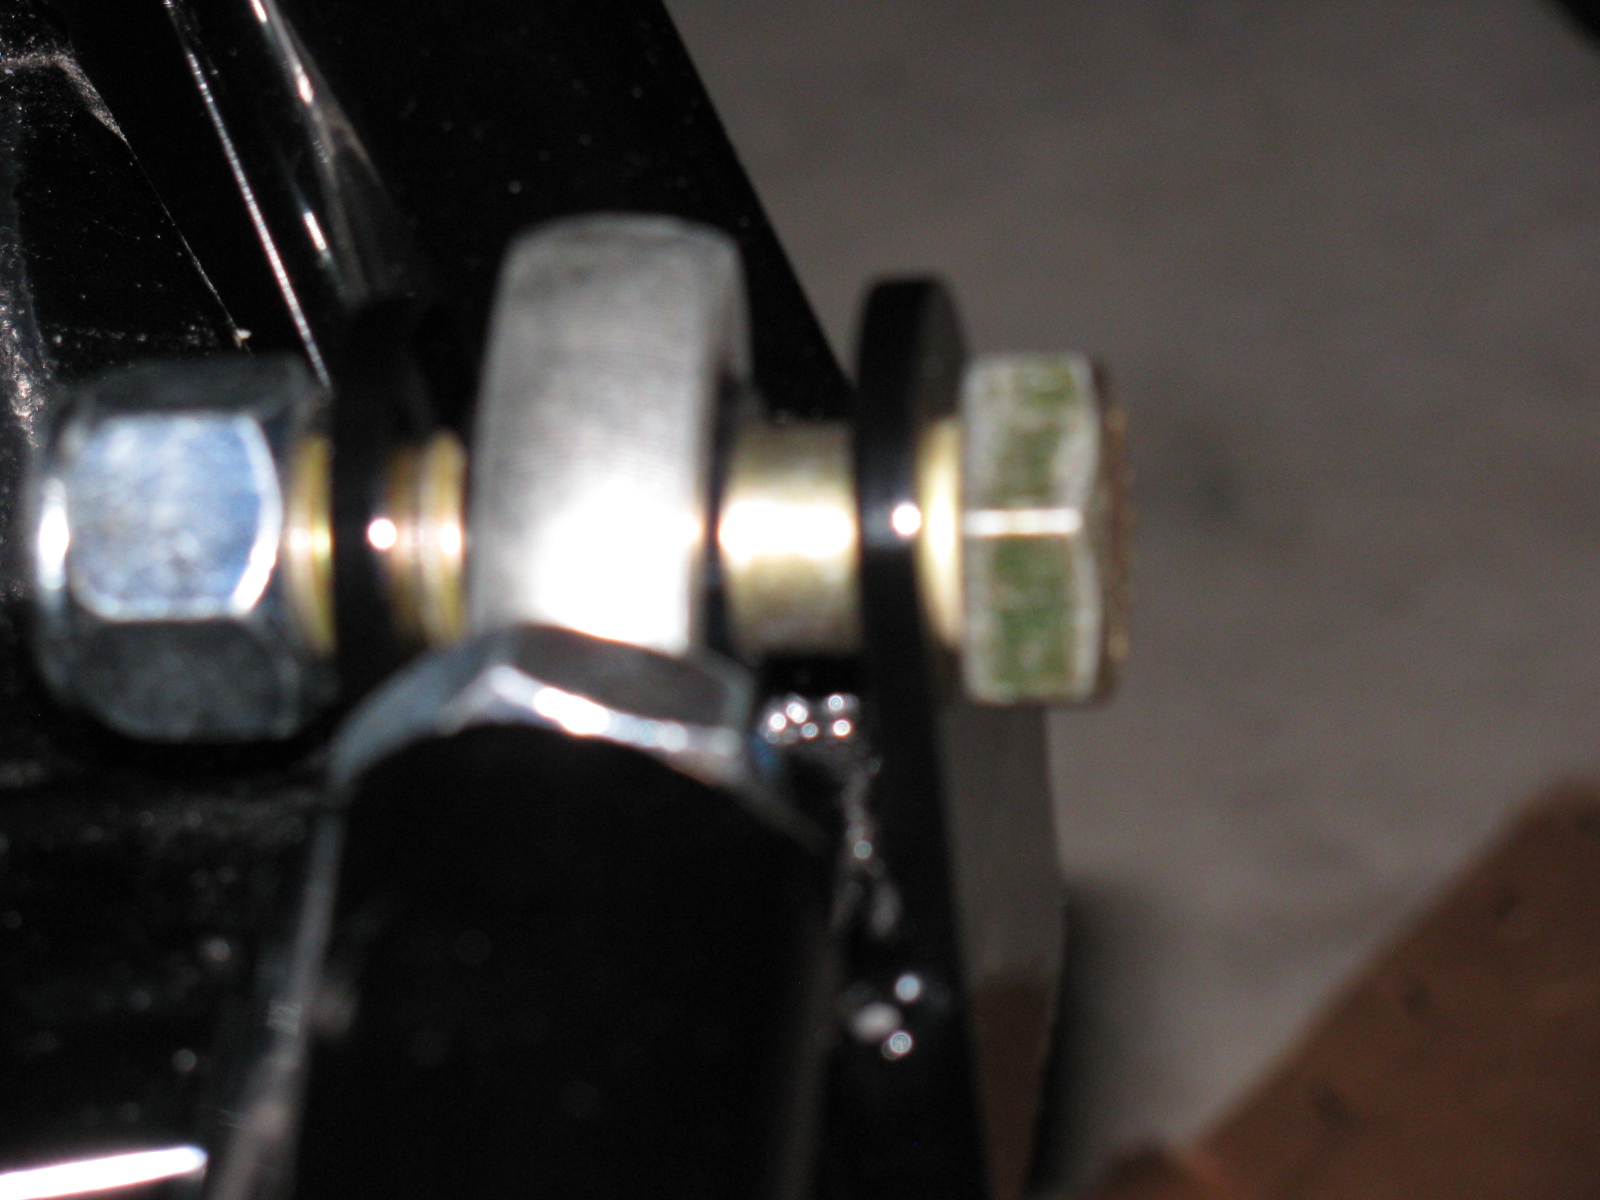
Moving back to the IRS, I received some advice from the veteran builders, and so here is what I did to the lower control arm mounts. The shims (thin black steel washers) F5R supplies are slipped into place and some adjustment is done by placing shims here and there. However, it makes more sense to limit the toe and camber adjusters so that the tweaking can be as simple as possible. By “fixing” one side of the control arm, and limiting it to one adjuster for toe and one adjuster for camber, alignment is simplified and less time consuming.
Currently, this stage is to just “eyeball” the adjustments, and continue the build process. Wheel alignments – both front and rear – may be done after the wheels and tires are mounted. (Probably can be done at the “go kart” stage, when the chassis is complete and the engine, drivetrain, electrics and brakes are installed and running.)
Here are some pictures. As this step gets closer to completion, I will add more details for future reference.


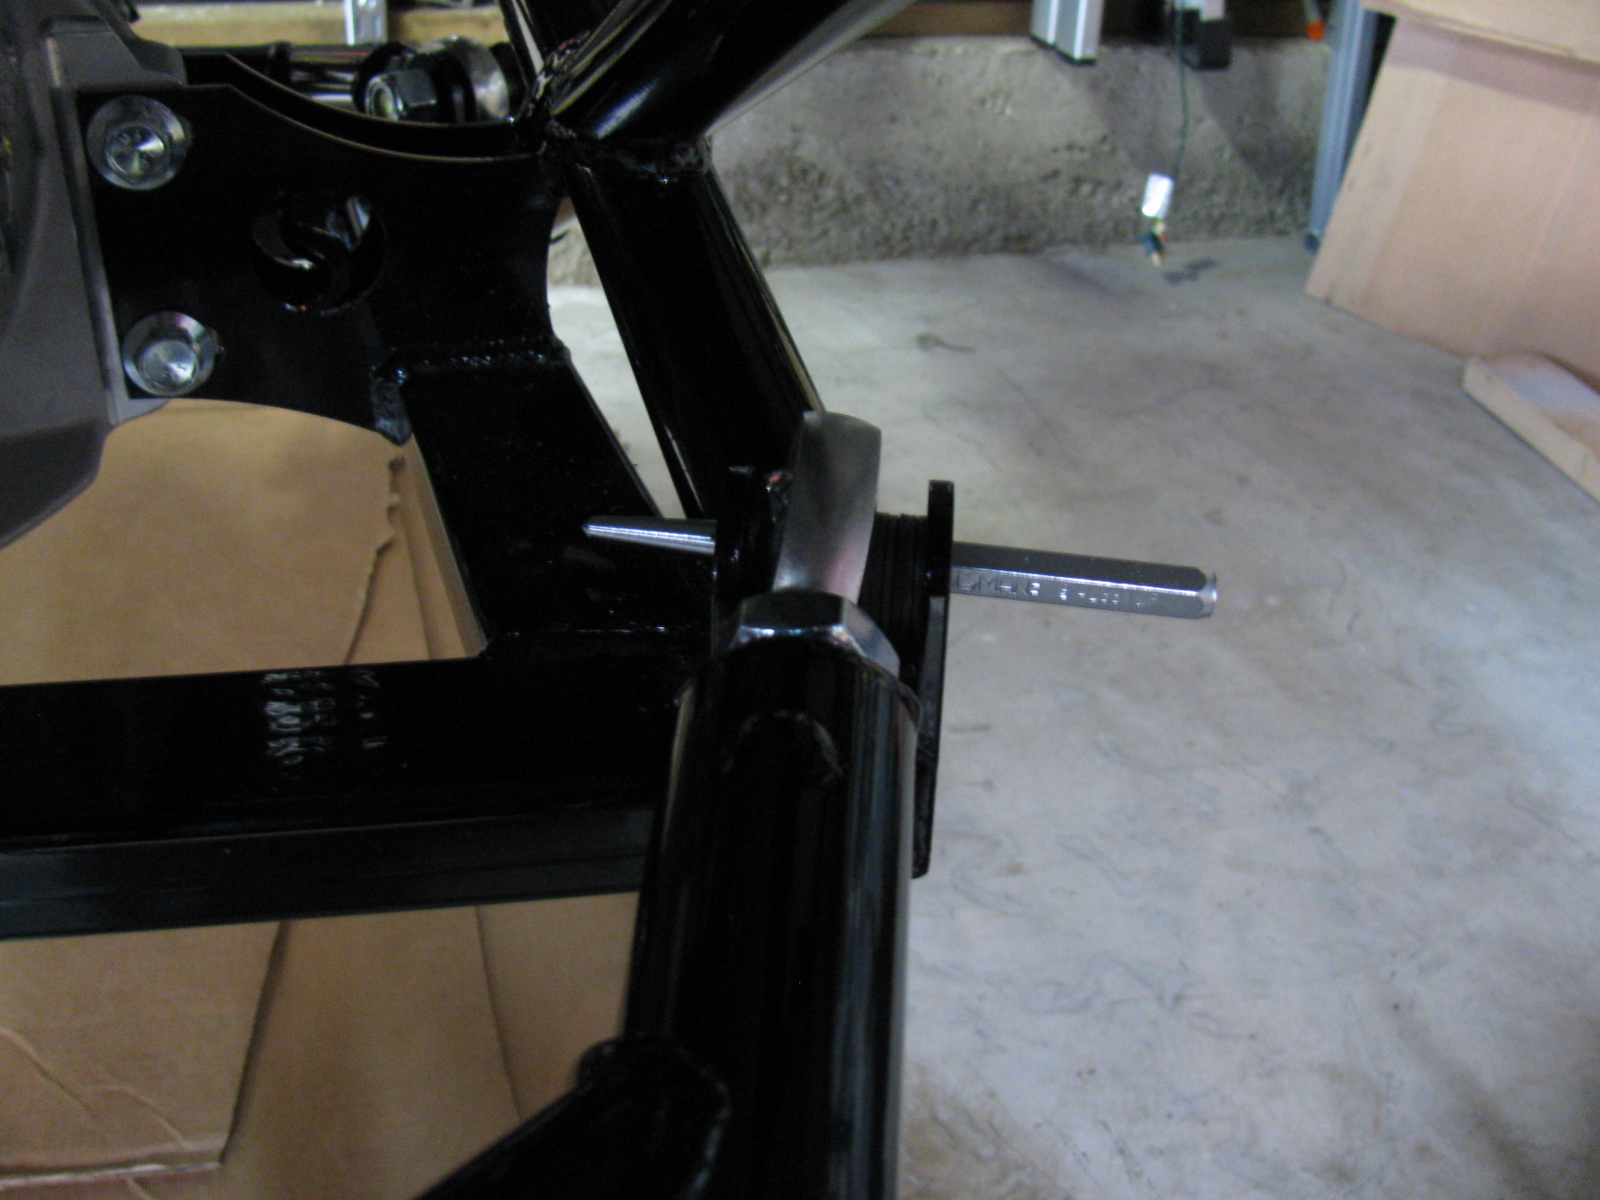
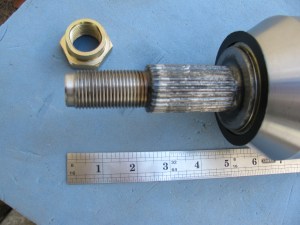
Above left: The Type 65 Coupe IRS lower control arm mounts. One shim on the front side of the mount, six shims on the side toward the rear of the car. The heim joint is threaded on so that 5/8-ths of an inch of thread are showing.
Above right: Here is the trick I use to install slippery washers, shims and spacers onto things – Use a punch or some other tool to poke through the stack of parts together, thus aligning the holes of each part. Then . . .


. . . push the fastener – and the punch – through the stack of parts. Wiggling, pushing and pulling will help. Sometimes a quick-clamp can help, too.
Maker Faire 2013 Update: Application is In!
I turned in an application for Maker Faire Bay Area 2013. Our Maker name is “Not Your Grandpa’s Ham Radio 2” and we will continue the theme my team entered last year. We will have some new projects on display, and we will bring some of the more popular items from last year. Here is a look at some of our projects from last year – as well as some other interesting and amazing things I saw last year.


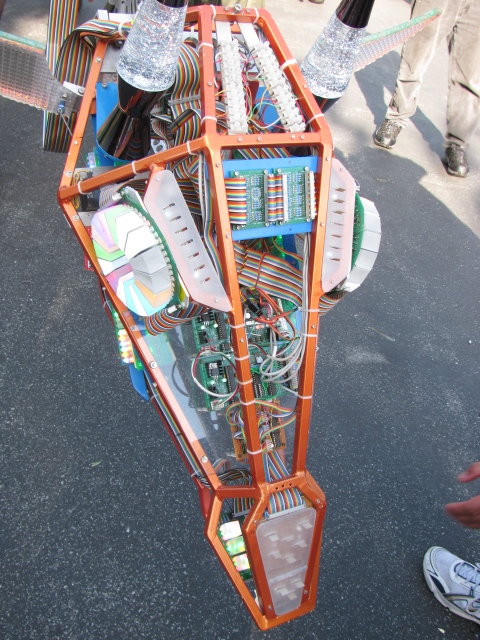
Above – One of the most interesting exhibits at Maker Faire 2012 — The Electric Giraffe named Russell – it is a scaled-up and enhanced version of a plastic model kit – it is 17 feet tall. Below left: Jeri Ellsworth, aka Circuit Girl, and her electric Key-Tar at Maker Faire 2012. Below right, Maker Alex shows us her finger tip no keyboard keyboard.

More Maker Faire 2012 images are posted on my YouTube channel.
ARRL CEO David Sumner – K1ZZ – wrote a great story on Amateur Radio and the hands-on experience this technical hobby – and free public service – provides. Click here to go to the Urgent Communications story. . . .
But – Dave did not mention what’s going on on the ham radio microwave bands. Click here to visit the San Bernardino Microwave Society (SBMS) and the 50 MHz and Up Group and the North Texas Microwave Society (NTMS) to see what we are doing on the frequencies way up there. . .
Some Body Parts, More IRS Conundrum and a New Microwave Antenna for KH6WZ
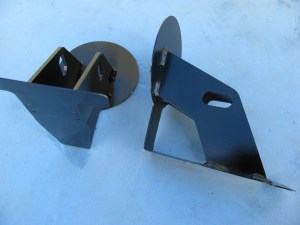
Inspired by a post on the Factory Five Racing forum and the dry and sunny weather this weekend, I decided to paint some of my body mounting parts. I am using gloss black Rust-Oleum Appliance Epoxy paint for these pieces. I have used this paint for my electronic and radio projects with good results. The paint dries very hard and is waterproof and washable, perfect for these parts.
Surface prep is easy for this paint, I scuff the surface with a 60 grit sanding disc on my random orbit sander. For the hard to reach nooks and crannies, I use a wire wheel chucked in my hand drill. Then I use liquid dish soap and water to wash off the grit and any oils. No primer is needed for this paint. Then I apply two or three light fog coats first, and then blast a thick coat for the fourth or fifth and final coat.
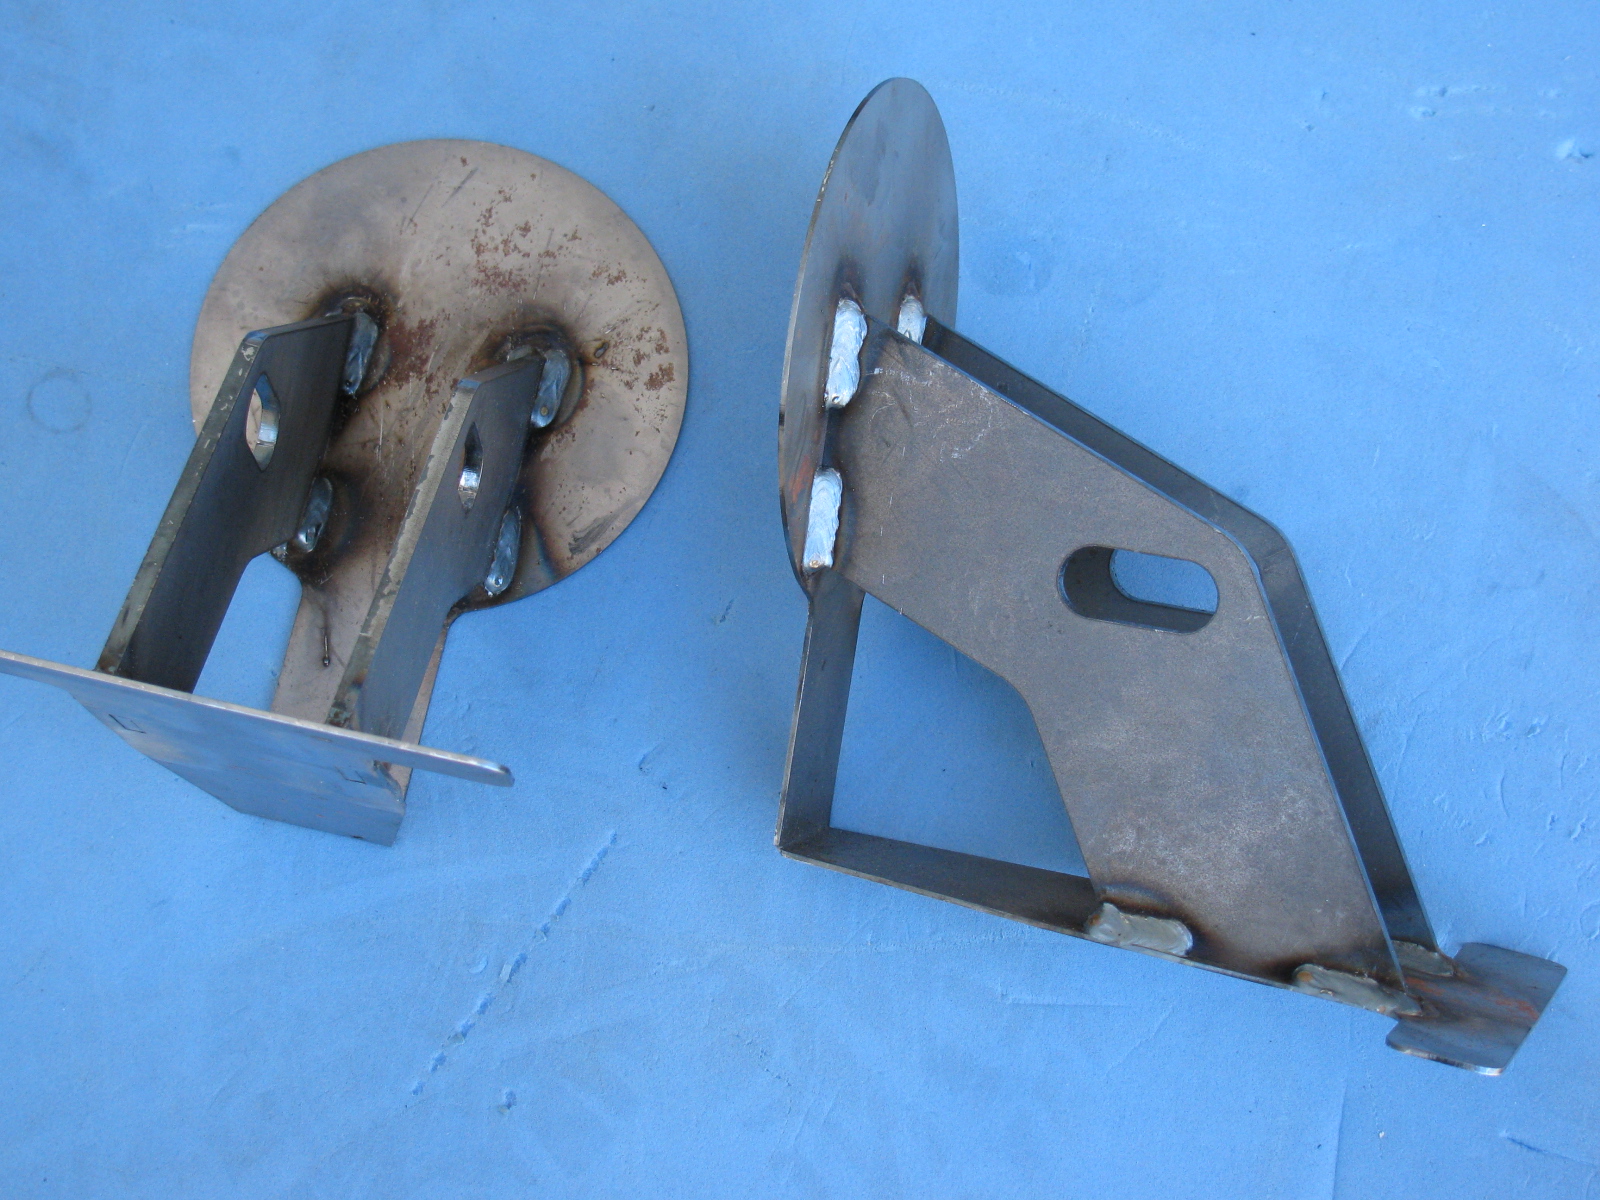
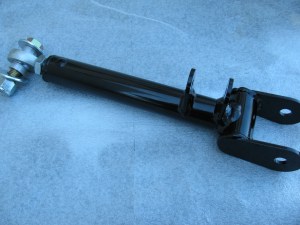
Here is a “before” and “after” picture of the front nose mounting hinge.

I did the same with the door hinges. Here you can see some weld splatter that will interfere with the mounting bolts, so I used a Dremel tool to grind those weld balls off.

Although many of these parts will not be seen, I do not want them to rust. Other parts will be painted in the same way, and include the door frames, the rear glass hatch hardware and the emergency brake mechanism.
Meanwhile . . .
After spending some time fiddling with the factory-supplied accelerator pedal, I decided to buy an aftermarket gas pedal instead. I ordered one of Russ Thompson’s gas pedals earlier this week from Breeze Automotive, one of the Factory Five Racing Forum supporters. I was amazed the box arrived on Thursday – that was fast!
The new gas pedal is really a machined aluminum sculpture. Pictures on this will be coming later, since I need to get the engine mounted before the gas pedal goes in.
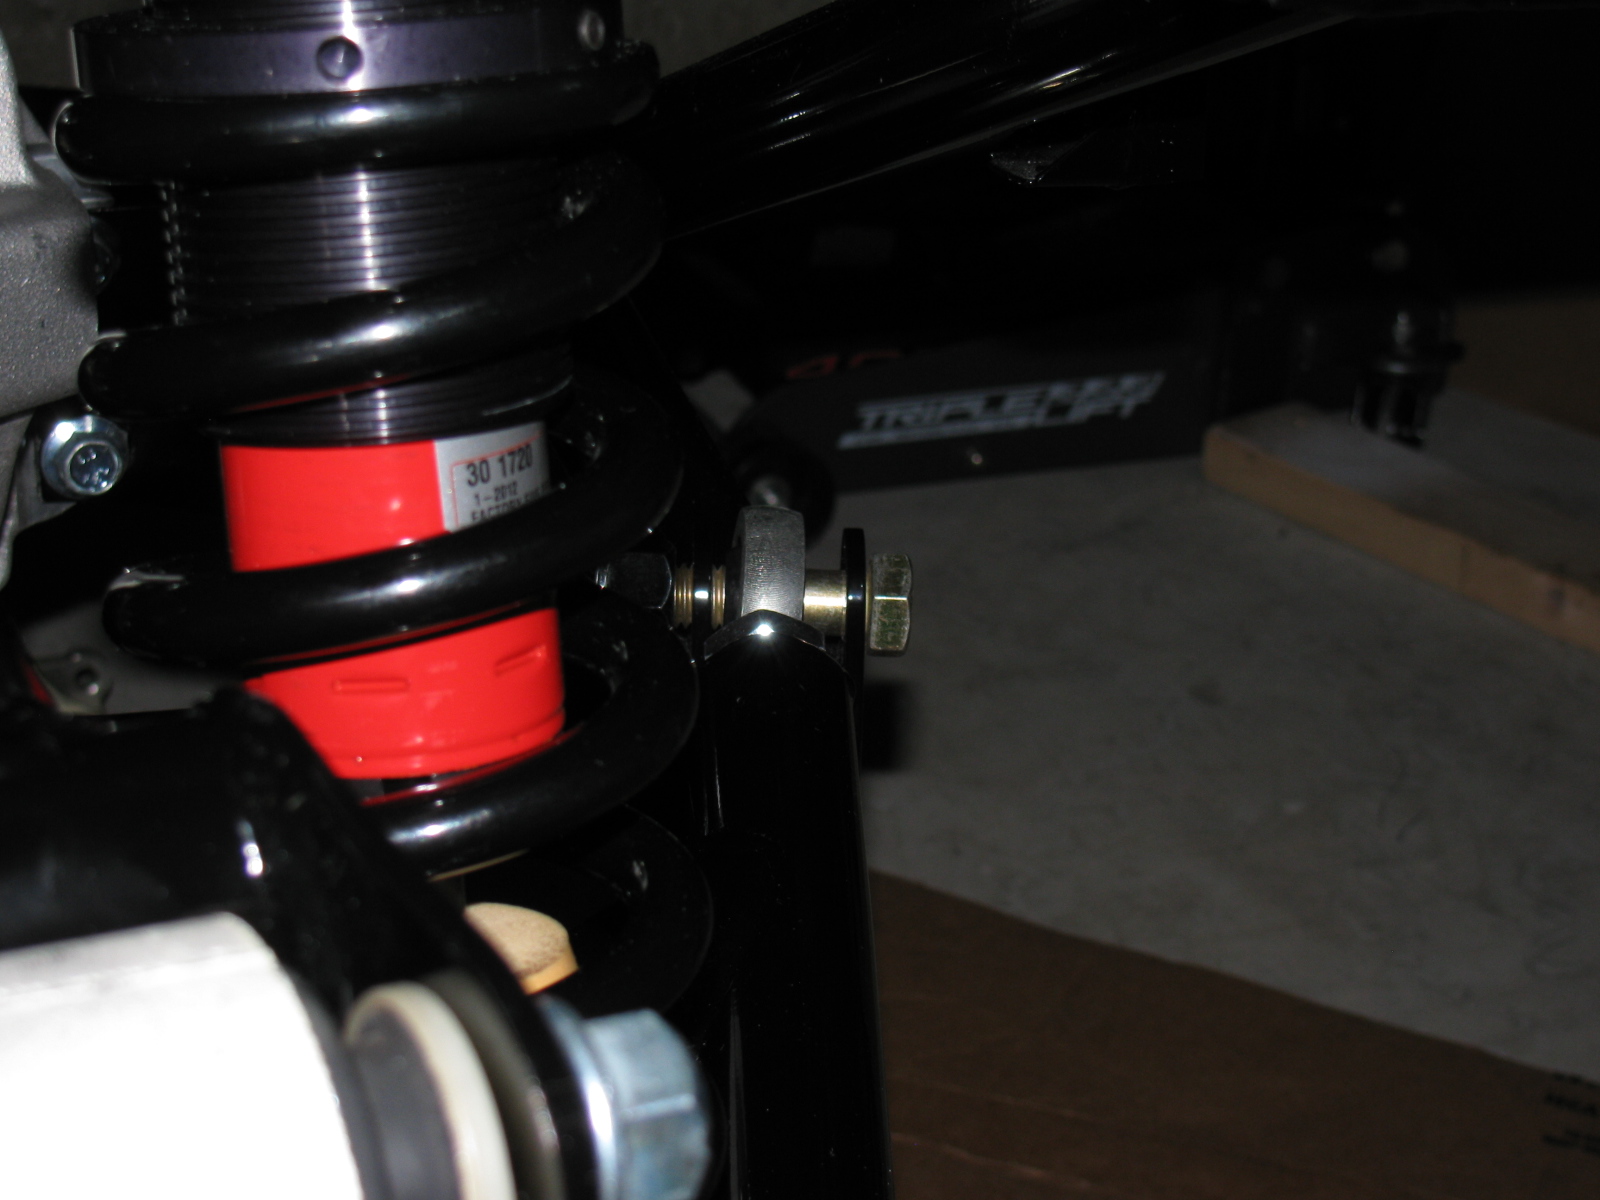
IRS – Finished – Sort Of . . .
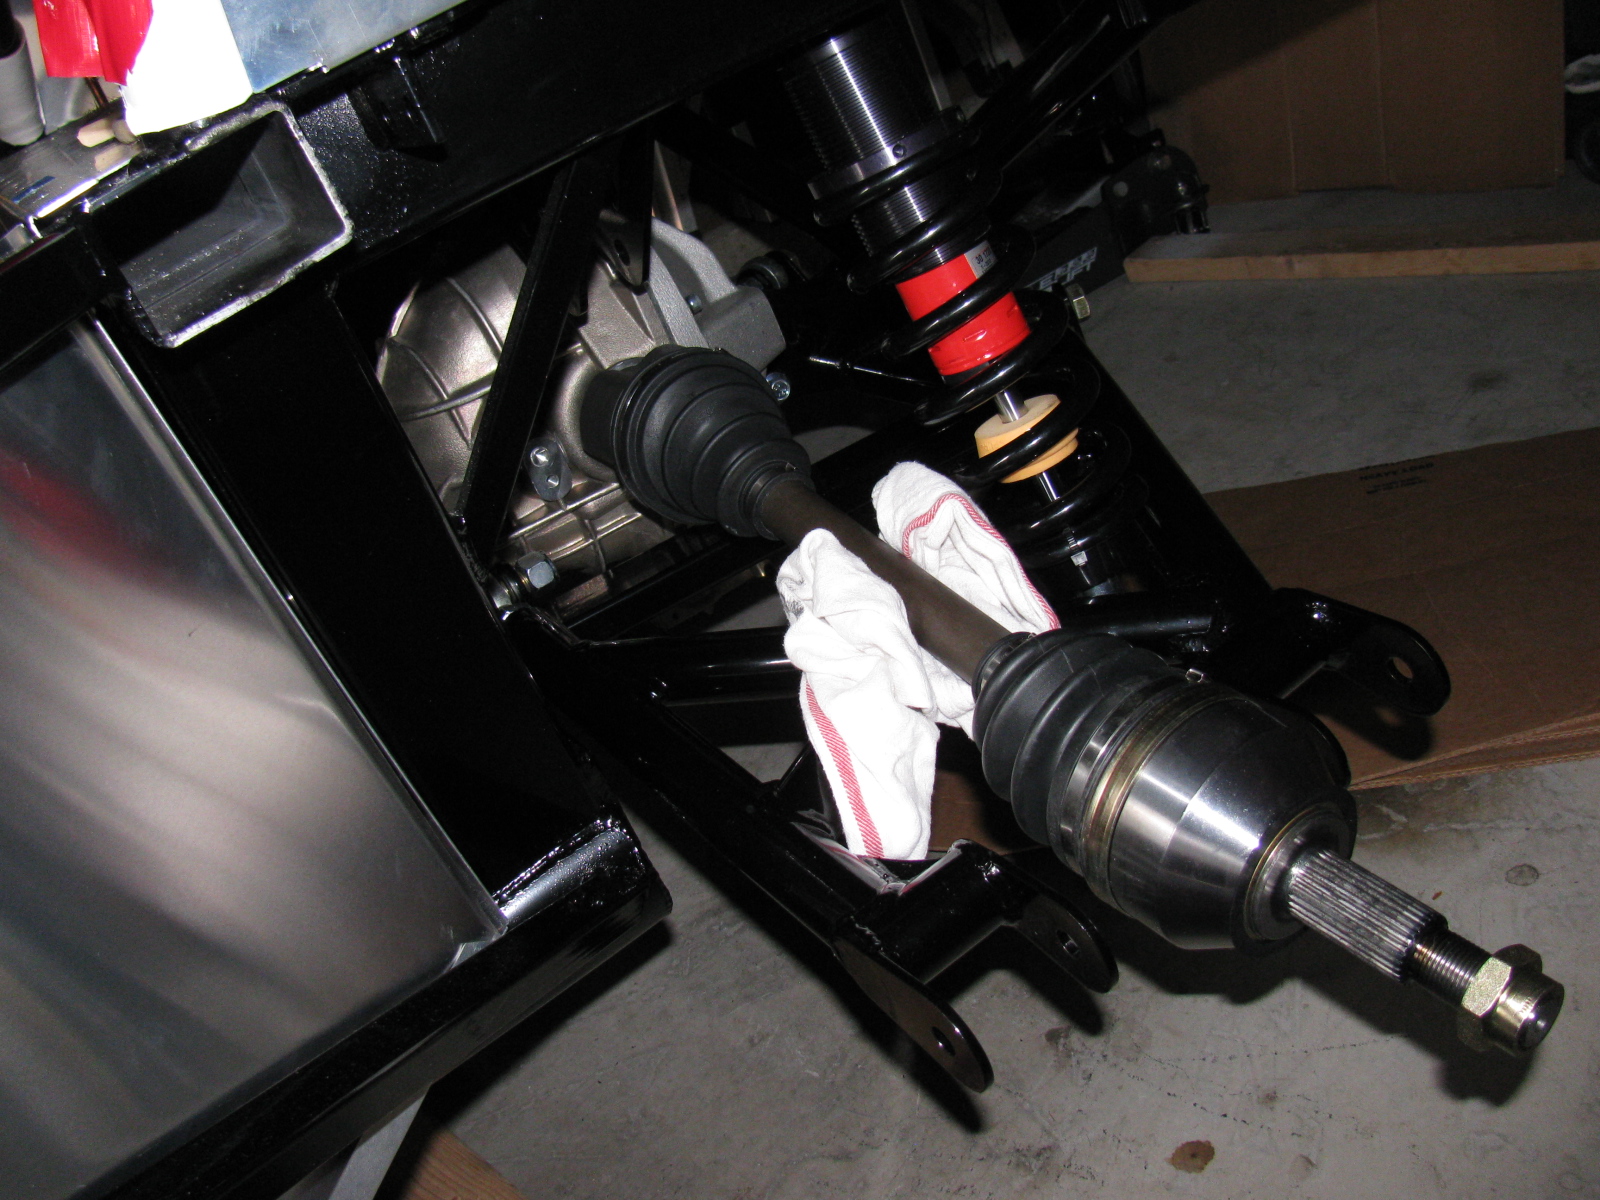
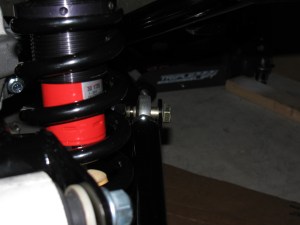
The IRS section is now fully “dry-fit” completed, and the bolts will be tightened to specs in the next work session. One thing that is putting this assembly step on hold are the mounting points for the lower control arms – see the gold color on the right of this picture? That is the mounting bolt and as you can see, there is a lot of empty space between the mounting ear and the thin washer (the manual calls them shims). This cannot be correct, and I need to find what is wrong here. . . .
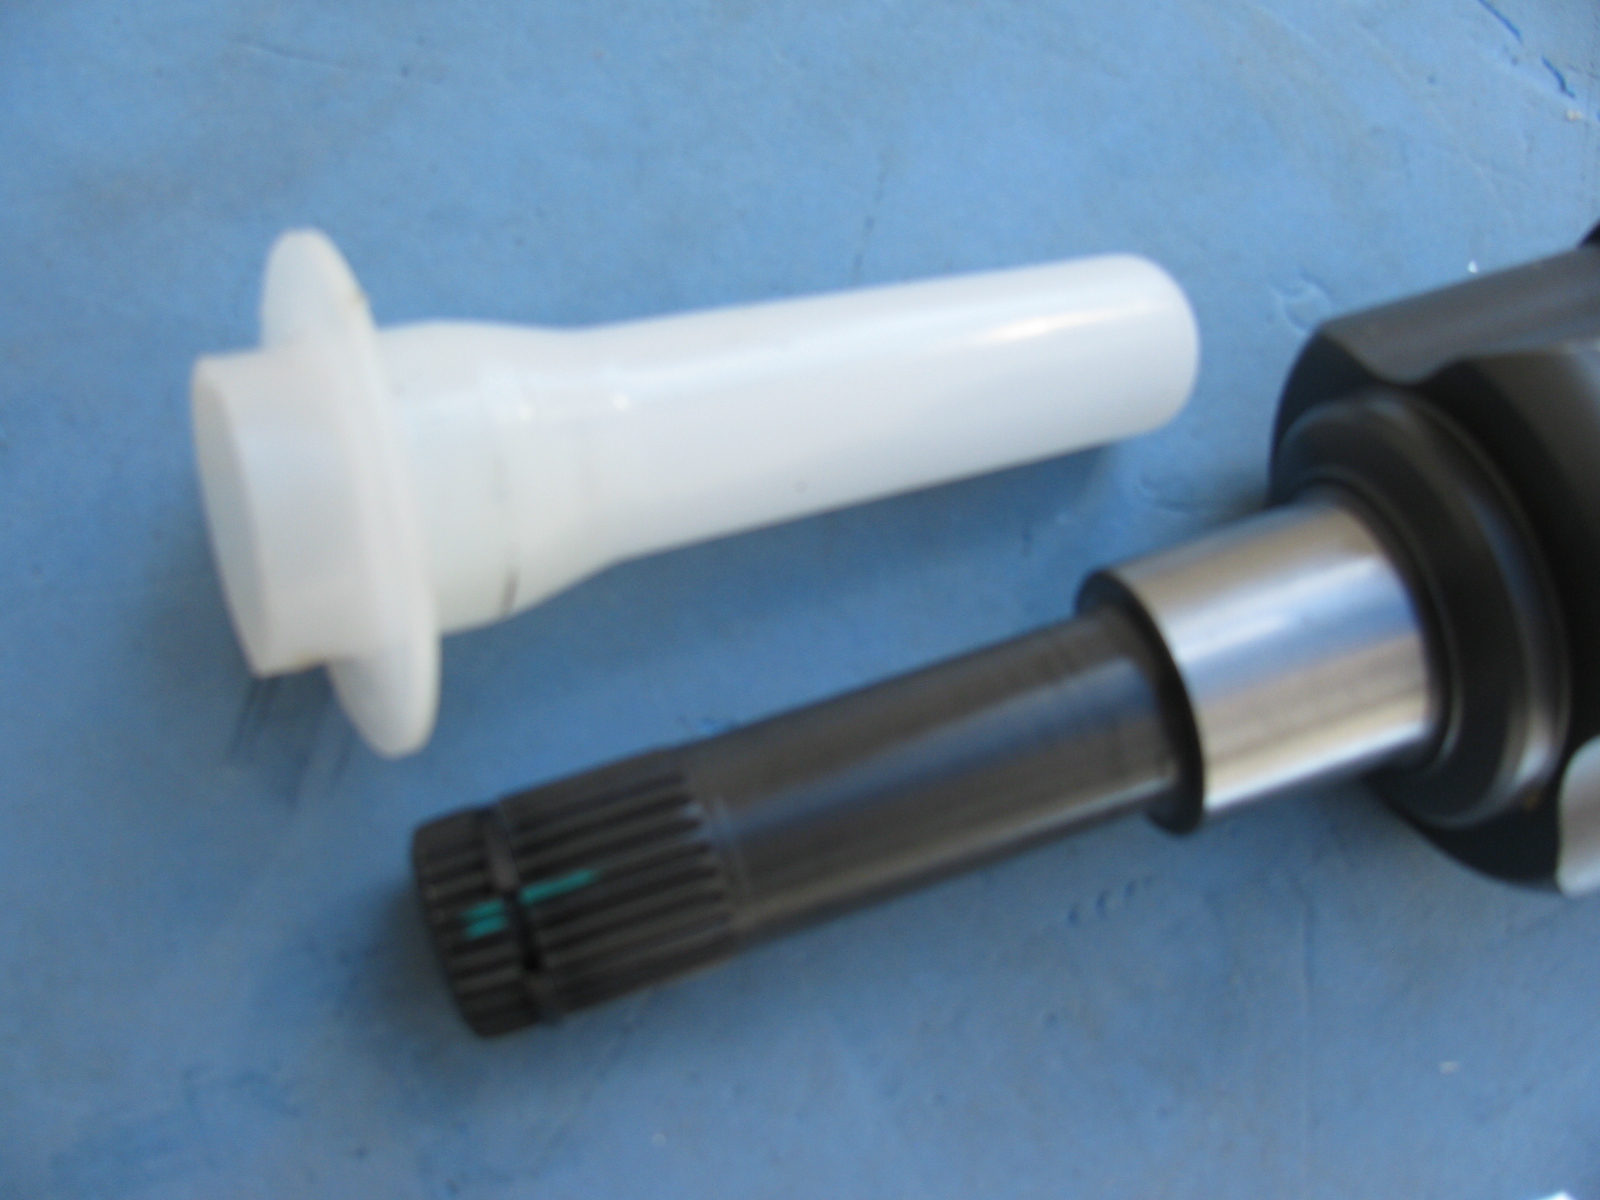
Just after I ordered my Type 65 Coupe kit, I came across a lot of posts on the forums about the IRS shafts (CV joints) coming apart. Those messages made me worry, but when my kit was shipped, the CV axles were on back-order. I called Factory Five Racing technical support, and they assured me that the problem has been fixed.
I am happy to report that my IRS system assembly went very smoothly, after the pumpkin was in place. The CV axles slipped right into the differential, and it felt just like many posts said – you can feel it lock into place. No hammering, no drama and no R- and X-rated words necessary.
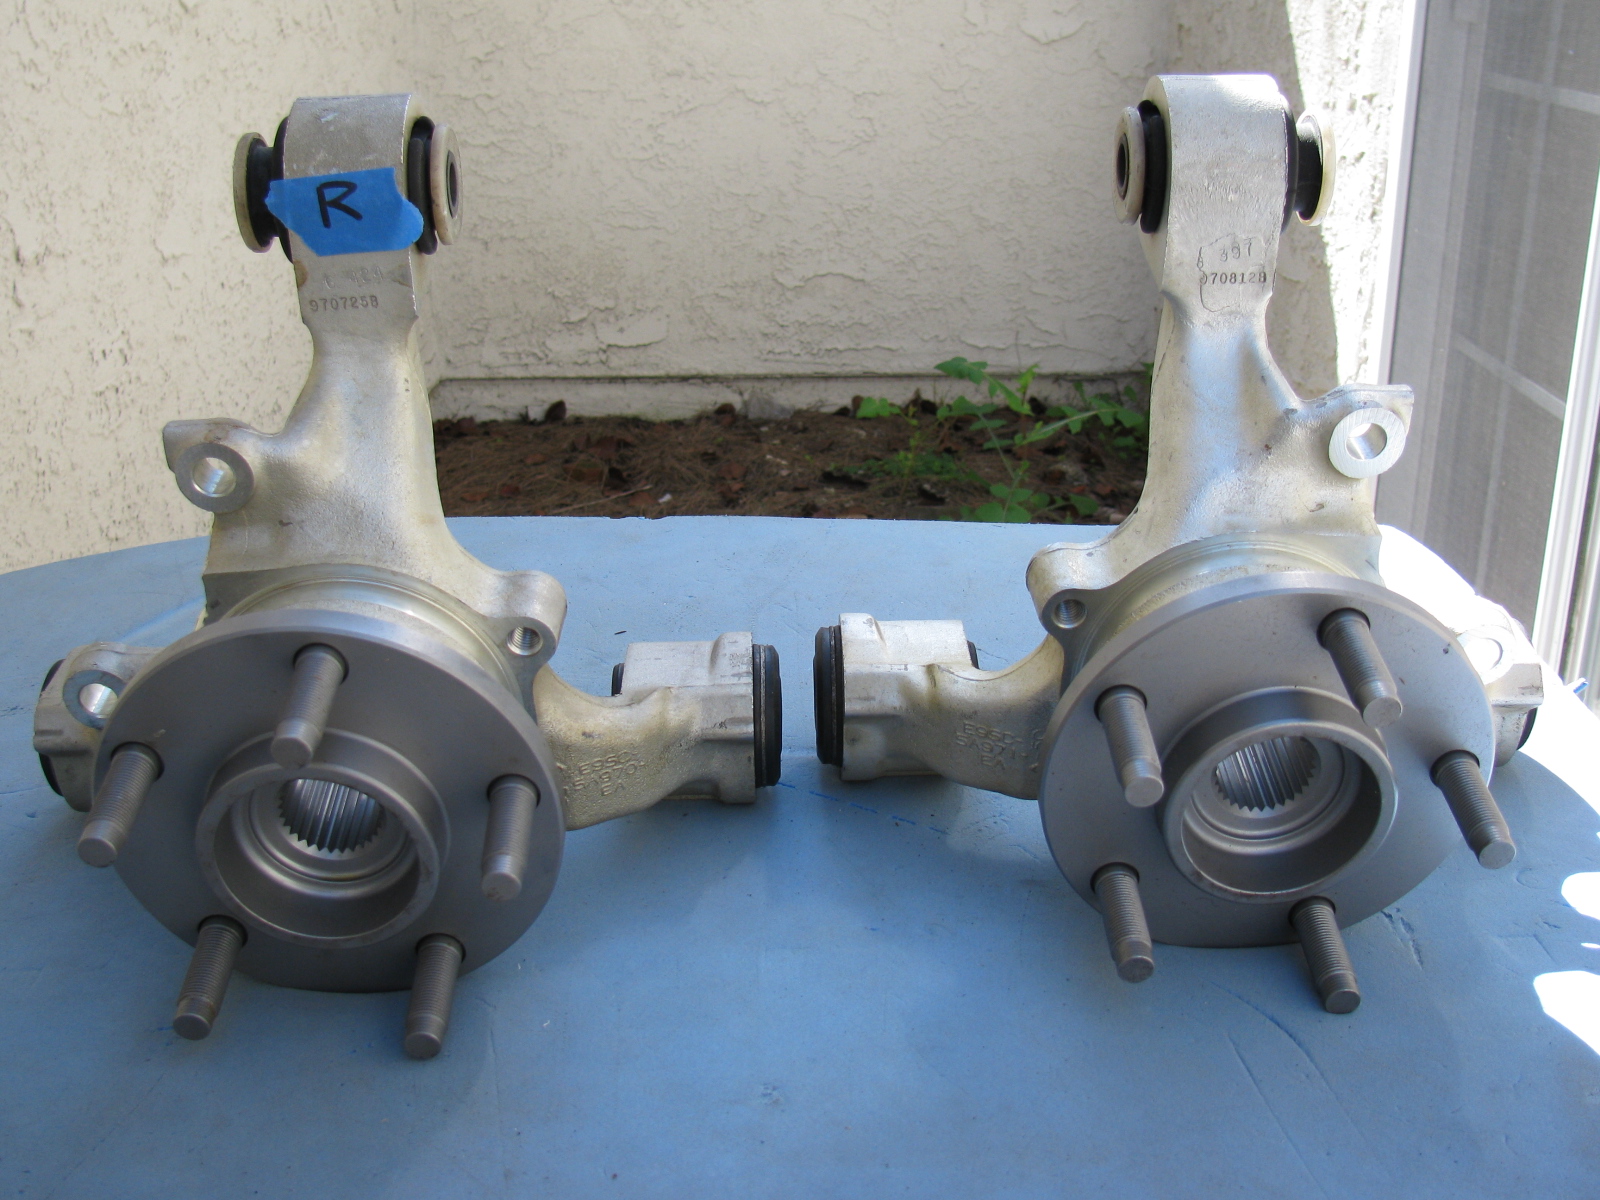
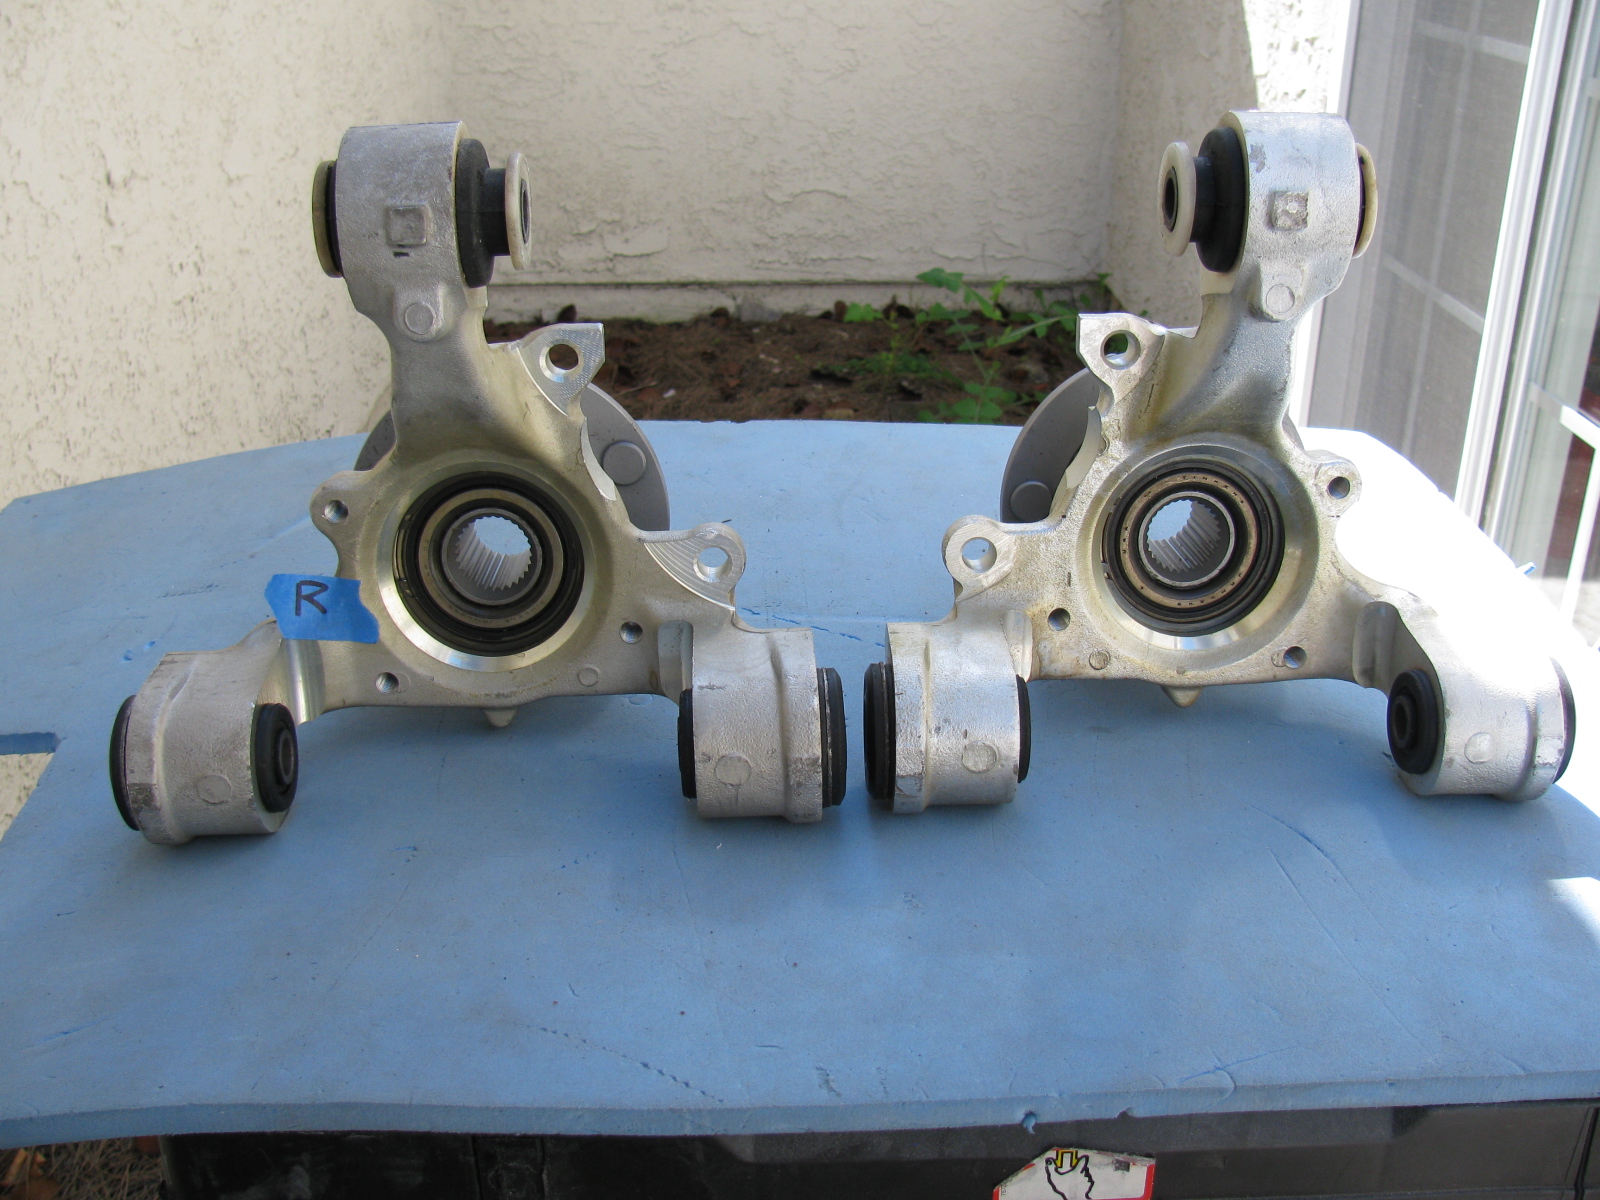
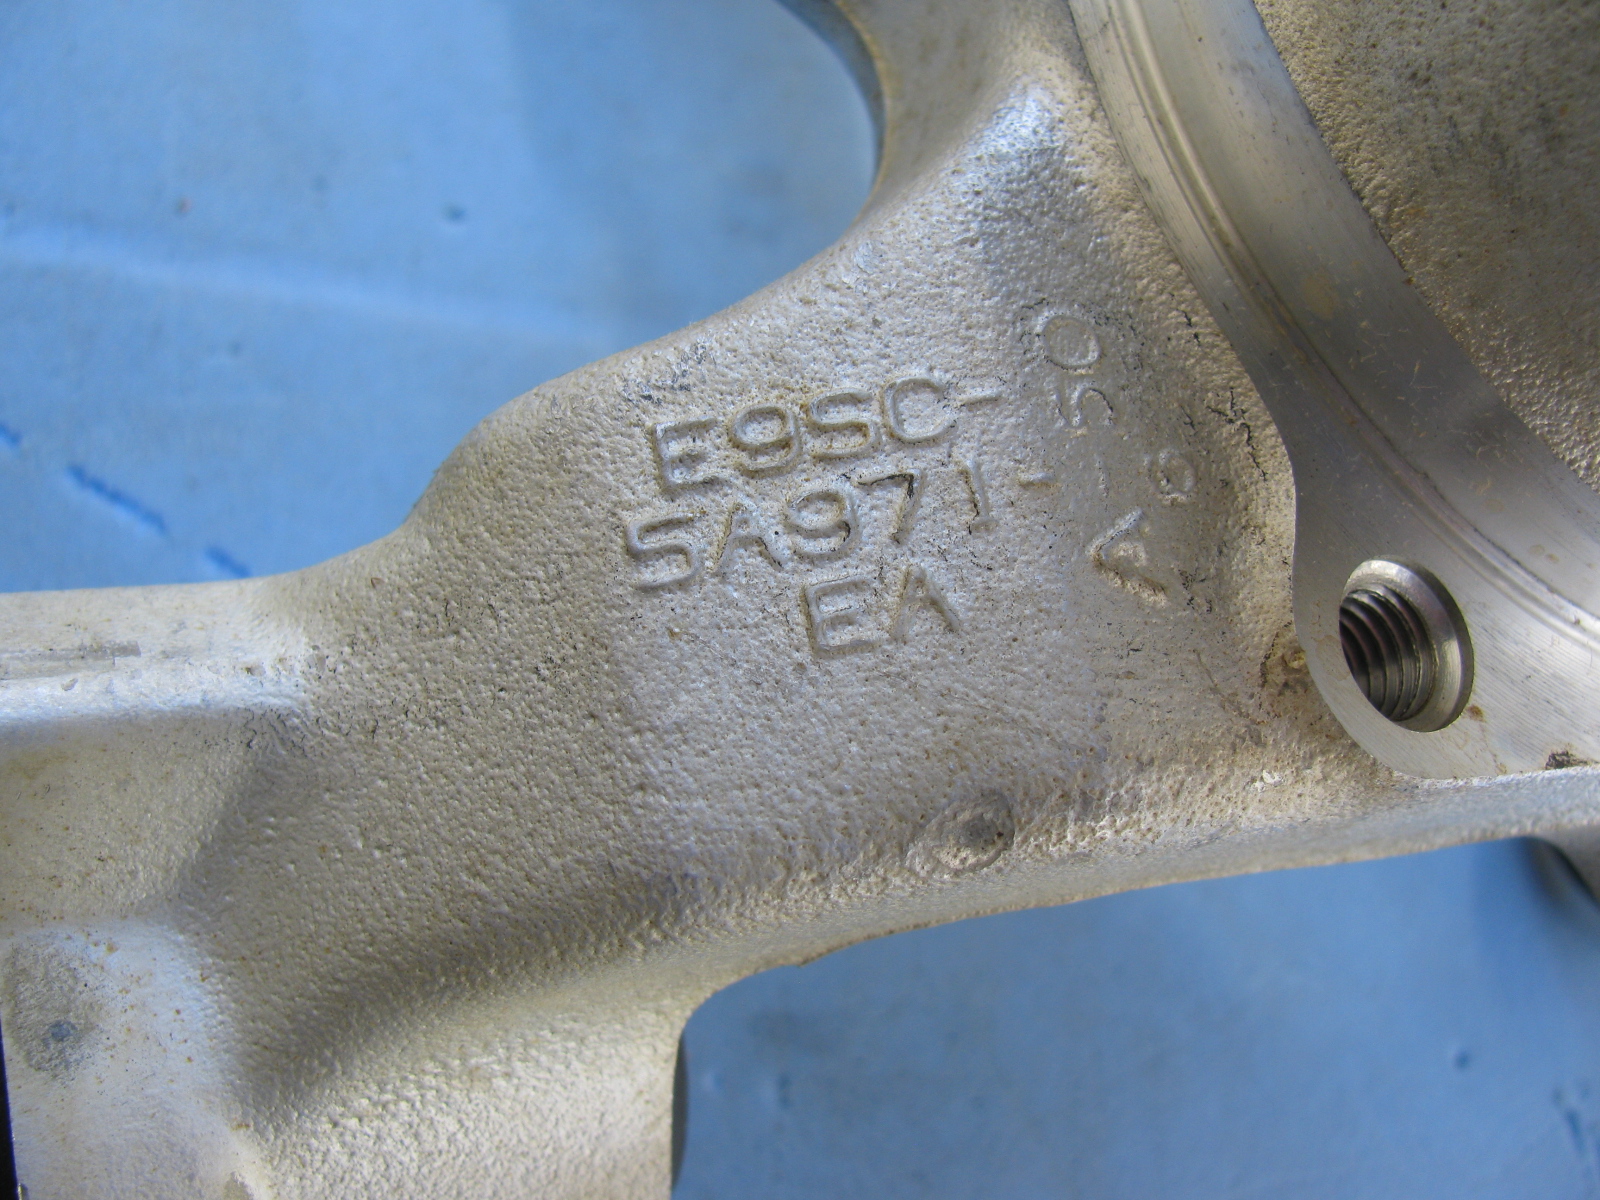
Once again, Chris comes to the rescue by posting images of the IRS knuckles and which part goes on the left side and which one goes on the right side.
Here are some additional pictures of the IRS components and system . . . . “R” is for Right side of vehicle (passenger side in the US)


Above left: The IRS upper control arm has another pair of small mounting tabs that are not mentioned in the assembly manual. No pictures are included in the manual, either. After a quick search on the Factory Five forum, I found out the smaller set of tabs point downward, and are used for quad shocks – used to minimize wheel hop during acceleration.
Give Me a Brake – Again
Now, the rear brakes are another story. Seems the Factory sent me the wrong rear brake kit. So now I have to wait for the correct parts to arrive, and then have to send the wrong parts back. . . Stay tuned for more . . .
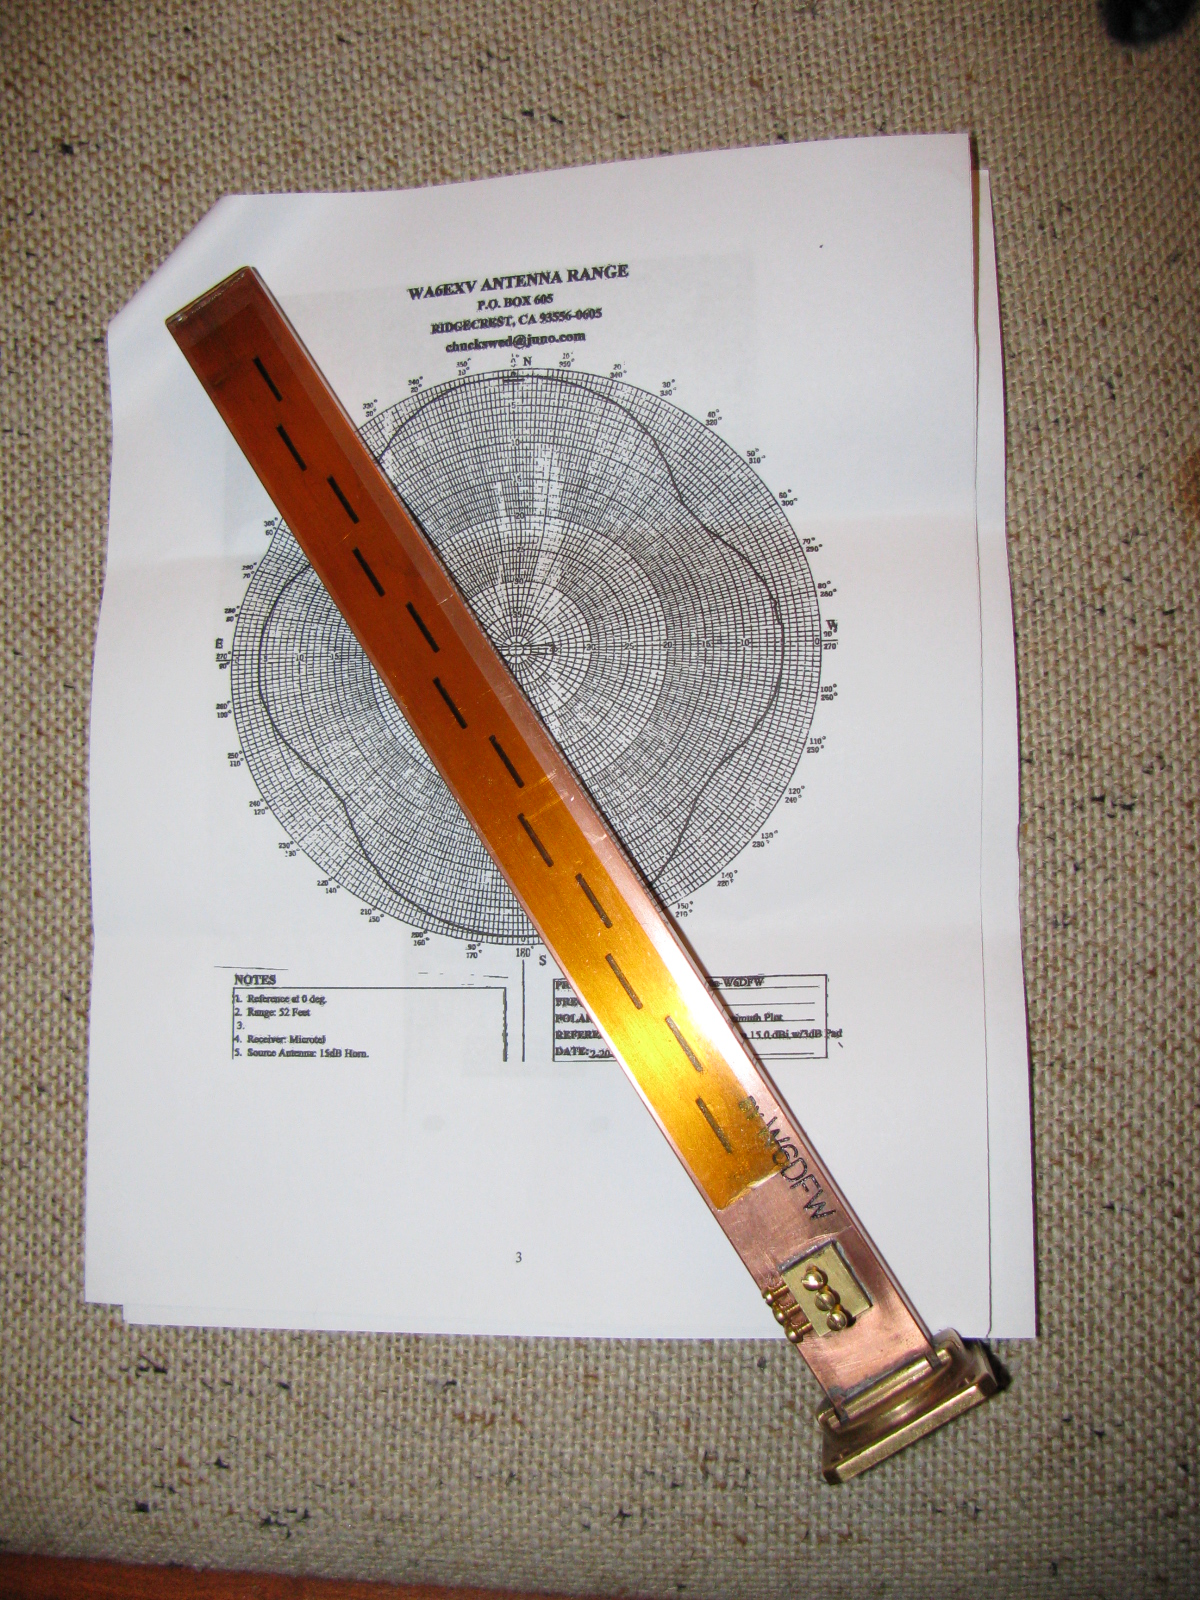
Another Box Arrived this Week – a 10 GHz Slot Antenna
I received this nicely machined antenna for 10 GHz earlier this week. It is made by fellow SBMS member Dan, W6DFW.
Here’s a picture of this omni-directional microwave antenna. The background is the radiation pattern plotted by another SBMS member, Chuck, WA6EXV.
I am planning on using this to make my roving 10 GHz station even more portable, perhaps getting on 10 GHz FM mobile. More on this item and possible applications at station KH6WZ later.