After Field Day and the demonstration at the Discovery Science Center in Santa Ana, CA last month, I decided to add information on my TinyTrak APRS units on this site.

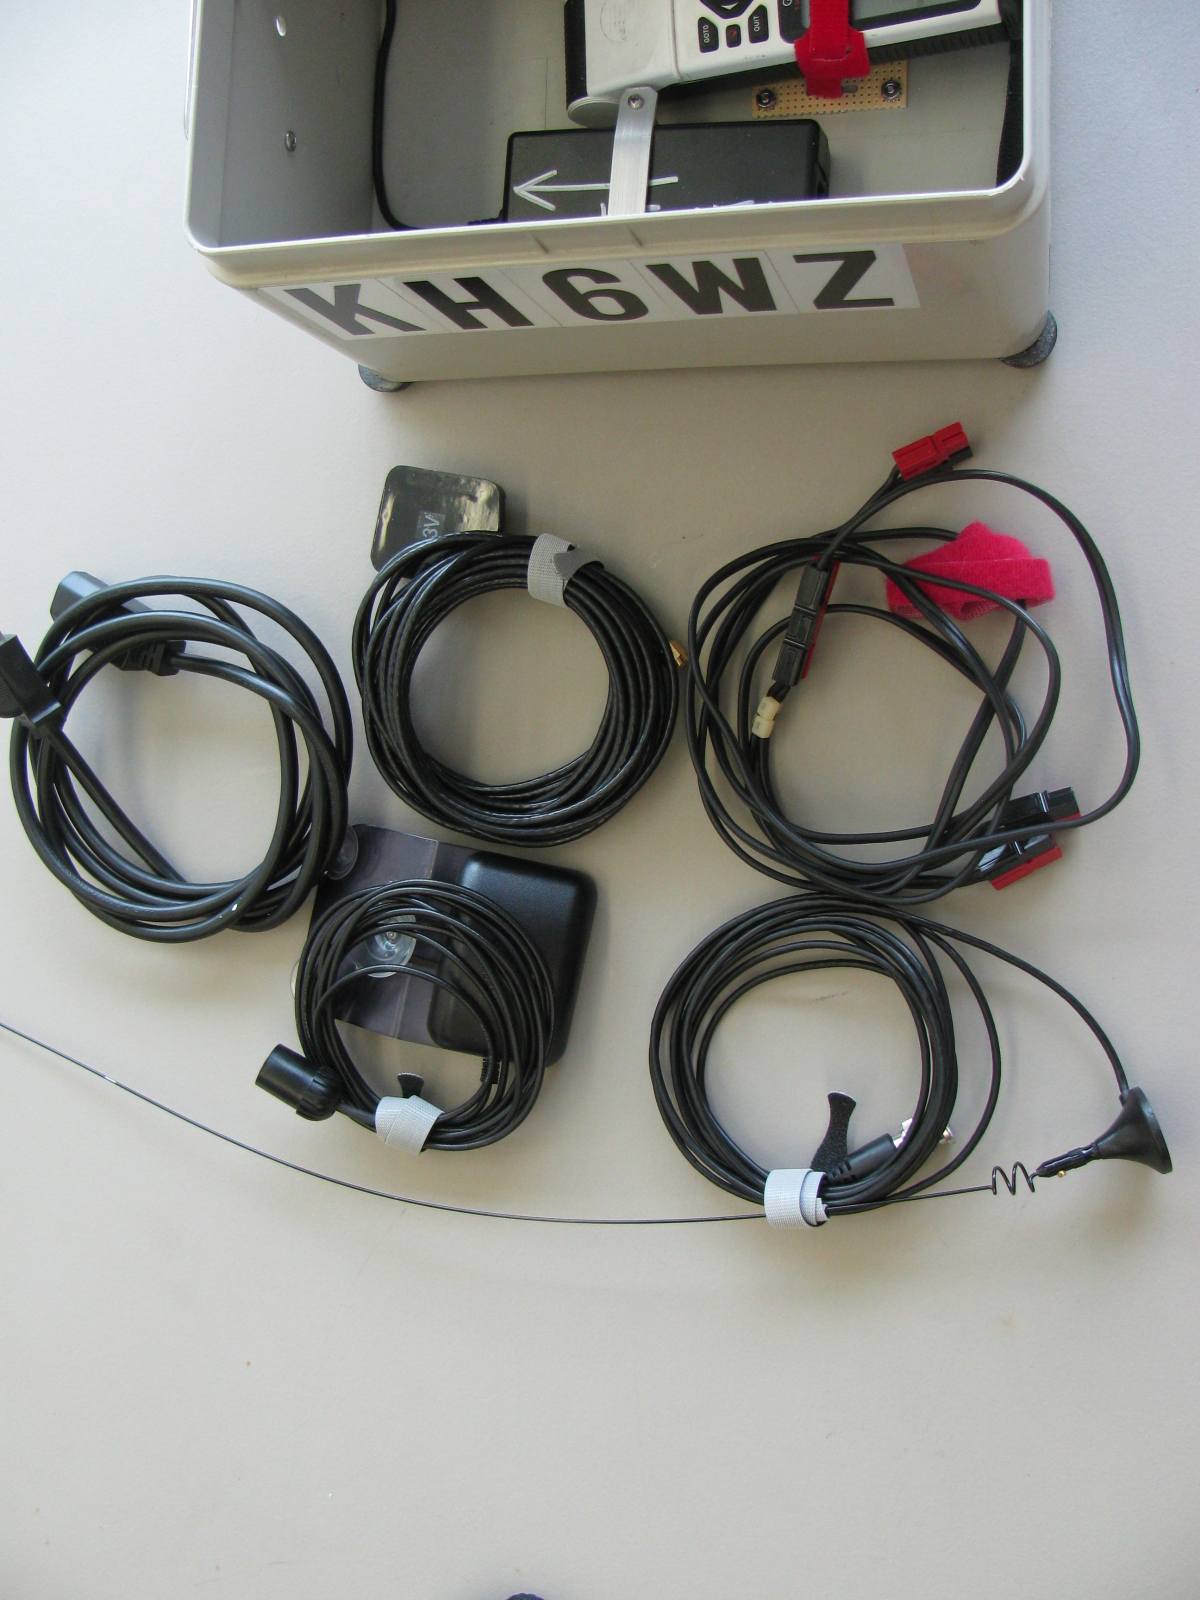
I re-packaged the unit to simplify deployment and to make it more practical for a “grab and go” event. On the left is a two meter (144MHz) hand-held radio, with the battery pack removed, and powered by external 12V via the DC IN jack. The TinyTrak 2 is next to the HT, in a die cast aluminum case (Hammond 1590B). On the bottom of the box is an old Garmin GPS 45XL and a 12V wall-wart type AC power supply. The bottom of the box also stores a magnet mount antenna for radio, an external GPS antenna and a DC power cable. There’s plenty of room for a gel-cell.


Under Construction
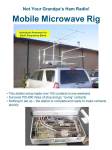
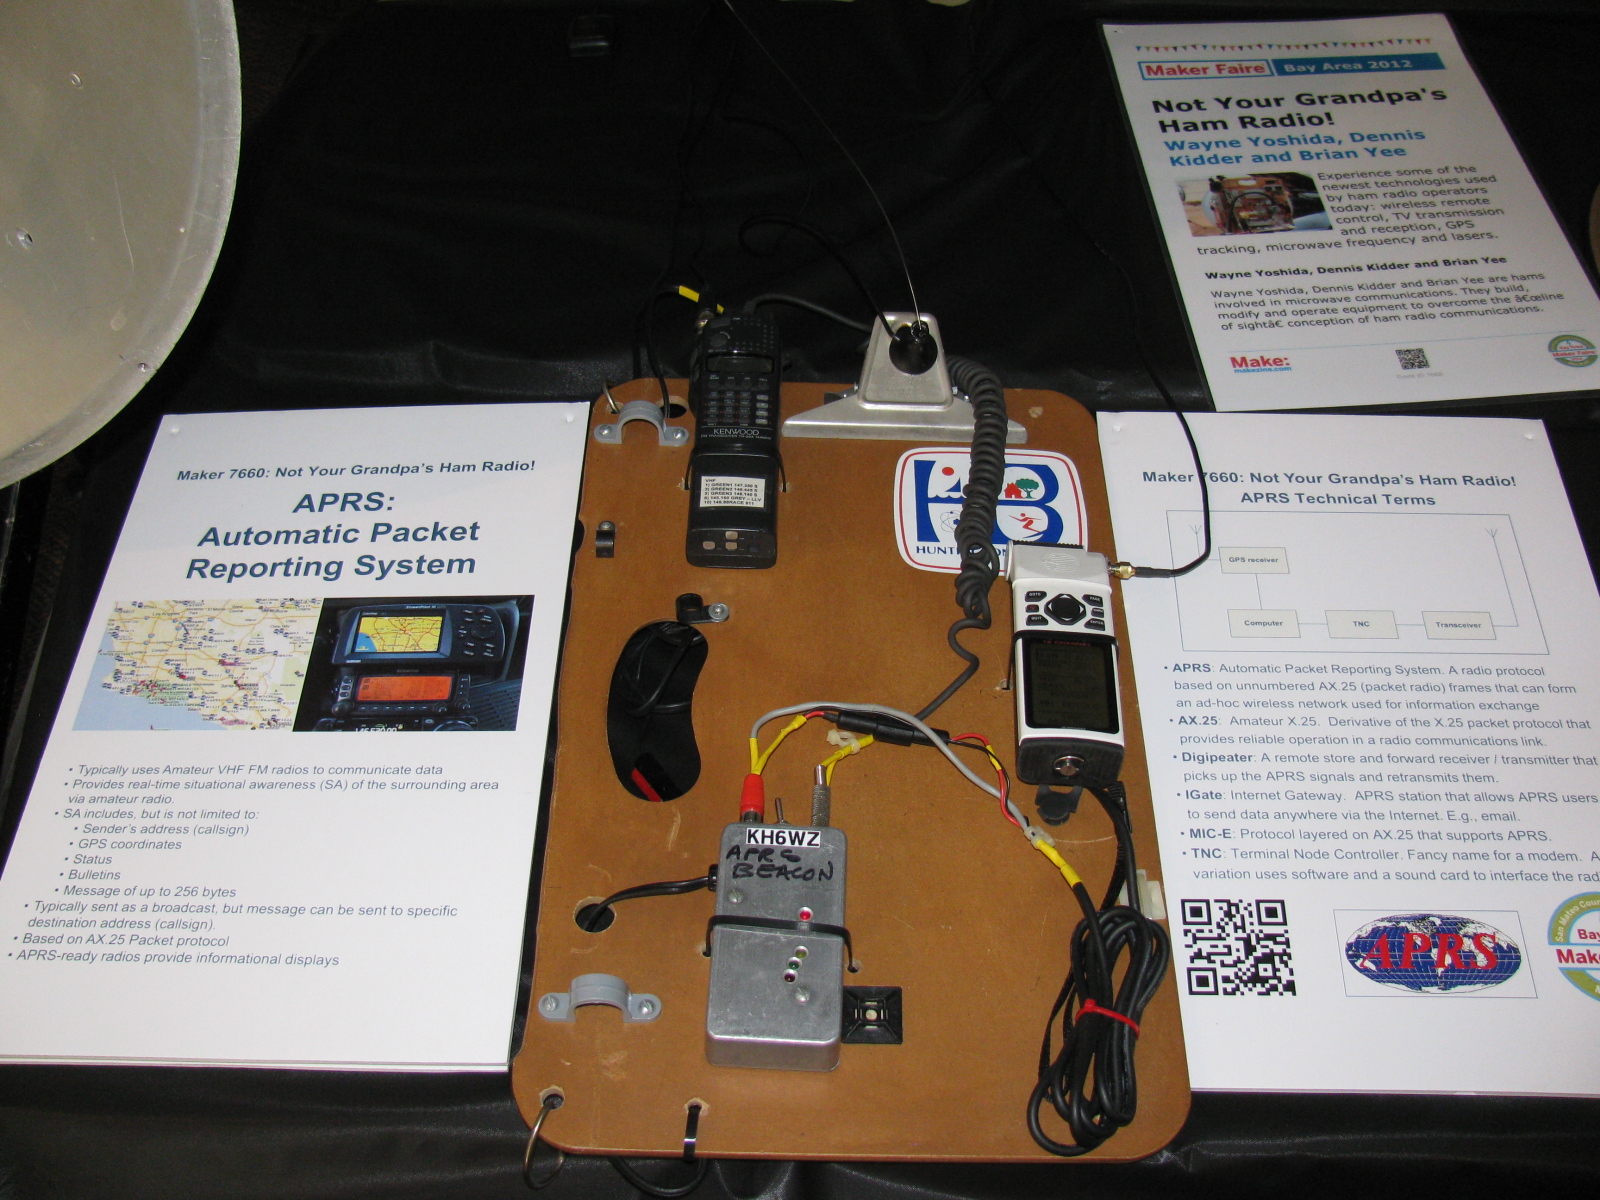
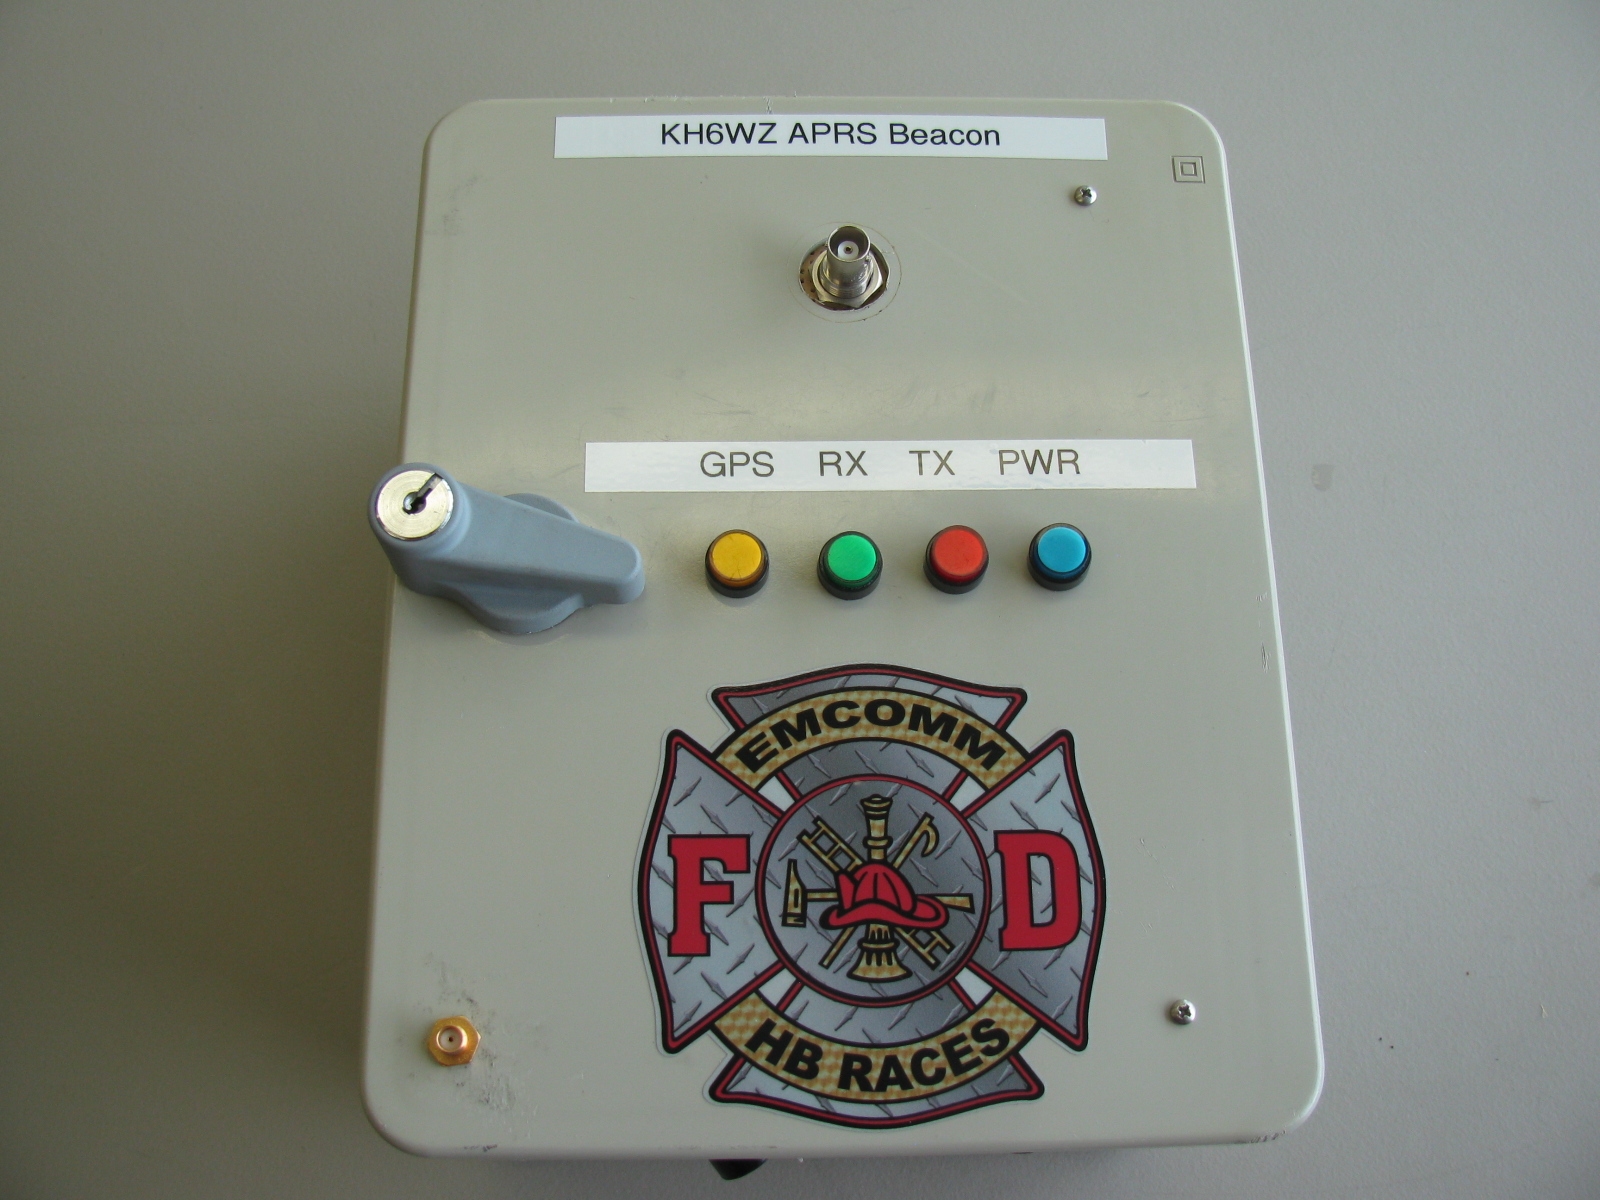
After completing the HB RACES KH6WZ APRS Beacon above, I decided to do a similar thing for my old Garmin Street Pilot. In this version, the GPS unit will be mounted on the outside of the cabinet so the map display will be visible. An inexpensive Radio Shack HTX-252 two meter mobile rig (bought new on a close-out sale years ago) is mounted to the top panel. This unit will be capable of high power operation (10 Watts low power, 25 Watts on high power) to get the signals out in fringe areas. Here are some pictures of the unit under construction. The aluminum chassis box is a surplus instrument case. It is nice and rugged, with a handle on the top.
Here you can see the mobile rig at the top left, a row of LEDs to indicate APRS status, the TinyTrak unit and a small perf board with RCA jacks for the GPS signals coming out of the Street Pilot.

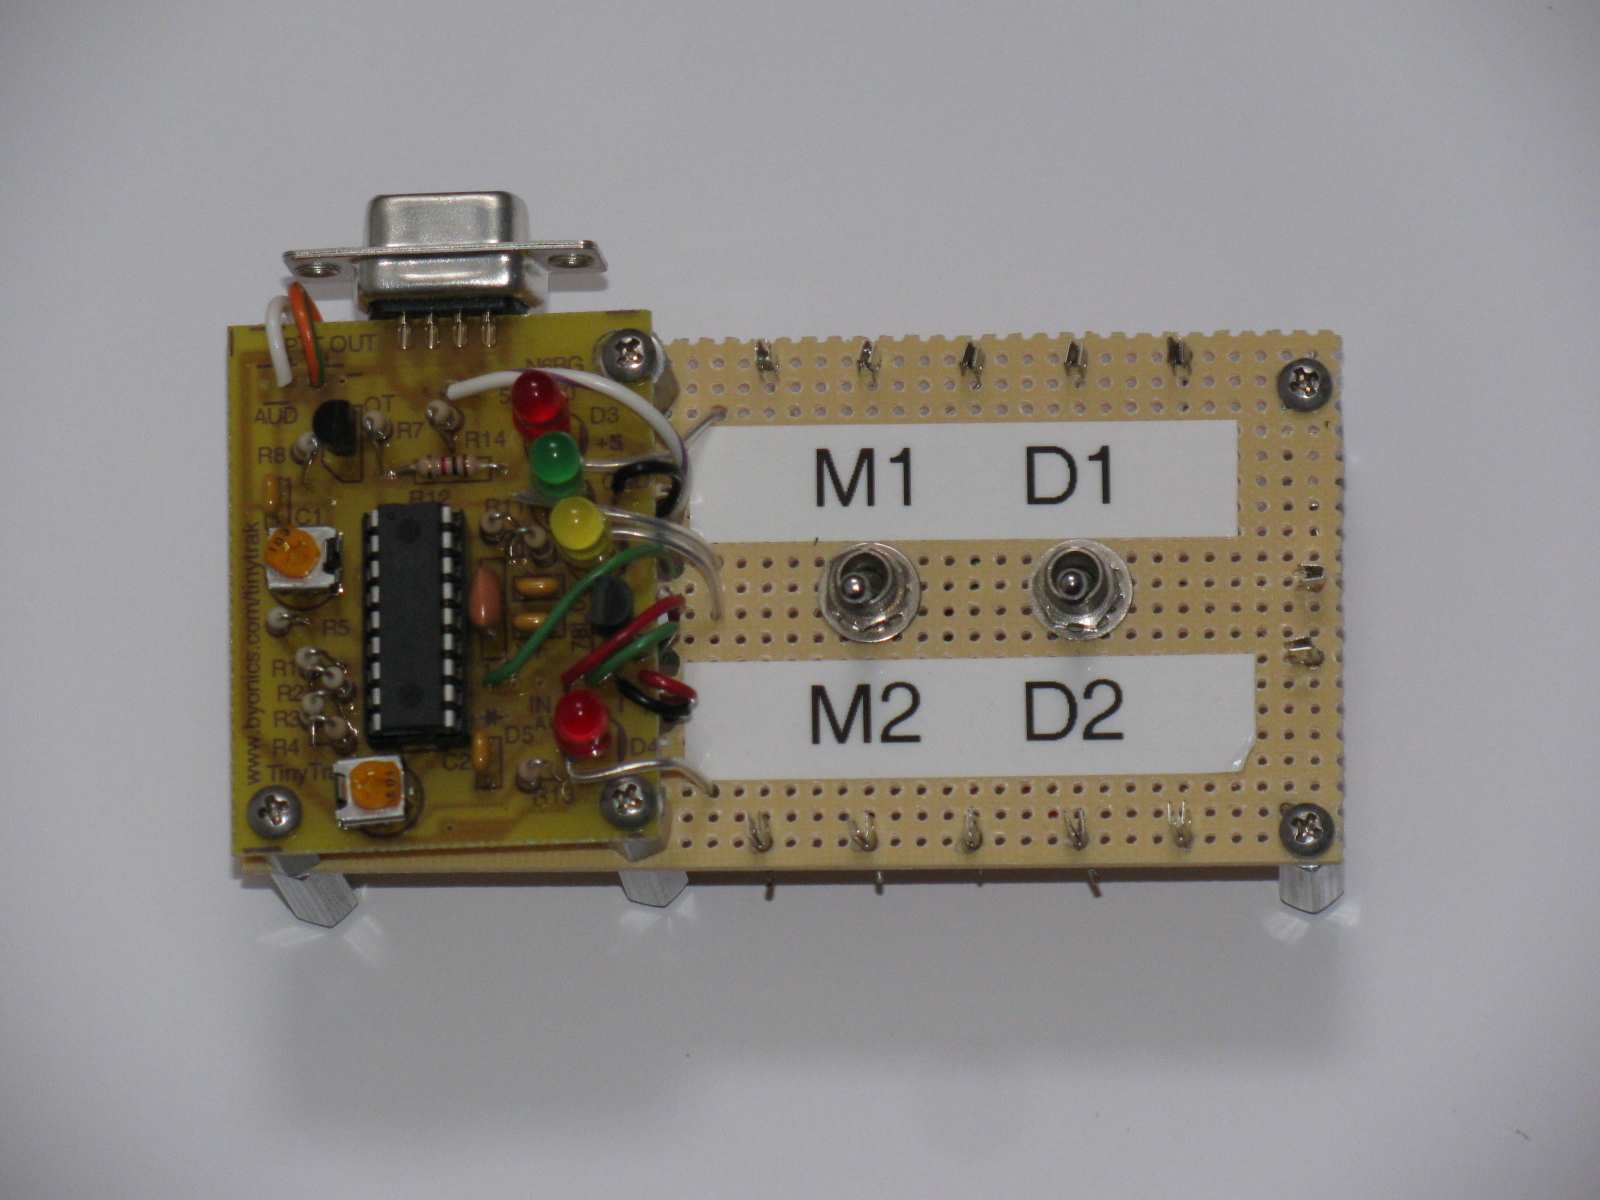
Here is a close-up of the TinyTrak PCB and a break-out board for the unit. Switch M1/M2 selects the primary or secondary message programmed in the TinyTrak; switch D1/D2 selects internal display (D1) or the external display (D2). More details on these functions appear below in “One Way to APRS Beaconing.”

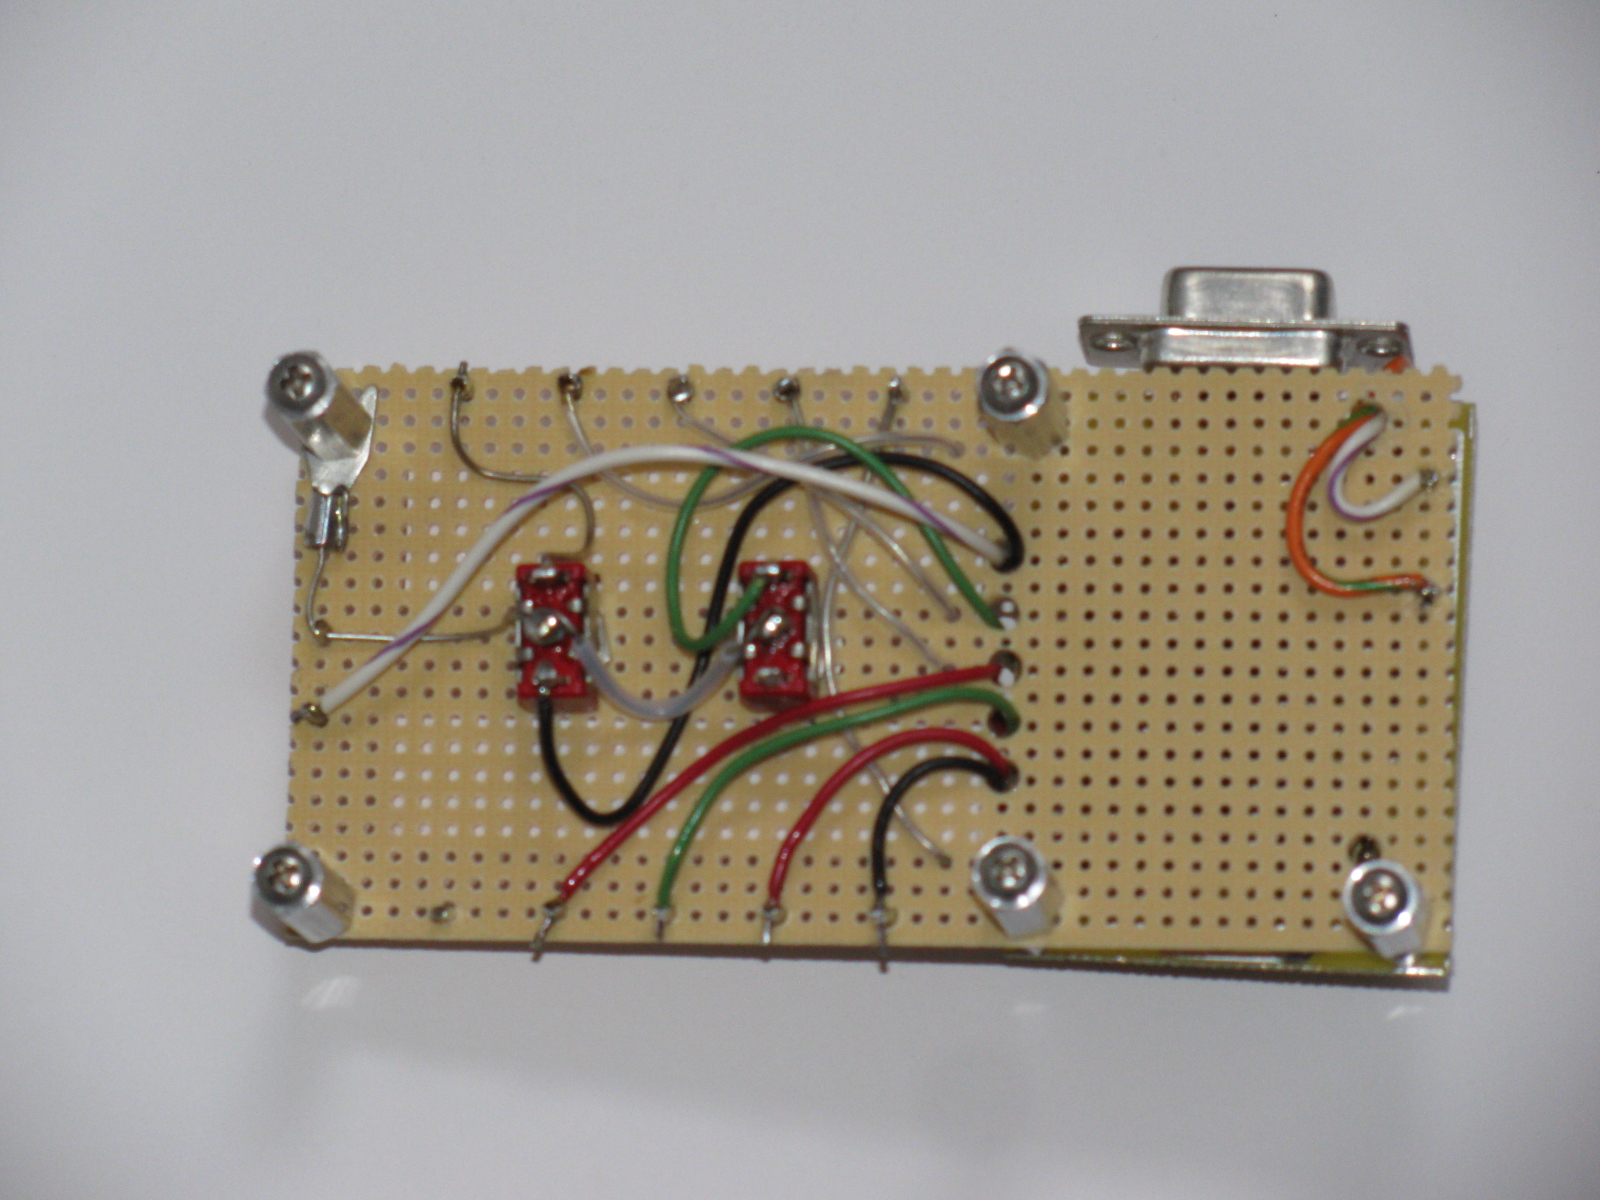
Here is a bottom view of the TinyTrak motherboard…. Mounting the TinyTrak this way will help preserve the PCB trace pads and should help simplify access to the wiring when and if it needs repair.

The following information is based on my original article called “Where in the World – A Look at APRS” in the CQ Magazine Beginner’s Corner for November 2003. Click here to see the table of contents of this issue.
I’ve always been fascinated by those “tracker systems” used in the movies and television. You know, like the scene in the movie “Armageddon,” where the ground controllers are watching each member of the “A” and “B” Shuttle teams. Or the “homer” made by “Q” in the James Bond movie “Goldfinger.” I found an expensive and fake homer here, but it is just a fancy sound maker with an LED – take a look at this thing. . .
Today, and in the real world, hams have access to this interesting technology: It’s called the automatic position reporting system (APRS), developed by Bob Bruninga, WB4APR. Basically, it uses latitude and longitude information from the global positioning system (GPS) satellites and transfers the data via packet radio on 2 meters. Mix an APRS station with the Internet, and we have a system in which hams can keep track of moving objects remotely. Interfaced with a suitable weather station, local “micro-weather reports” can be viewed. If you know anyone into APRS, take a look at the N1BQ Web site and plug in their callsign into the search field. You’ll be able to see what he or she has been up to (or at least where they went) lately.
Several members in the local radio amateur civil emergency service (RACES) group made “tracker boxes” and use them for special events, like the Baker-to-Vegas Challenge Cup Relay race. When I saw their APRS systems for the first time, I thought, “Hey, that’s really neat.” Then I went, “Hmmm. What would I do with such a thing?”
Like a lot of hi-tech gadgets, if you think hard enough, you will come up with a lot of reasons to build, buy or otherwise own one. Here are some examples of what you can do with an APRS tracker box:
- When interfaced with a compatible weather station, the APRS beacon can also transmit weather information
- If you are involved with a public service group, you can watch where a person or vehicle is in near real time
- You can re-trace and display your driving, sailing or boating routes via the Internet, and friends and relatives can watch, too
- Put that working but old and un-used 2M HT or mobile radio to good use
Remember that an APRS unit is an Amateur Radio beacon, and must comply with FCC Rules on Beacons, One Way Transmissions, Station Identification and Stations Under Remote Control.
In order to have a moving APRS station, you will need a 2 meter station (rig, antenna, power source), a terminal node controller (TNC) with APRS capability, a computer and a GPS unit. If you are doing packet radio now, or have some packet gear in the closet someplace, you are already more than half way there. By the same token, if you enjoy boating or camping, you may already have a GPS unit.
2013 UPDATE: Many VHF mobile rigs – and some HTs too – come with an APRS capability either built-in or have this feature available as an internal option. This is pretty amazing and shows how fast technology can change.
Here are some notes about what you need to make a simple APRS beacon.
The GPS Receiver and Antenna
The GPS unit does not have to be new – and, in fact, older units might actually be better, since the newer units have gone to the small MCX and other exotic connectors, rather than the easy to use and adapt BNC or SMA connector. I use an old Garmin GPS 45XL and a Street Pilot Color Map, both units have been discontinued many years ago.
Almost any GPS receiver can be used for APRS, but a critical feature the GPS unit must have is a connector port for serial data output in the National Marine Electronics Association (NMEA) format. Just about all “camping” and “marine” GPS units have this data interface.
I suggest looking for the following features, in this order of importance:
1) Ability to access the GPS data output via a serial port. Check to see if the data interface cable is available, or can be easily made or modified. See an interesting alternative source for Garmin-compatible accessory plugs in the Reference section.
2) Ability to use an external antenna. In essence, all GPS units are radio receivers, and, just like your radios, require a good antenna for the best performance.
I have found amplified GPS antennas on eBay and other places for as little as $20. Some GPS modules include a patch type antenna built-in. This may or may not be optimum for use in the field, but today’s GPS units have much more channels than the 10-plus year old units I am using for my system.
3) Ability to apply external 12VDC power. Small penlite cells can get expensive after a while, so the ability to plug into an alternative power source would be good. Be aware that some units need a power source lower than 12V to 15V, and can be damaged if 12V is applied directly to the unit. But do not fret, if your GPS unit needs something other than 12V, you can build or buy a suitable voltage converter to handle this. The simplest way to use external power is to see if the unit has a cigarette lighter accessory or some other external DC cable, and use that. For non-automotive use (like pedestrian mobile), you can remove the cigarette lighter plug and use a gel-cell or other 12V power source.
Garmin seems to be the most popular GPS units for APRS. I think their excellent customer service contributes to this, based on personal experience.
Full-featured GPS units might be a bit extravagant for just APRS applications, so if you are not into flying, backpacking, sailing or other activities requiring navigation, you might want to consider a GPS “module,” rather than a GPS “receiver.” The GPS module is just a “plain data receiver box” with no display, and is intended for use with some other gadget, such as a computer. Because no other “support electronics” is involved, prices for GPS modules are much cheaper than GPS navigation units.
The Interface and the Rest of the Components
An APRS interface is the “brain” that transfers the digital location data from the satellites and instructs the radio transceiver when to transmit and when to receive. More sophisticated units can interpret more GPS information, and transmit more than simple latitude and longitude. For example, on a moving vehicle, the APRS unit can send not only position, but also speed, rate of climb or rate and direction of turn, altitude, a station identifier and an icon.
There are dozens of different symbols used in APRS to indicate what sort of object is being tracked. For example, my friend Peter Barbour, N6RAS, is an avid sailor, and uses a boat icon when he is “beaconing.” Bill Honeyman, KG6CNL, uses a jeep, and Steve Graboff, W6GOS uses a “running man” symbol during the Baker to Vegas race. The eye icon was used during the demonstration at the Discovery Science Center, see the screen capture below.

One Way to APRS Beaconing
There is a simple way to try APRS. The TinyTrak unit, by Byon Garrabrant, N6BG, is a wonderful little circuit that eliminates the packet TNC. If you have a “TT,” all you need is a GPS receiver, a two-meter radio, antennas for the GPS and radio and a power source. The unit is configured via the serial port in your personal computer.
Now in its fourth generation, the TinyTrak units are available in a “fully-assembled” version, complete with a small 2 meter transceiver. The older generation small PC board versions of the TinyTrak are still available.
My units vary somewhat from the “out-of-the-book” instructions. I added an SPDT, center-off toggle switch to make a “test” function: In the test mode, the unit is powered up normally, and the LEDs blink to verify operation. After checking the blinking lights and verifying the two meter rig transmits data, the switch is thrown into the “operate” mode, which simply cuts off the ground connection to the LEDs (making them go off) to conserve battery power.
I recently added another modification: I added another SPDT switch (not center-off) so I can select either the small internal LEDs or the large front panel mounted LEDs when the unit is in operation. This is done to create a “light show” to attract attention during demonstrations.
Remember that the TinyTrak is a simplified beacon device. It will not receive and decode APRS data for display purposes. It is the “data transmitter beacon” or “homer” part of an APRS set up, but they are fun nonetheless.
Once you get your APRS beacon going, I am sure you will want to do more. In the meantime, the simple starter system will enable you to beacon your position while you do your favorite radio-activity, from public service to outdoor events. James Bond’s homer technology is here for hams, and is an exciting and interesting bit of technology we can use just for kicks or for serious public service assistance.
Links to More Information
General APRS info
http://web.usna.navy.mil/~bruninga/aprs.html
http://www.aprs.net
http://www.tapr.org
APRS Symbols
http://www.aprs.net/vm/DOS/SYMBOLS.HTM
See Beacon Locations on the Internet
http://www.wulfden.org/APRSQuery.shtml
TinyTrak “TNC-less” APRS kits
http://www.byonics.com
Carter, Jim WB6HAG, “Build an APRS Encoder Tracker,” QST, February, 2002, page 28
GPS Modules
http://www.makershed.com/default.asp
An Interesting Connector Source for Garmin GPS Units
http://pfranc.com
Baker to Vegas Challenge Cup Relay
http://www.bakervegas.com

Maker Walt discussing something fascinating with Jeri Ellsworth, aka “Circuit Girl.” Photo by Tony KC6QHP
Here is a report on the 2013 Maker Faire by Tony Long (KC6QHP):
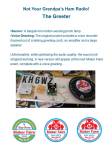
Another great Maker Faire is in the books, amateur microwave radio was well represented!
Thanks to the coordination efforts of Wayne KH6WZ, Brian W6BY, the 50 MHz and Up Group, the SBMS, and UC Davis, the “Not Your Grandpa’s Ham Radio 2” booth at the Maker Faire was a great success.
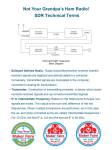
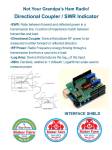
This year we shared a booth with UC Davis whose impressive student projects ranged from a radar demonstration, to video processing, audio sequencing, and mechatronics. Along with that, we had a 10/24 GHz SDR setup courtesy of Dennis W6DQ (on a big screen courtesy of Brian), some of Brian’s homebrew gear, Walt’s EM field demos and transceivers, and some of my stuff including a 10 GHz radio and beacon.
LA Times says that about 165,000 people were expected to attend this year, so at a minimum 10,000 people passed by our booth. Our raspy voices are an indicator that a great deal of talking was done! I personally interacted with a number of people who are really interested in amateur microwave radio and if even a fraction of them get involved or raise general awareness, I think it is a success.
Walt’s demos, owing in part to their elegant simplicity and visual nature attracted a lot of attention and interest. On Sunday night he took them to a post-fair get-together with the who’s who of the hardware hacking scene (Jeri Ellsworth, Ben Heckendorn, Diana Eng, Alan Yates and many many others). All were impressed!
Something I see very encouraging in the “maker” scene is a real interest in RF. This crowd includes a good deal of embedded systems engineers, talented software people, etc. There’s a real opportunity to make connections with this crowd and get more activity on the microwave bands.
As Software Defined Radios decrease in cost and become more open source, I predict massive interest in RF and likely in the microwave bands because of their large bandwidths. While they may not be interested in SSB mountaintop to mountaintop contesting (there will be those who are certainly), an increase in use of our bands will only help to further the cause of maintaining our spectrum to help further the state of the art.
I posted a gallery of pictures on Flickr: http://goo.gl/cAy3p
Tony KC6QHP”
Thanks for the report, Tony!